
Introduction
In this lab, you’ll be creating a multi-stage incident in Microsoft Defender by executing malicious documents and scripts in testvm1. The multi-stage incident will be analyzed in the upcoming labs using Microsoft Copilot for Security.
Objectives
- To install Git and download repositories having malware payloads on testvm1 in Azure.
- To run malicious documents and scripts.
- To perform a ransomware attack using RanSim.
- To check protection action and recommendations from Windows Security.
Task 1: Install git and download the payloads on testvm1
- In the Azure portal search bar, type virtual machine, then navigate and click on Virtual machines under Services.

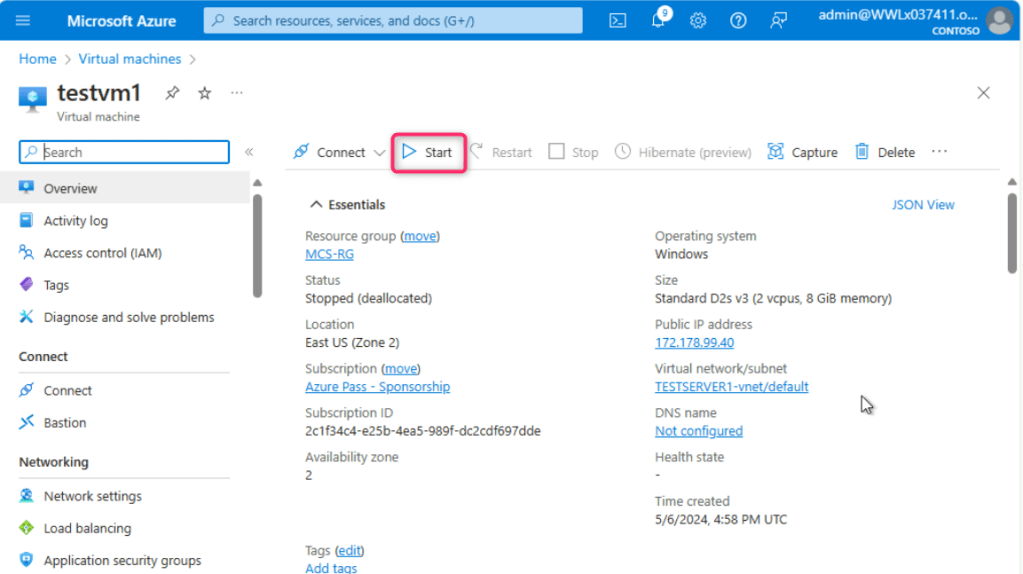
- In the Virtual machines page, navigate and click on testvm1. On testvm1 Virtual machine page, click on the Start button.

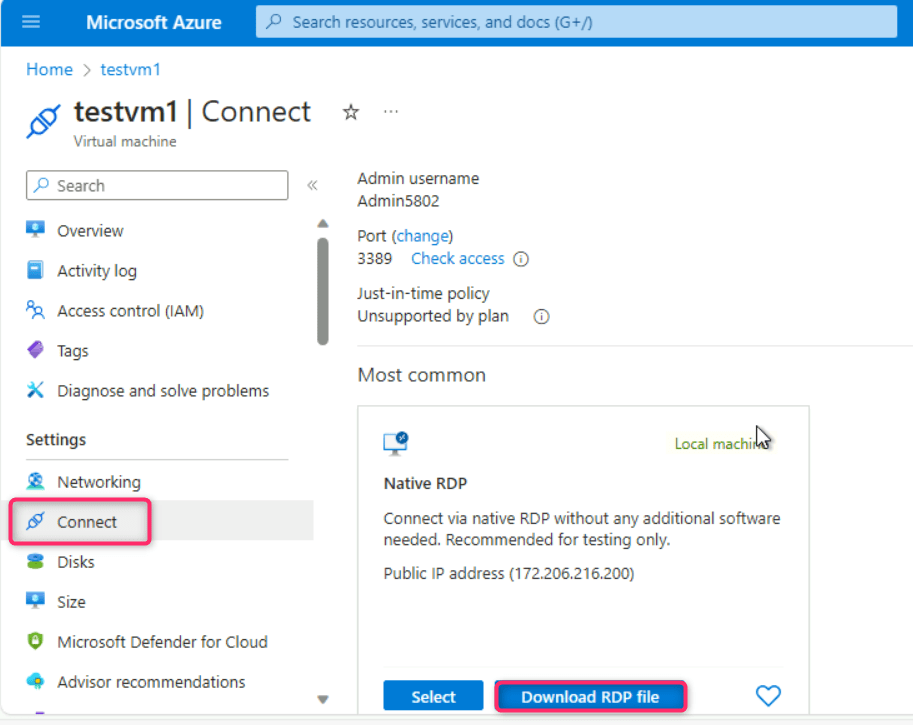
- Wait for few minutes for the virtual machine to start, then navigate and click on Connect on the left side navigation menu, scroll down to Native RDP tile, and click on the Download RDP file.
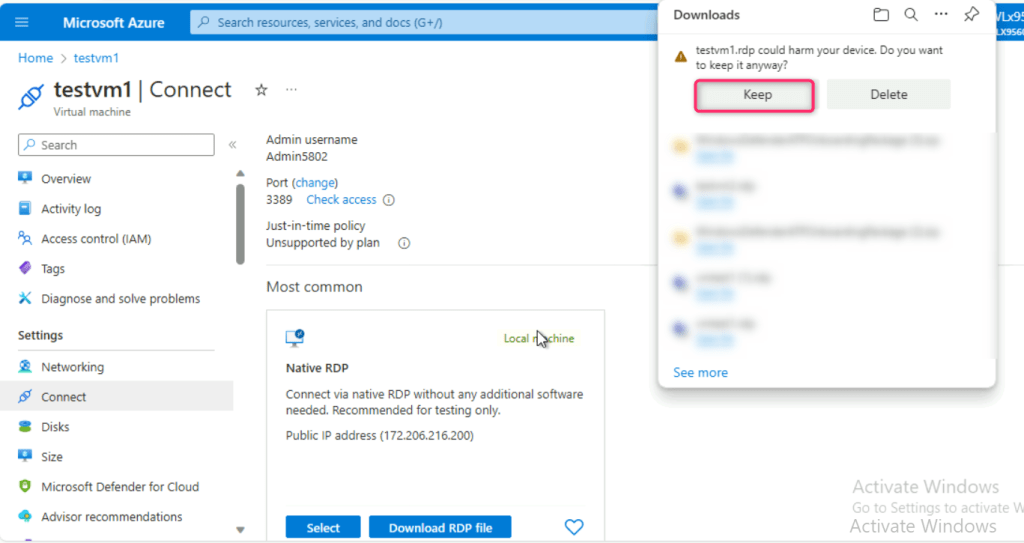
- On testvm1.rdp could harm your device. Do you want to keep it anyway? dialog box, click on Keep button.
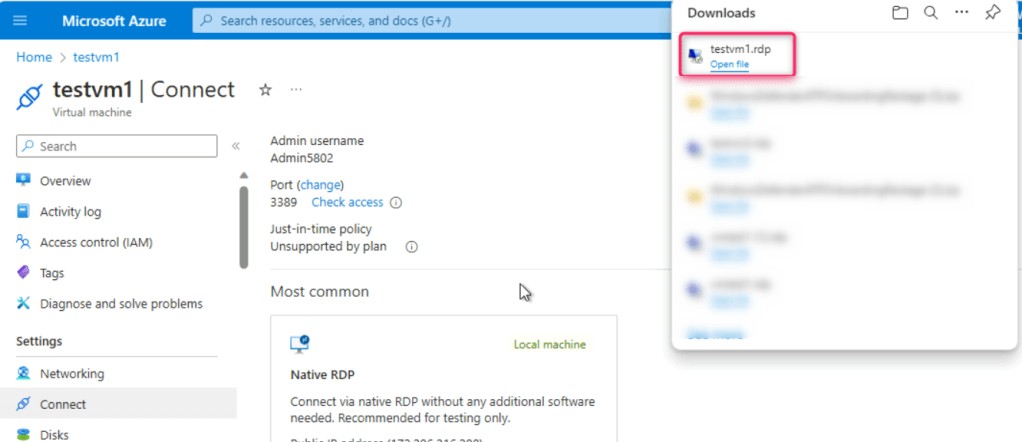
- On testvm1.rdp file, click on Open file link.
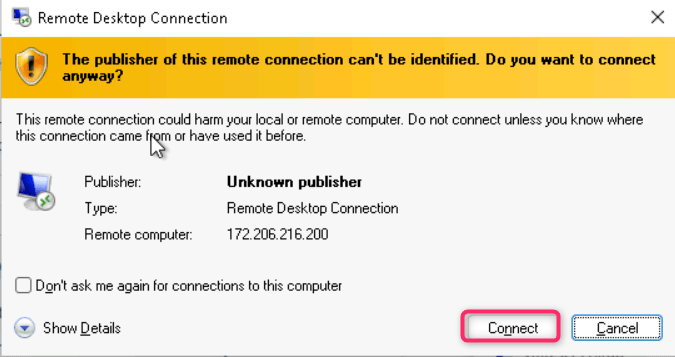
- On The publisher of this remote connection can’t be identified. Do you want to connect anyway? dialog box, click on Connect button.
- On Enter your credentials dialog box, enter the password (here, Administrator5801@*) and click on the OK button.

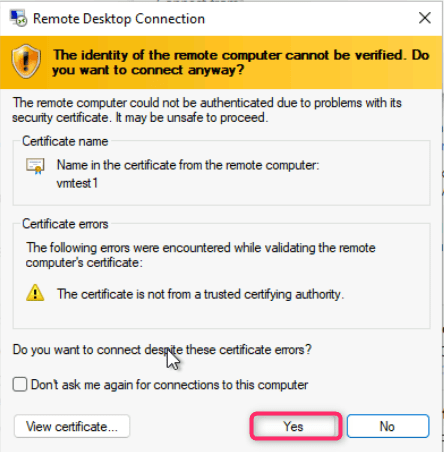
- On The identity of the remote computer cannot be verified. Do you want to connect anyway? dialog box, click on Yes button.
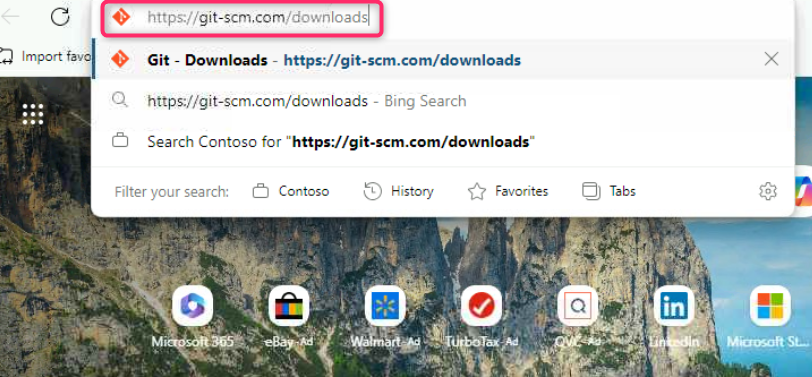
- Open the Edge browser, navigate to the address bar and enter the following link: https://git-scm.com/downloads
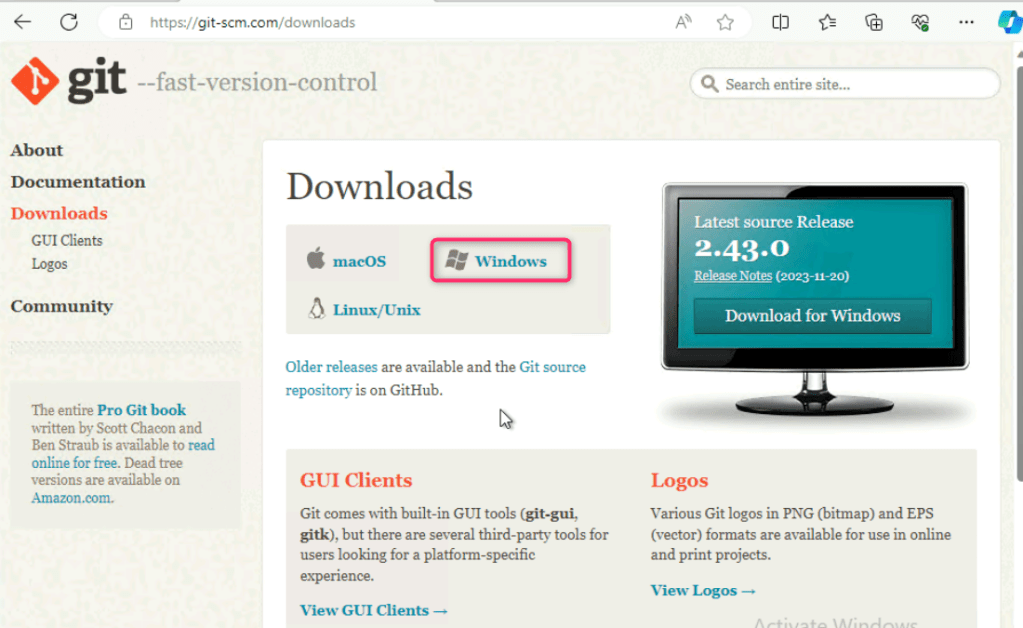
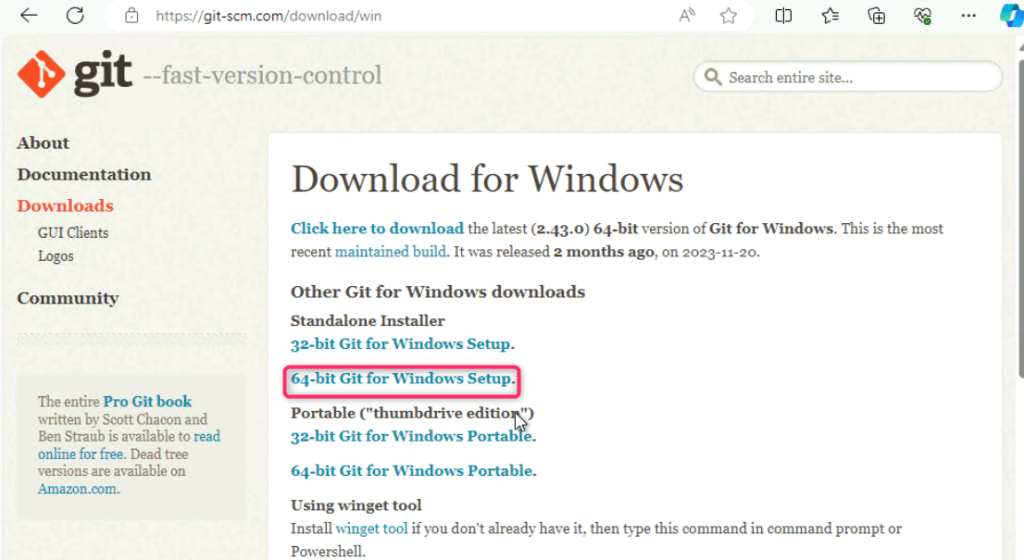
- On git window, navigate to Downloads section and click on Windows as shown in the below image.
- On Download for Windows page, navigate to Standalone Installer and click on 64-bit Git for Windows Setup.
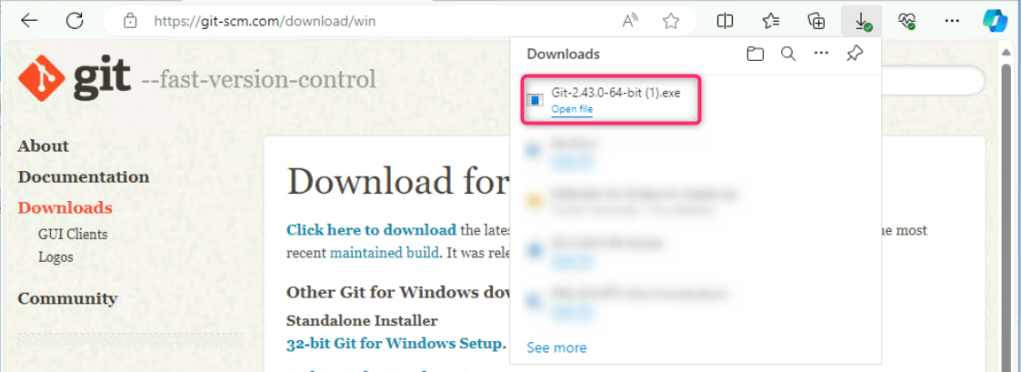
- Click on the Git.exe file.
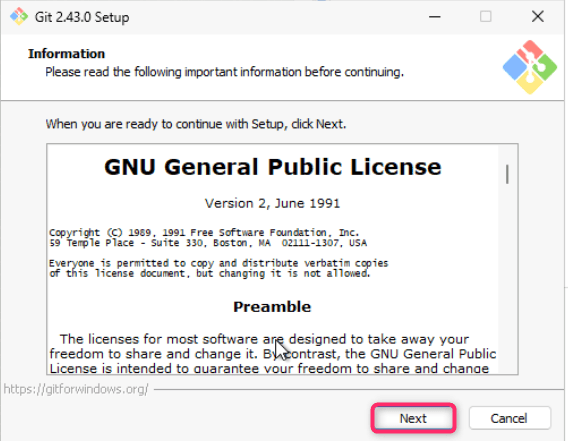
- On Git Setup – Information dialog box, click on the Next button.
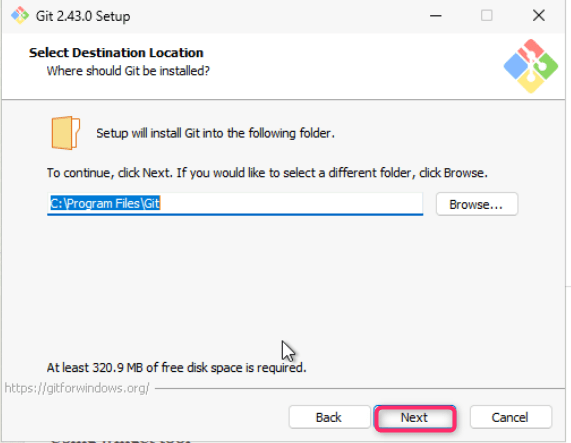
- On Select Destination Location dialog box, click on the Next button.
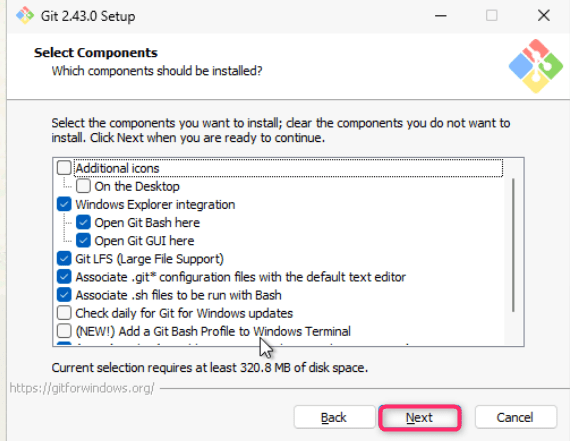
- On Select Components dialog box, click on the Next button.
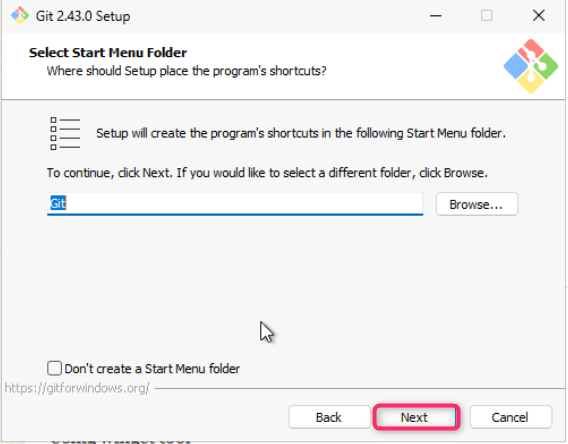
- On Select Start Menu Folder dialog box, click on the Next button.
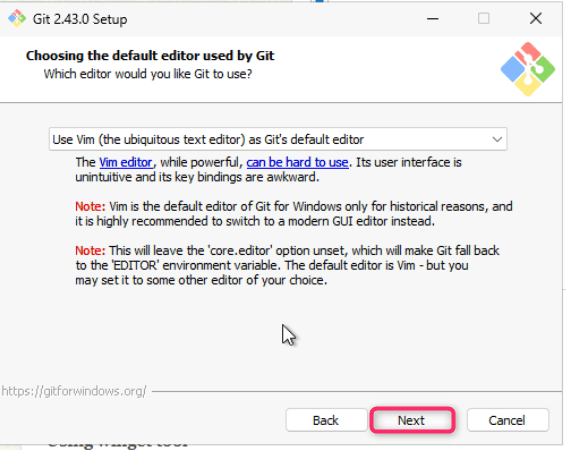
- On Choosing the default editor used by Git dialog box, click on the Next button.
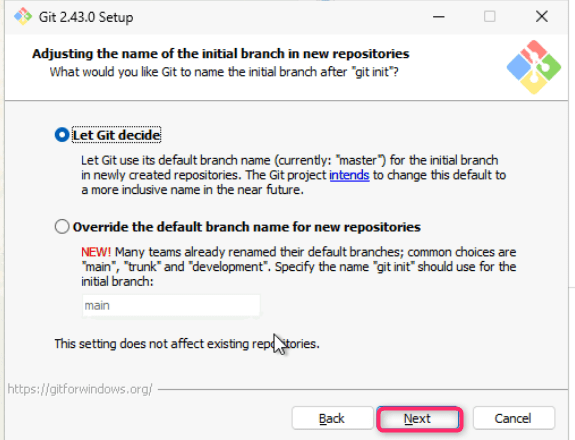
- Leave Adjusting the name of the initial branch in new repositories dialog box in default state and click on the Next button.
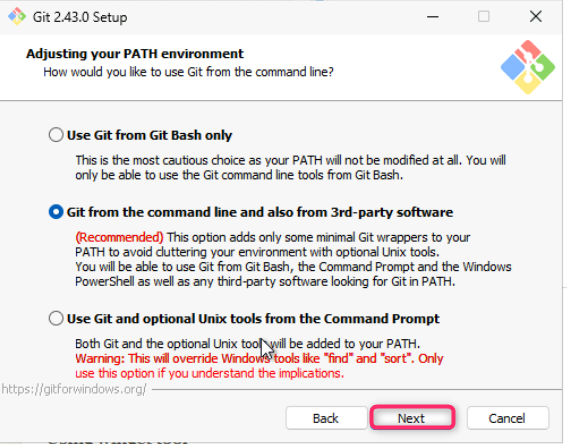
- Leave Adjusting your PATH environment dialog box in default state and click on the Next button.
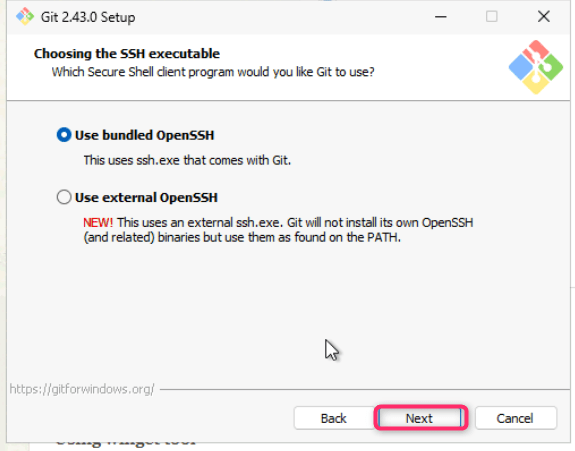
- Leave Choosing the SSH executable dialog box in default state and click on the Next button.
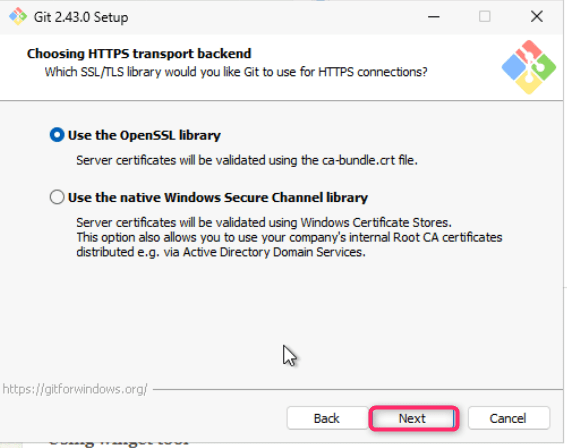
- Leave Choosing HTTPS transport backend dialog box in default state and click on the Next button.
- Leave Configuring the line ending conversions dialog box in default state and click on the Next button.

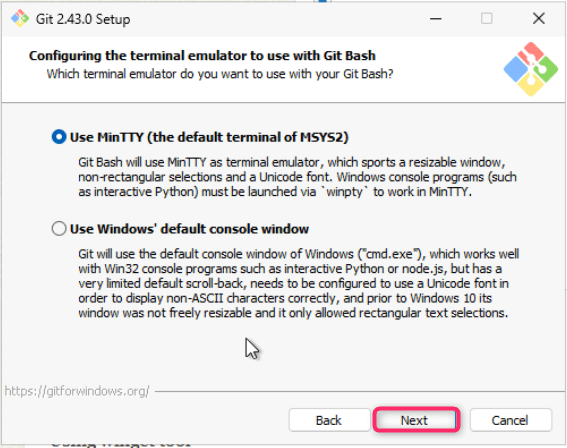
- Leave Configuring the terminal emulator to use with Git Bash dialog box in default state and click on the Next button.
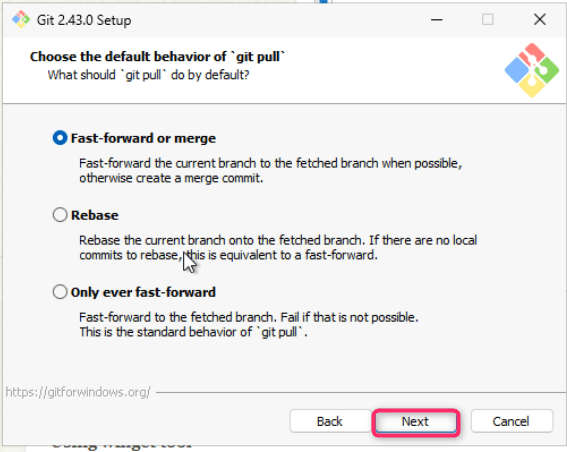
- Leave Choose the default behavior of ‘git pull’ dialog box in default state and click on the Next button.
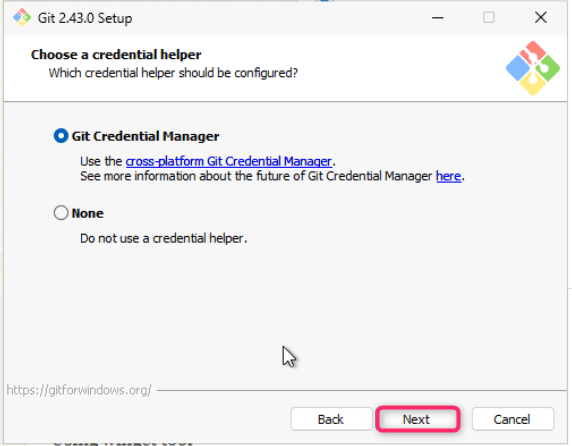
- Leave Choose a credential helper dialog box in default state and click on the Next button.
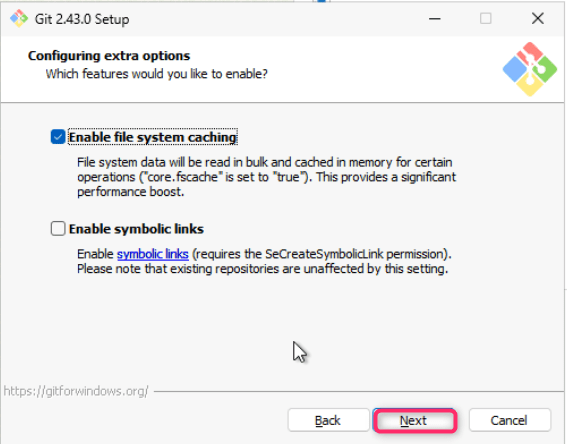
- Leave Configuring extra options dialog box in default state and click on the Next button.
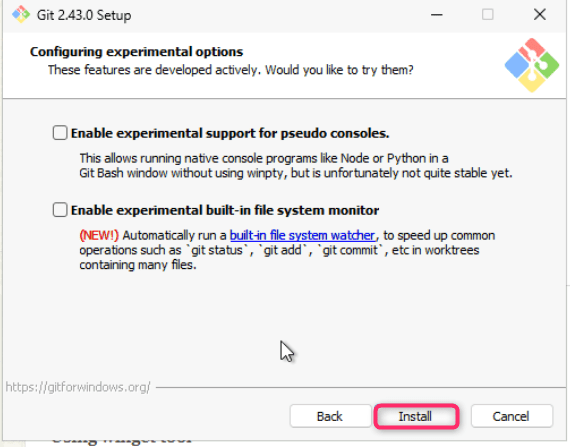
- Leave Configuring experimental options dialog box in default state and click on the Install button.
- Wait for few minutes for the installation to complete.
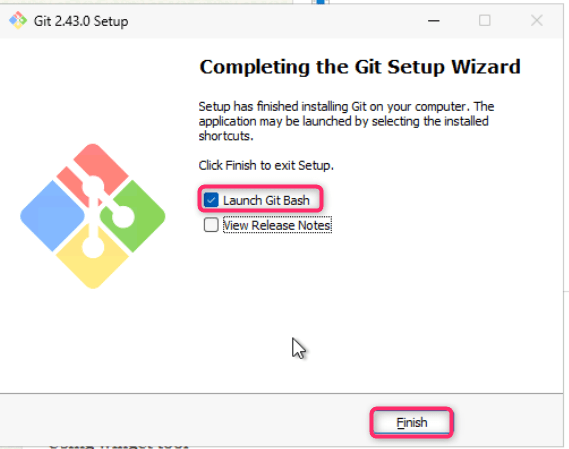
- Select Launch Git Bash checkbox and then click on the Finish button.
Task 2: Executing Malicious Documents and Scripts
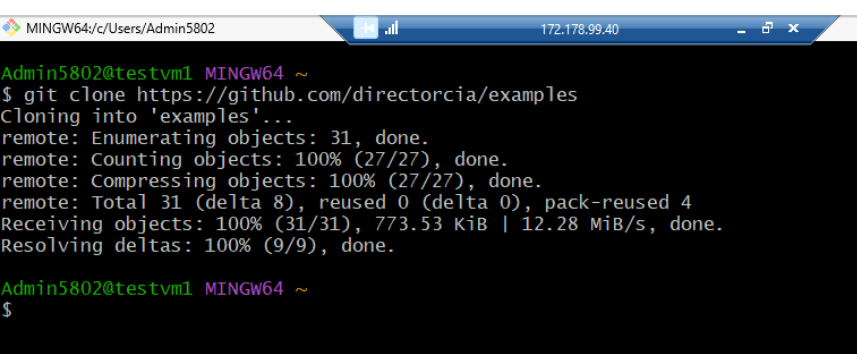
- In Git Bash, execute the following command to download examples folder containing various malware files and scripts.
git clone https://github.com/directorcia/examples

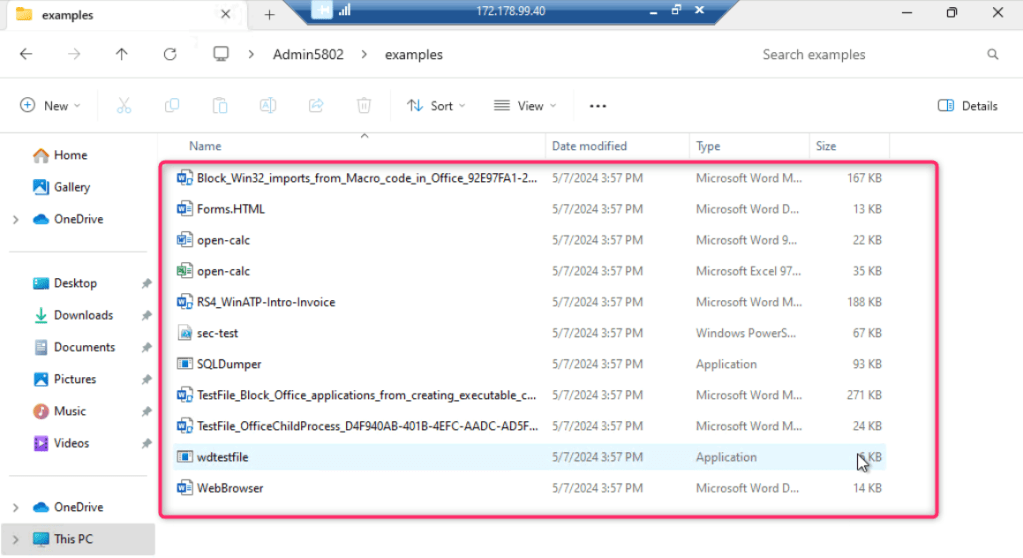
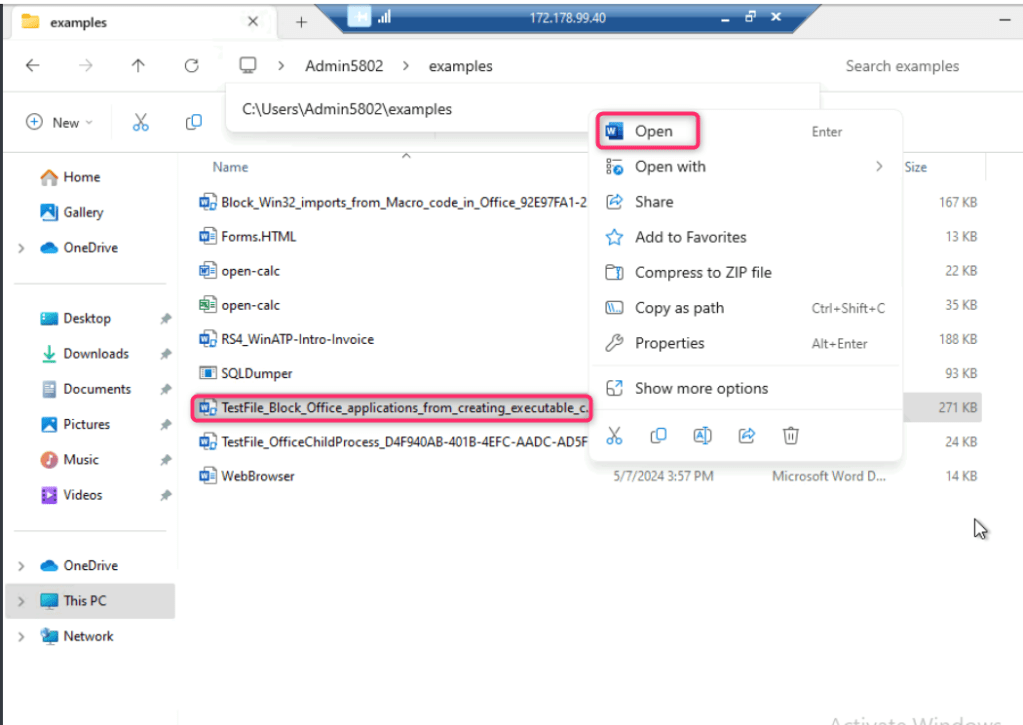
- Navigate to C:\Users\Admin5802, then click on examples folder as shown in the below image.
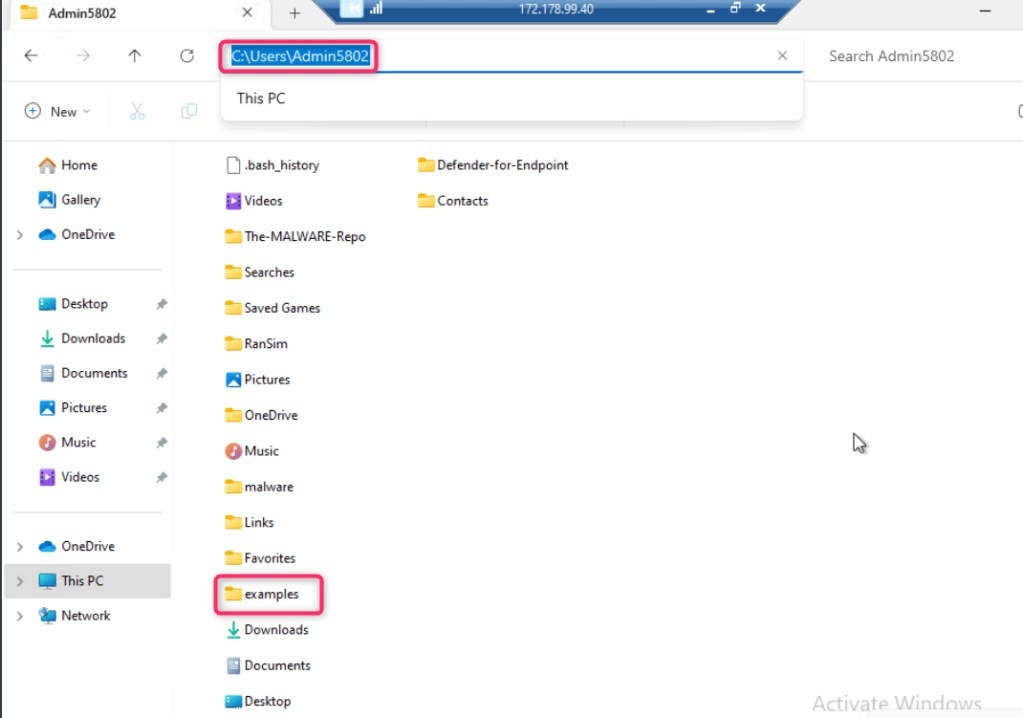
- You will see various malwares files and script.
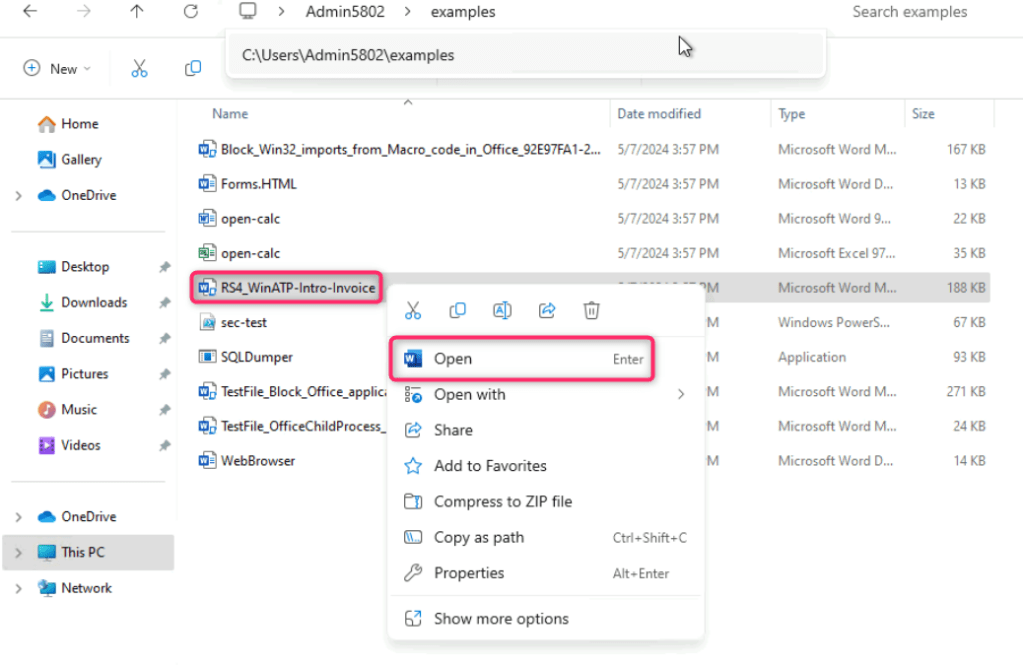
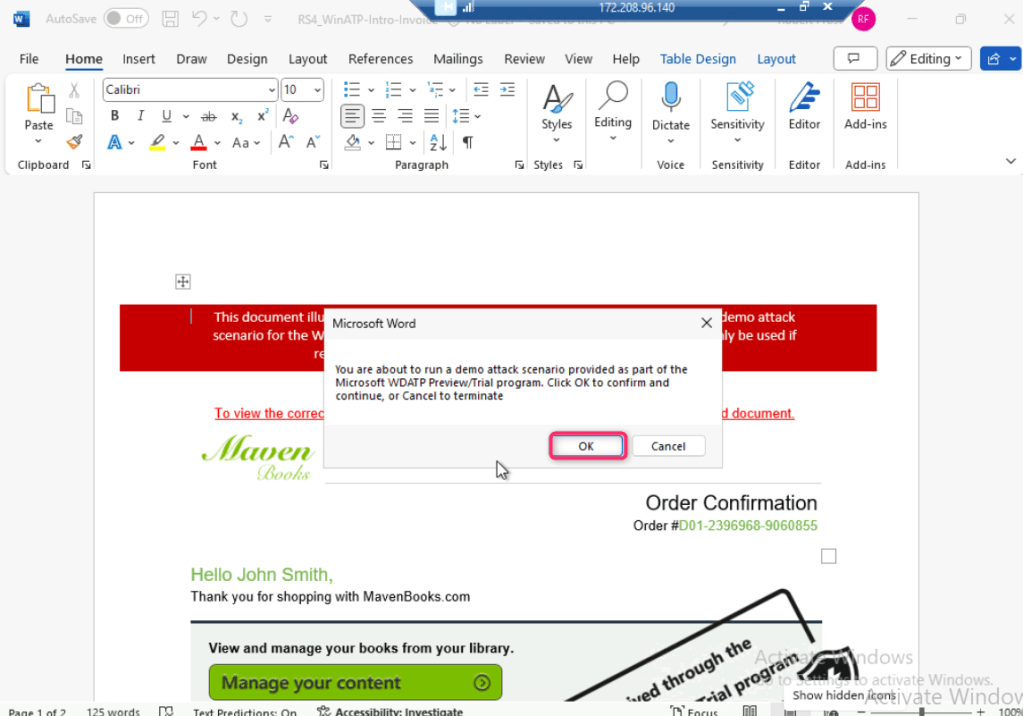
- Right click on RS4_WinATP-Intro-Invoice and open the file in word.
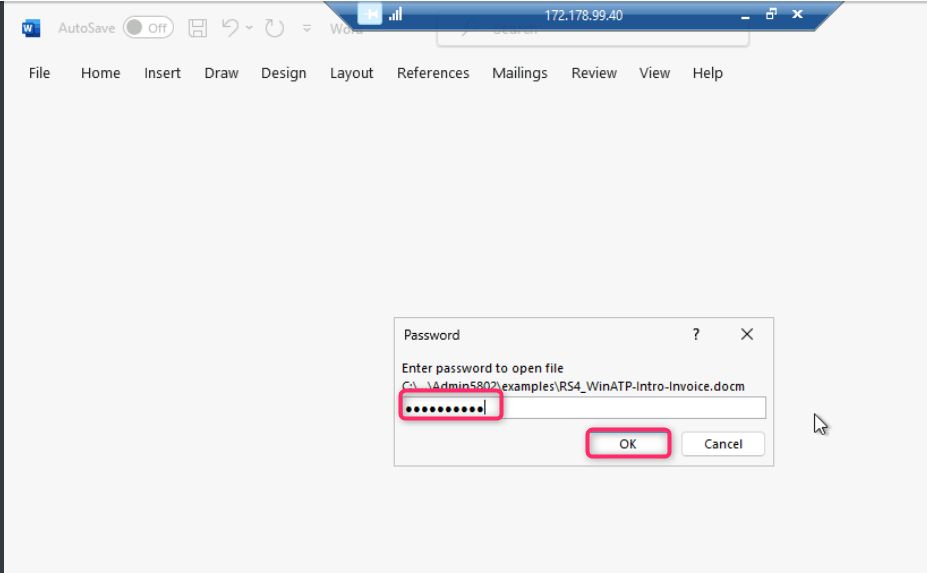
- You will be prompted to enter the password, provide the password as WDATP!diy# and click on the OK button.
- The file will open with a SECURITY WARNING, click on the Enable content button as shown in the below image.
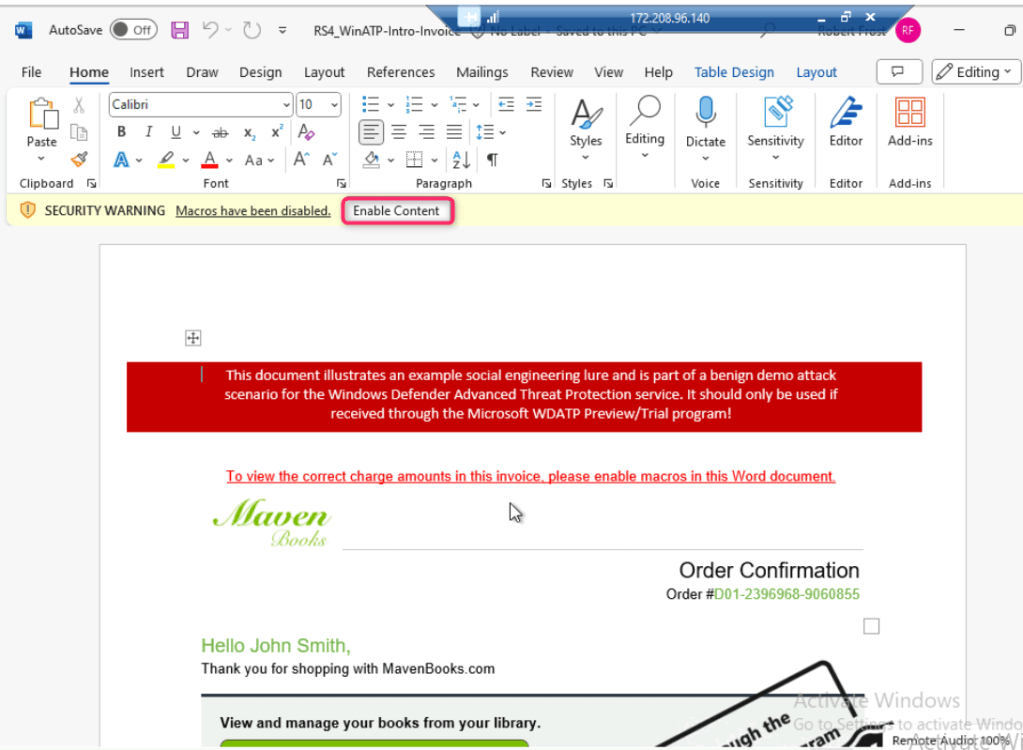
- You’ll be prompted about a demo attack, click on the OK button.
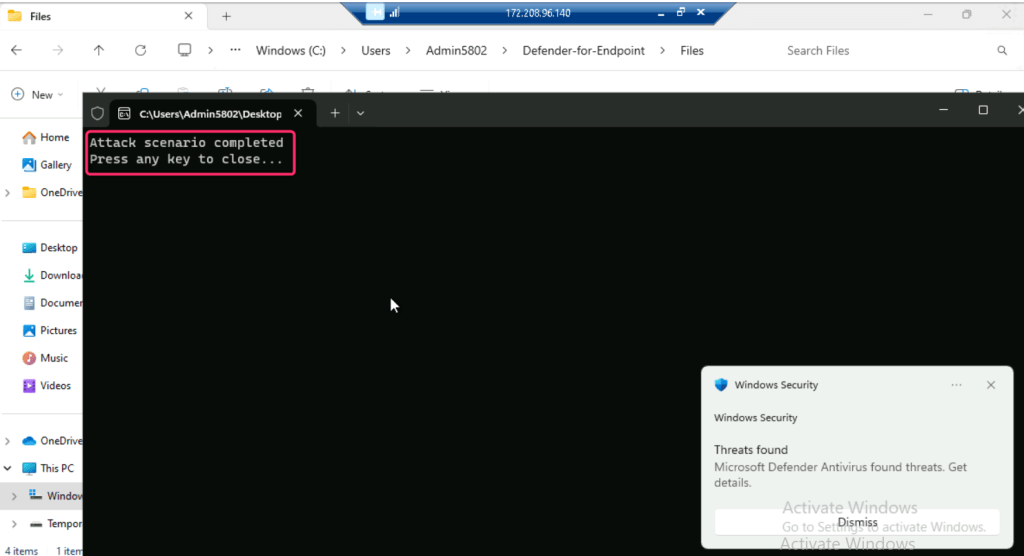
- A new file WinATP-Intro-Backdoor.exe, which represents the backdoor, is created onto the Desktop by a PowerShell script launched from the word document.
- The script goes on to create a scheduled task to launch the backdoor at a predefined time. This mechanism of indirect process launch is sometimes used for stealth, as it is harder to trace back to the document.
Note: When the backdoor is launched, it creates an auto-start entry under the registry Run key, allowing it to stay persistent by starting automatically with Windows. A Command Prompt window opens, indicating that the simulated backdoor is running. Close the Command Prompt window to end the WinATP-Intro-Backdoor.exe process. In case, you did not see the Command Prompt window, then move on to the next step.
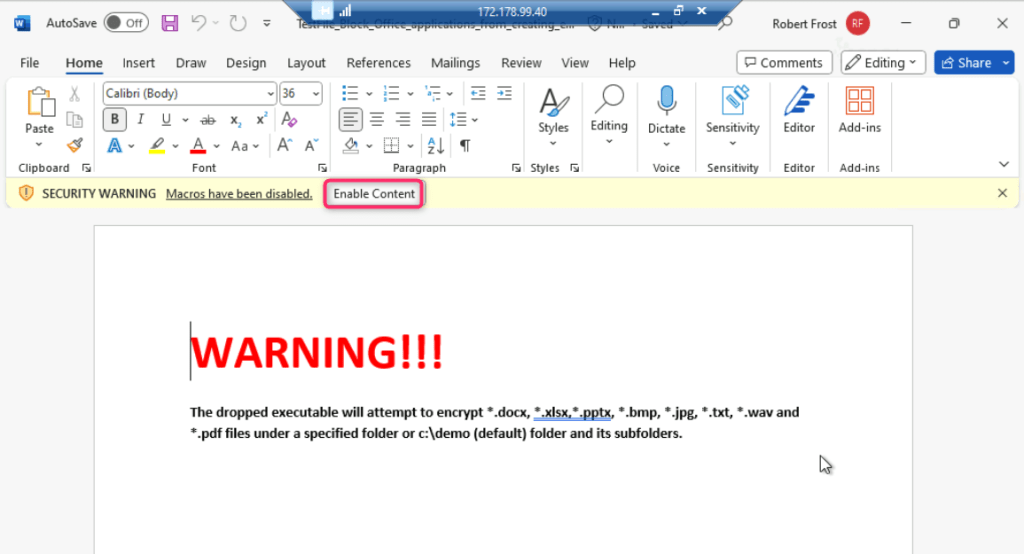
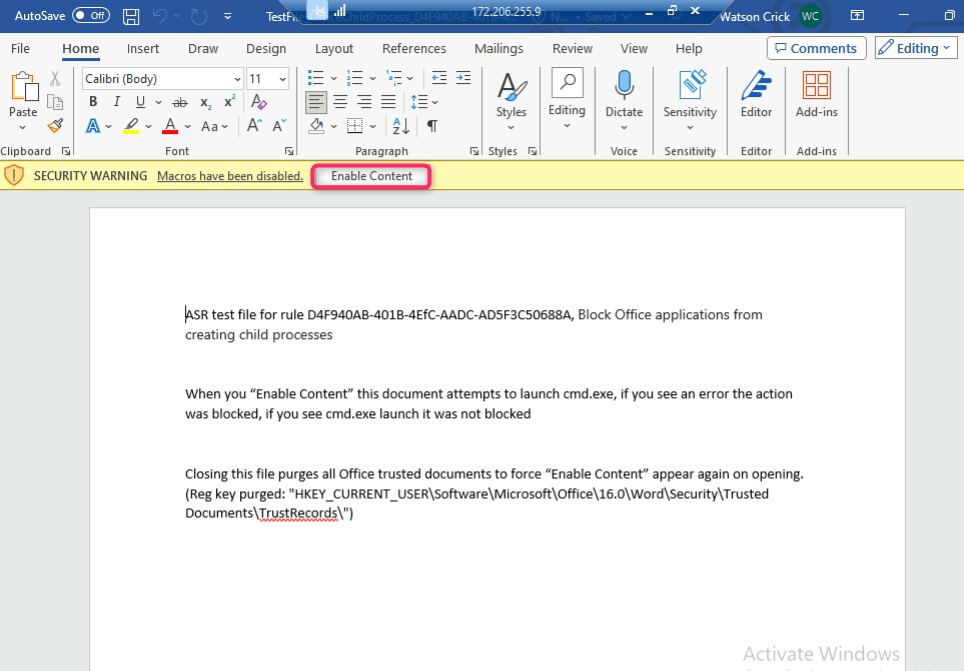
- Open TestFile_Block_Office_applications_from_creating_executable in word as shown in the below image..
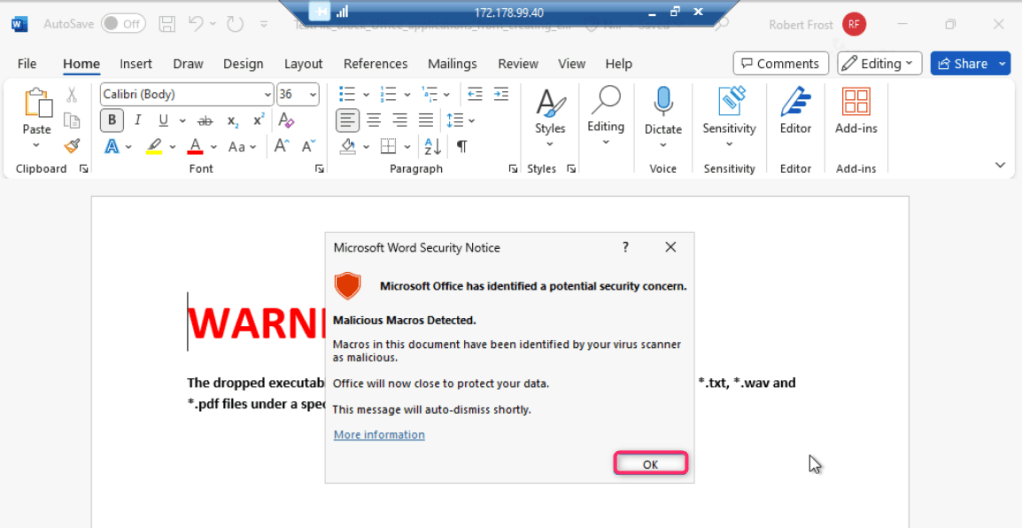
- Click on Enable content, it will execute another ransomware attack in testvm1.
In case, Microsoft Word Security Notice dialog box appears, click on the OK button.
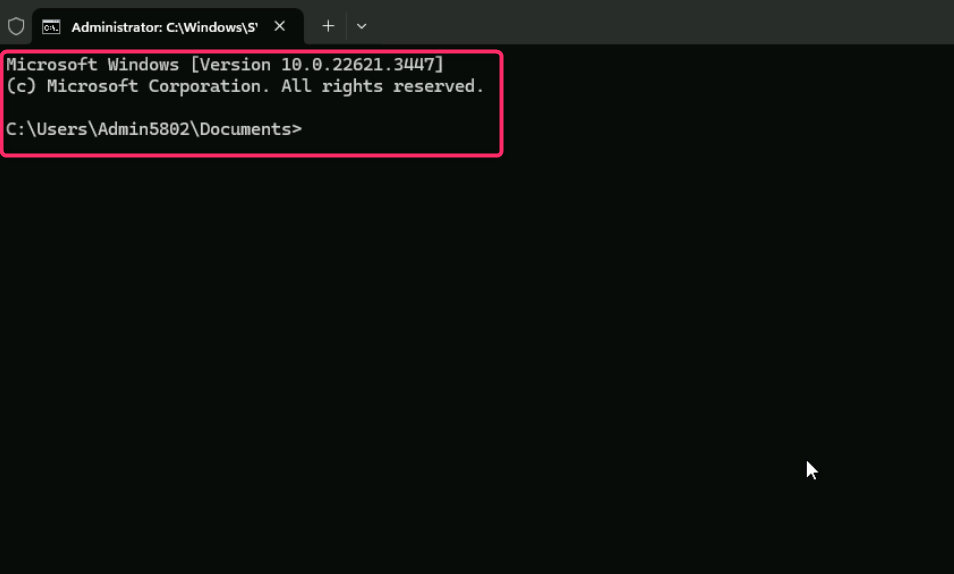
- Now, open TestFile+OfficeChildProcess file in word.

- Click on Enable Content. If you see an error, the action was blocked. If you see cmd.exe launch, it was not blocked.
Running Malicious Script
Note: There are some malicious script that you need to execute to get the alerts in Microsoft Defender portal. As these scripts are malicious, the output of the command will not be the same. Sometimes the script execute, sometimes it will be blocked and you may encounter an error.
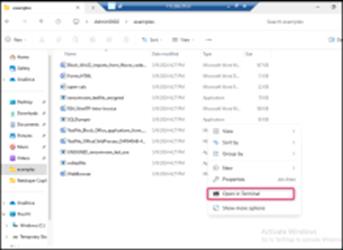
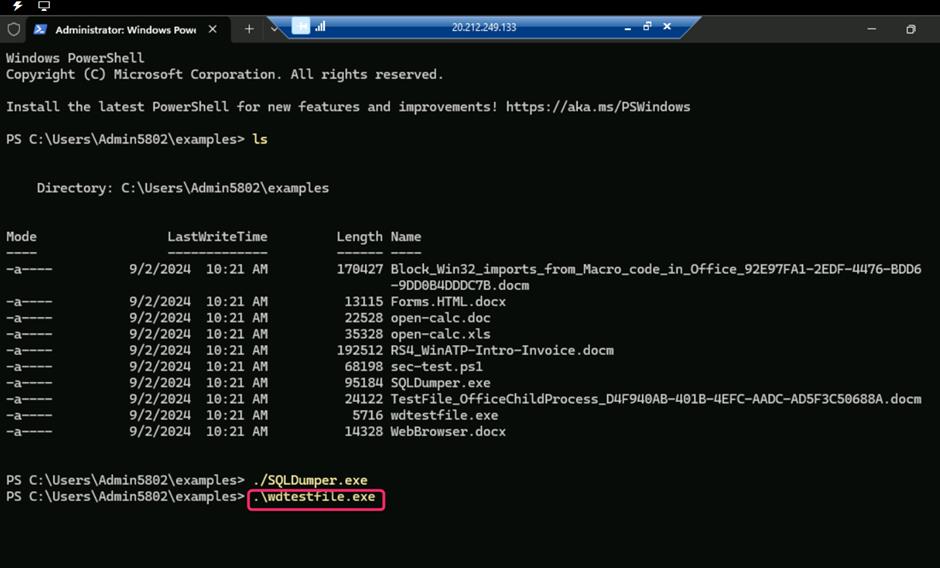
- Right click inside the folder, then navigate and click on Open in Terminal.
- Type ls to get the list of the scripts in the folder. Then, execute the following script:
./SQLDumper.exe

- Run the following command:
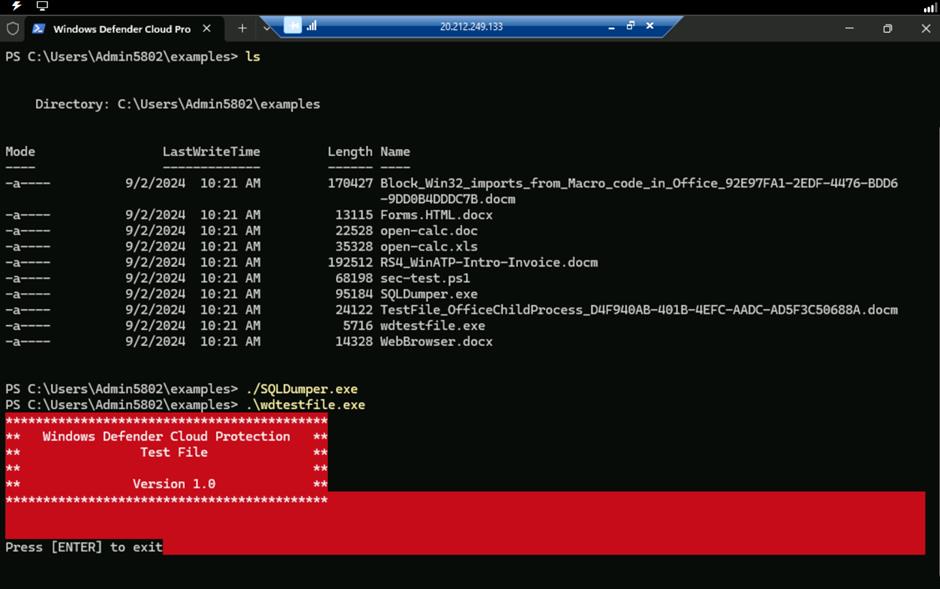
.\wdtestfile.exe
- After the command successfully executed, press the Enter button.
Note: Alerts generated will be started within 15-30 minutes in Microsoft Defender Portal.
Task 3: Performing a ransomware attack using RanSim
RanSim is a ransomware simulation script written in PowerShell. It recursively encrypts files in the target directory using 256-bit AES encryption. RanSim has no self-spreading capabilities and will only run on the system you execute it on.
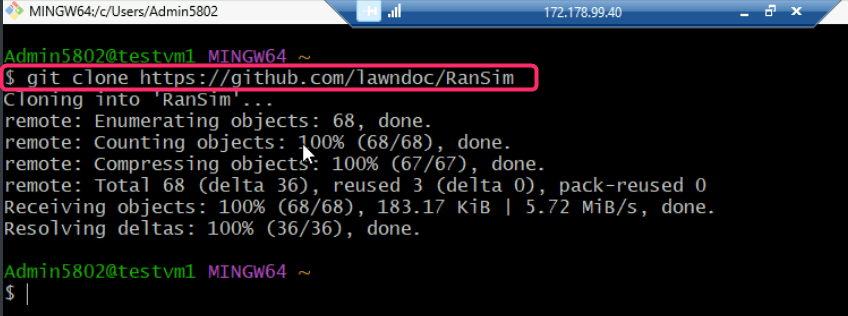
- Download the RanSim folder in testvm1 using the following script:
git clone https://github.com/lawndoc/RanSim.git
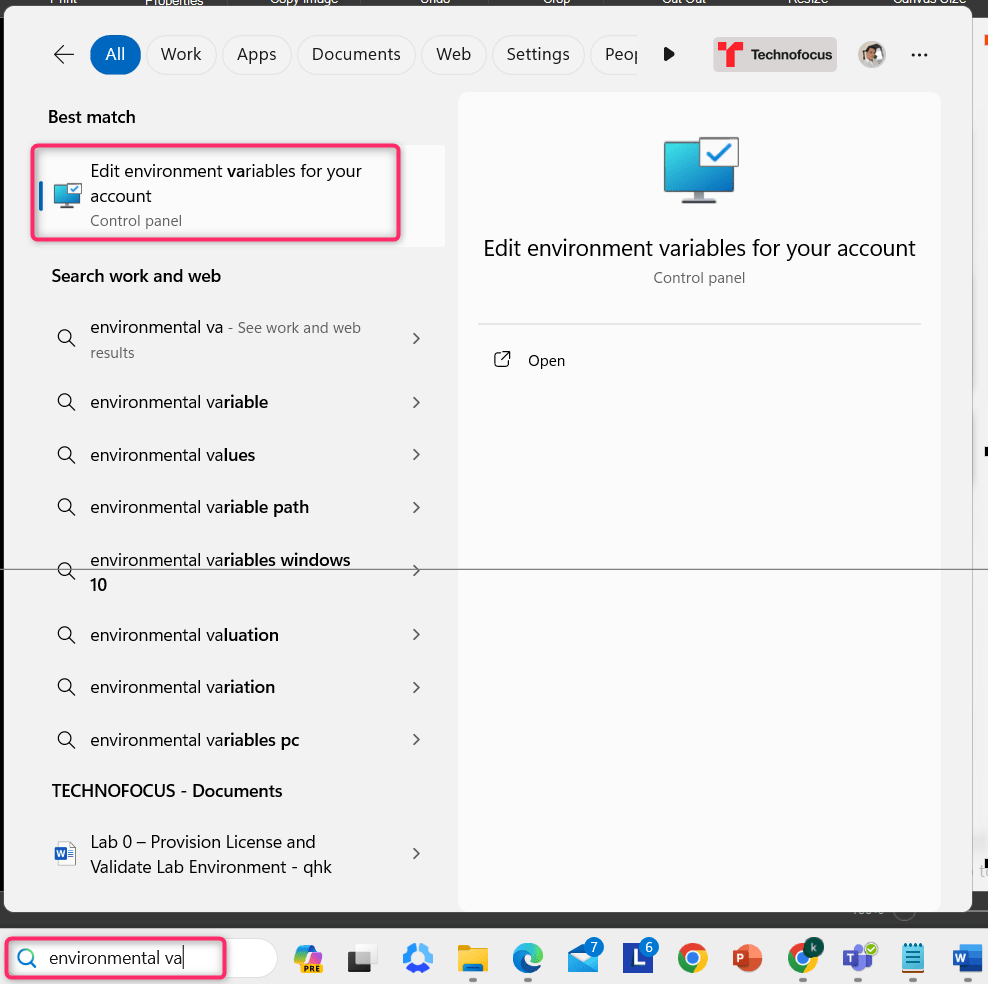
- In testvm1 search bar, type environment variables, then navigate and click on Edit environment variables for your account as shown in the below image.
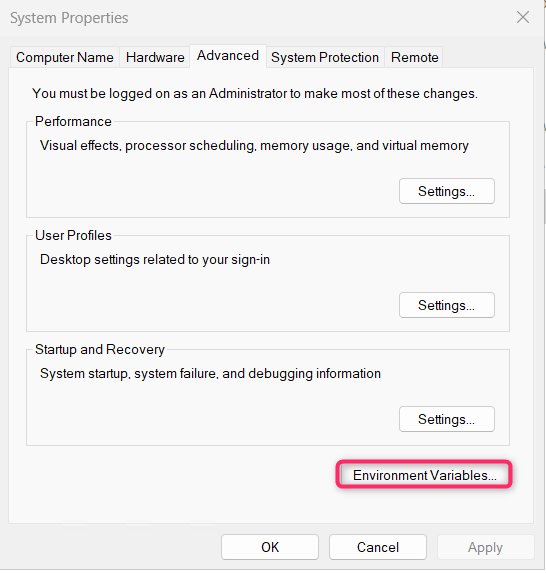
- In the System Properties dialog box, navigate and click on Environment Variables button.
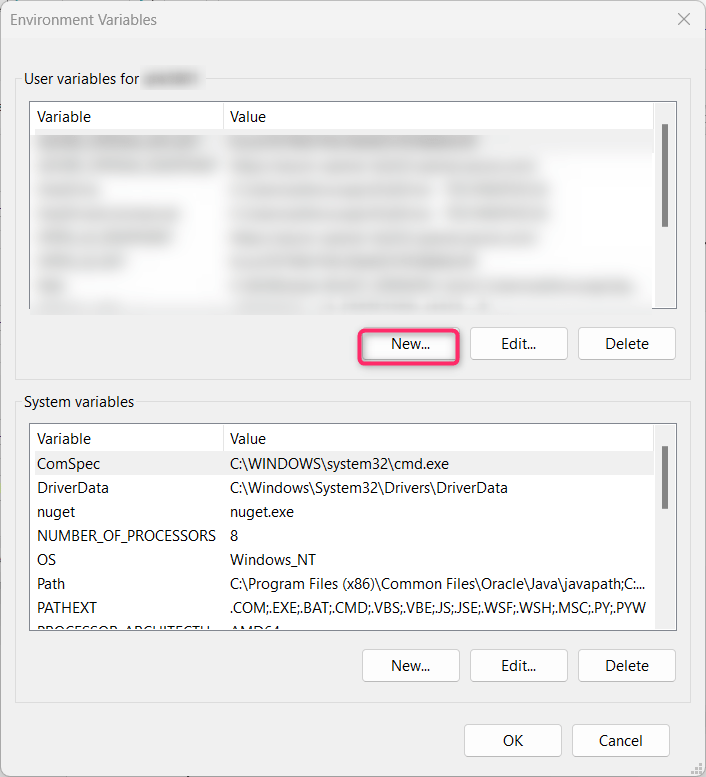
- In the Environment Variables dialog box, click on the New button.
- In the next steps, you will be setting the following Parameters:
- TargetPath : C:\RanSim
- Extension : .encrypted
- Key : Q5KyUru6wn82hlY9k8xUjJOPIC9da41jgRkpt21jo2L=
- TargetFiles : .pdf .xls* .ppt* .doc* .accd* .rtf .txt .csv .jpg .jpeg .png .gif .avi .midi .mov mp3 .mp4 .mpeg .mpeg2 .mpeg3 .mpg .ogg
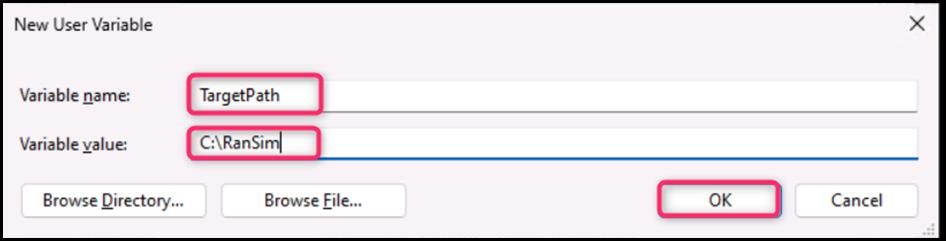
- On the New User Variable dialog box, in the Variable name field, enter TargetPath, and in the Variable value field, enter C:\RanSim, then press the OK button.
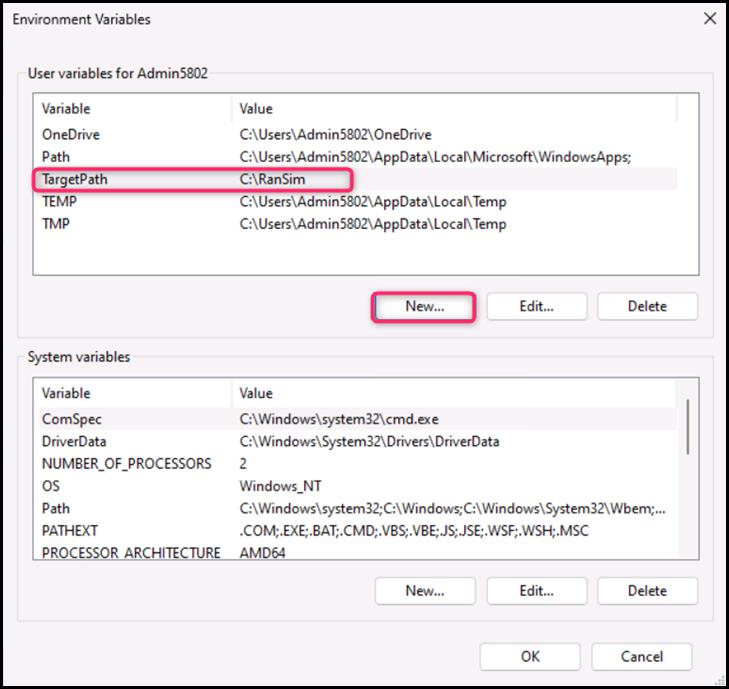
- TargetPath variable is successfully added. Now, click on the New button as shown in the below image.
- On the New User Variable dialog box, in the Variable name field, enter Extension, and in the Variable value field, enter .encrypted. Then, click on the OK button.
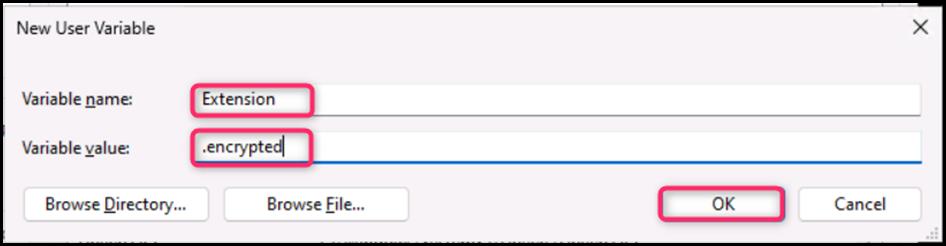
- Extension variable is successfully added. Now, click on the New button as shown in the below image.
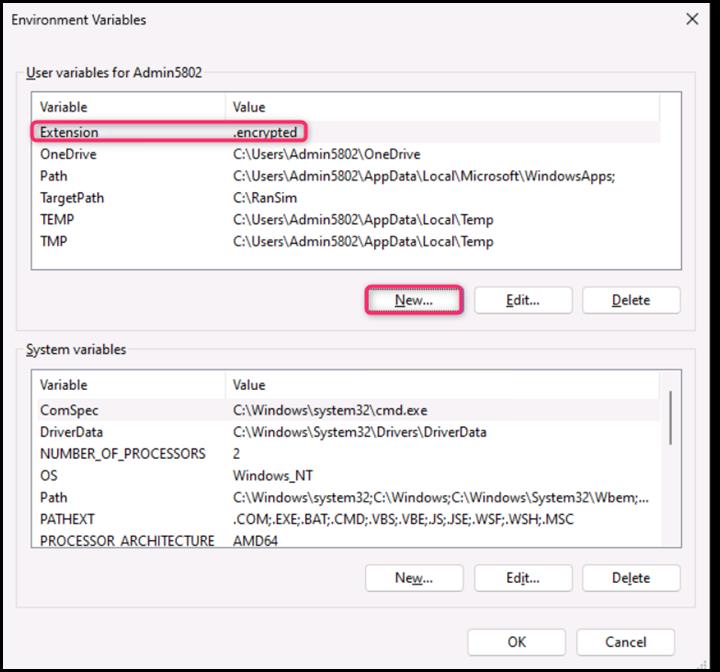
- On the New User Variable dialog box, in the Variable name field, enter Key, and in the Variable value field, enter Q5KyUru6wn82hlY9k8xUjJOPIC9da41jgRkpt21jo2L= Then, click on the OK button.
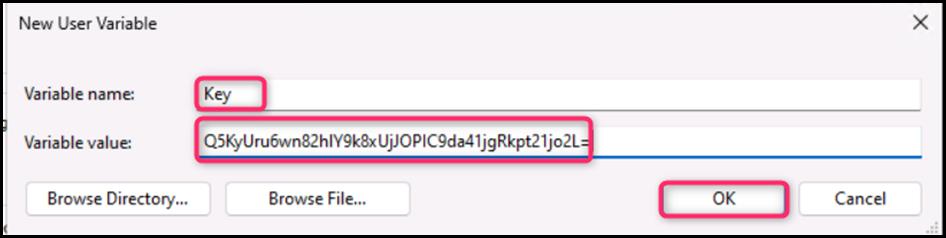
- Key variable is successfully added. Now, click on the New button as shown in the below image.
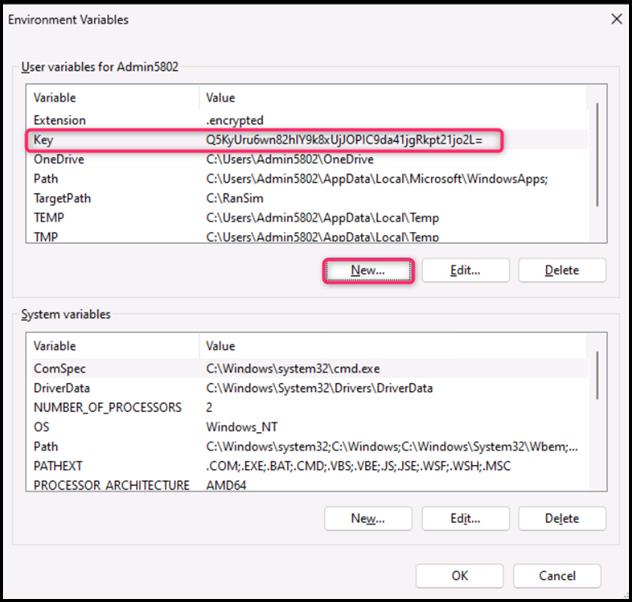
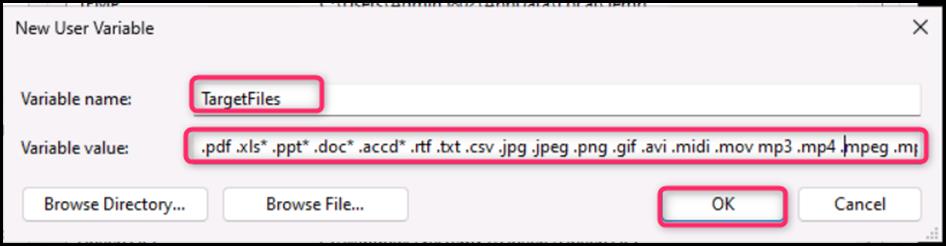
- On the New User Variable dialog box, in the Variable name field, enter TargetFiles, and in the Variable value field, enter
.pdf .xls* .ppt* .doc* .accd* .rtf .txt .csv .jpg .jpeg .png .gif .avi .midi .mov mp3 .mp4 .mpeg .mpeg2 .mpeg3 .mpg .ogg
Then, click on the OK button.
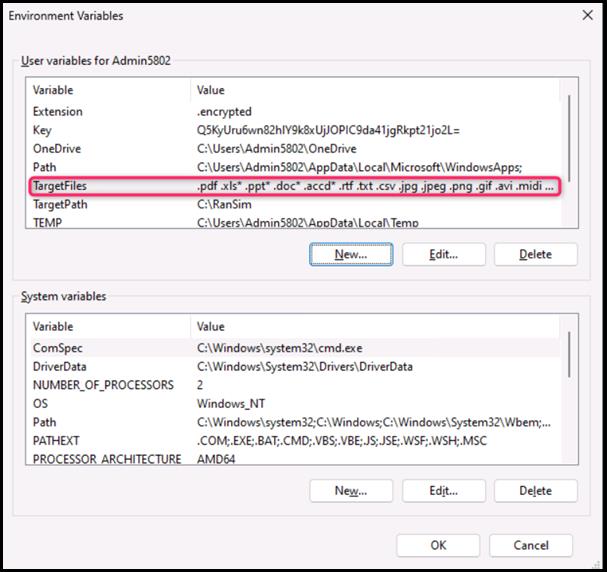
- TargetFiles variable is successfully added. Close the Environment Variables dialog box.
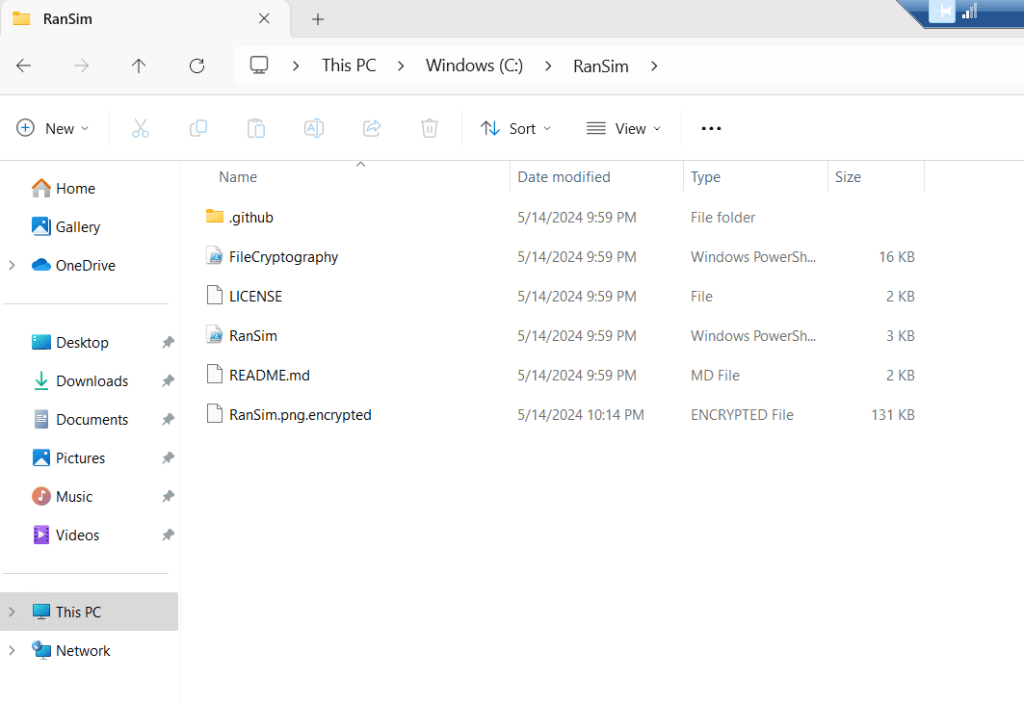
- In testvm1 virtual machine, navigate to C:\Users\Admin5802\ and copy the RanSim folder, then paste the folder in C:\
- Open RanSim folder. Click anywhere inside the folder, then right click and select Open in terminal.
Note: Please ensure that your RanSim folder is in C:\
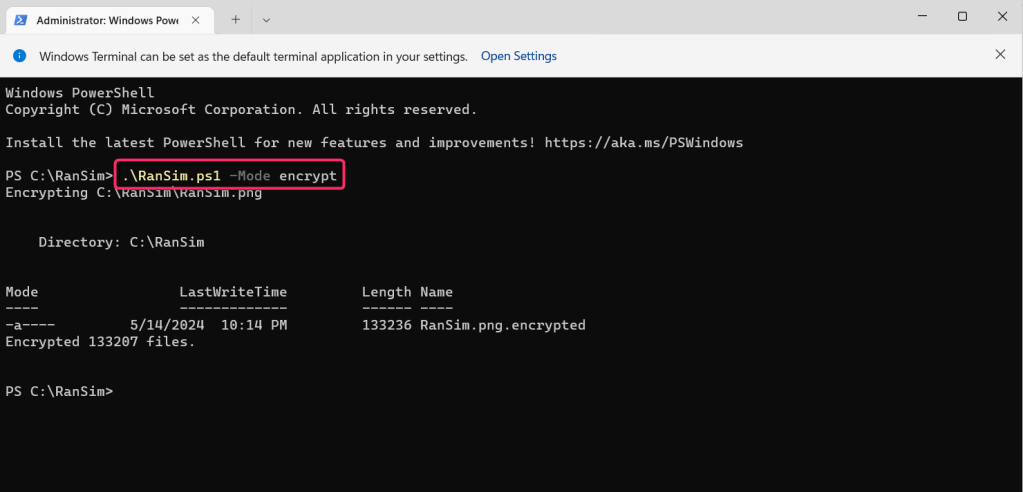
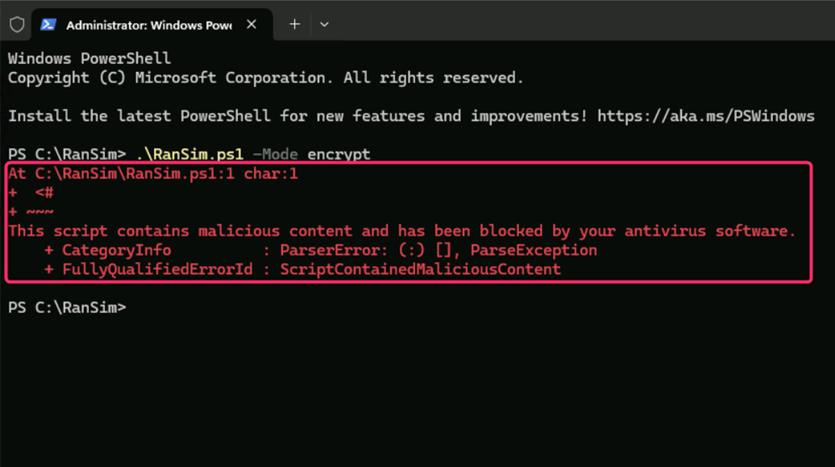
- In the command prompt, execute the following command to initiate a ransomware attack.
.\RanSim.ps1 -Mode encrypt
Note: The script may be successfully executed or it might be blocked by Microsoft Antivirus. In both the scenarios, continue with the next task, as our goal is to record the alerts generated during the attack.
Task 4: Checking protection action and recommendations from Windows Security
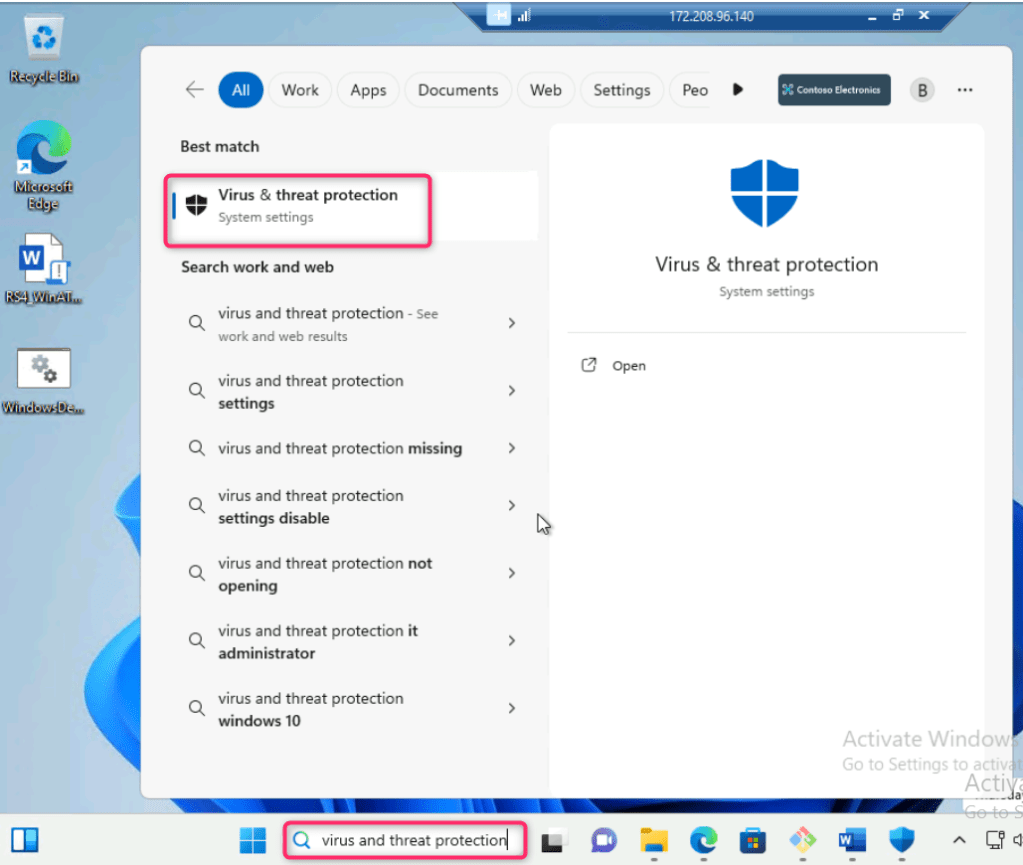
- In testvm1 search bar, type virus and threat protection, then navigate and click on Virus & threat protection under Best match as shown in the below image.
- In Virus & threat protection page, under Current threats section, navigate and click on Protection history.
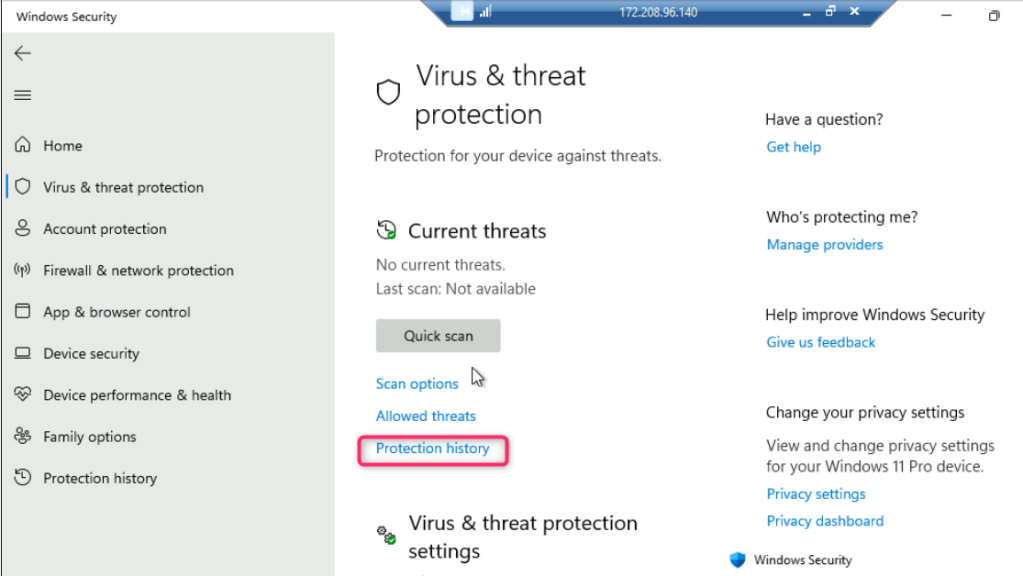
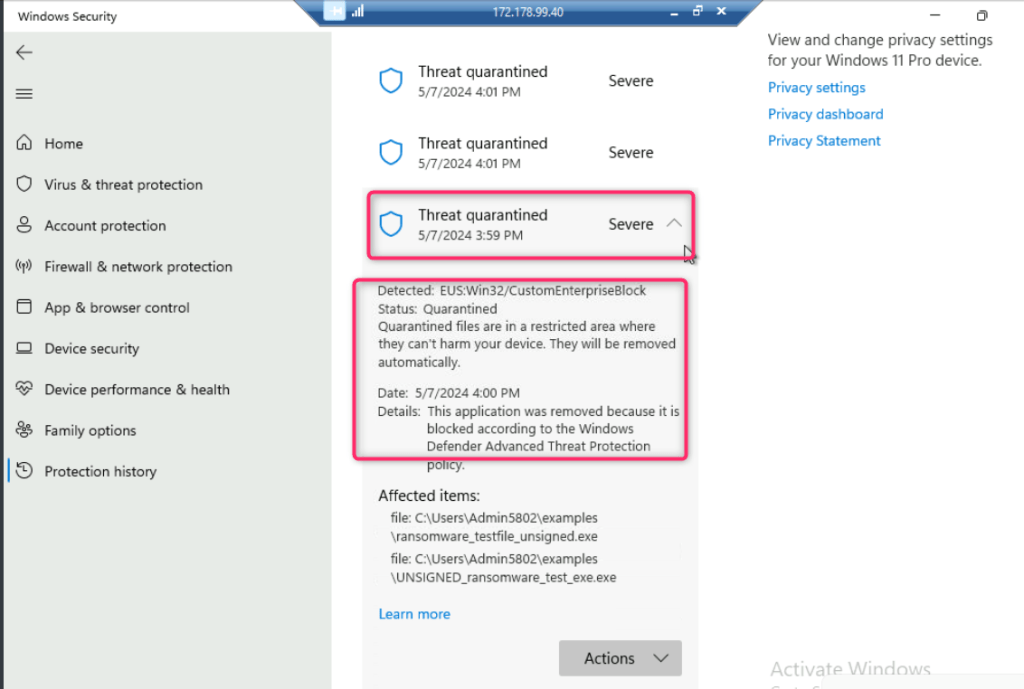
- You can see the protection action and recommendations from Windows Security.
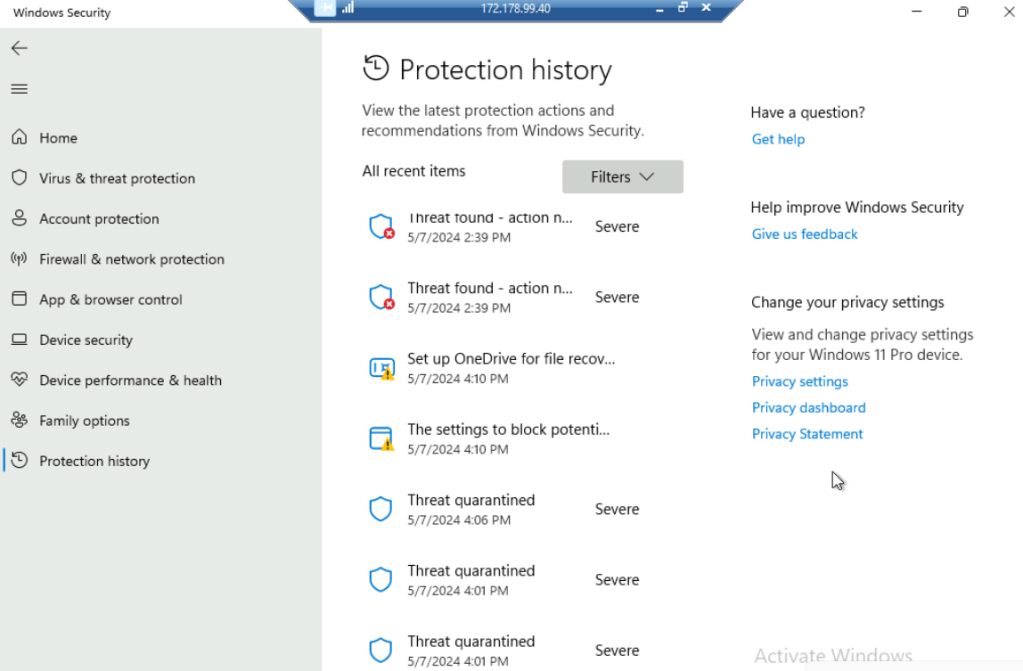
- Click on Threat quarantined to view the details.
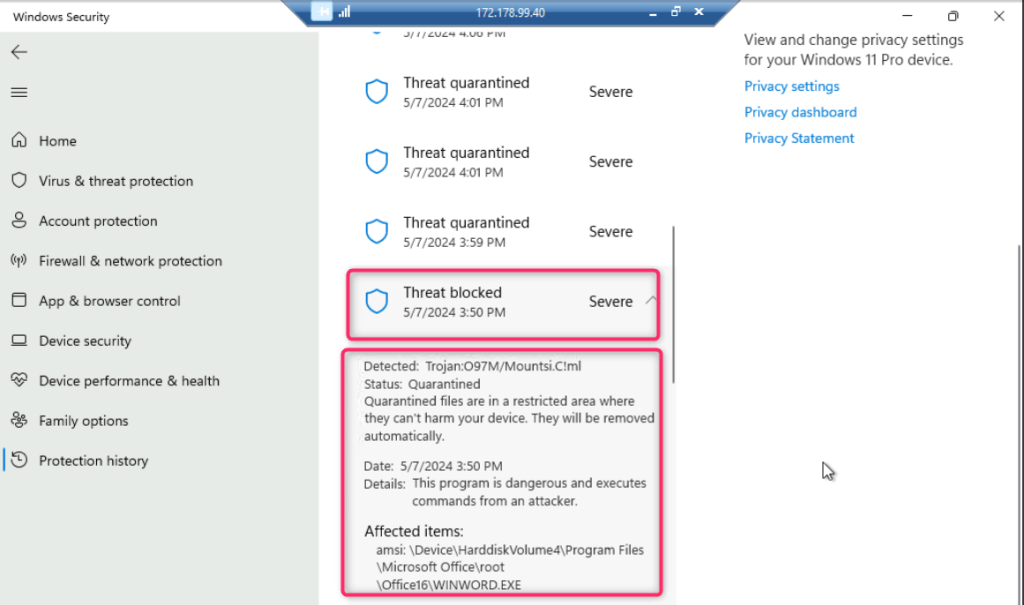
- Similarly, click on Threat blocked to view the details.
Summary
In this lab, you’ve installed and configured Git on testvm1. You’ve also executed malicious documents and scripts. Then, you’ve simulated a ransomware attack using RanSim. Then, you’ve checked the protection actions and recommendations from Windows Security, examining details of quarantined and blocked threats. All these activities will create a multi-stage incident, which will be analyzed in the upcoming labs using Microsoft Copilot for Security.
