Introduction
Microsoft Sentinel’s Microsoft Defender XDR incident integration allows you to stream all Microsoft Defender XDR incidents into Microsoft Sentinel and keep them synchronized between both portals. Incidents from Microsoft Defender XDR include all associated alerts, entities, and relevant information, providing you with enough context to perform triage and preliminary investigation in Microsoft Sentinel. Once in Sentinel, incidents will remain bi-directionally synced with Microsoft Defender XDR, allowing you to take advantage of the benefits of both portals in your incident investigation using Microsoft Copilot for Security.
Objectives
- Creating a workspace and activating Microsoft Sentinel free trial.
- Connecting Microsoft Dender for Endpoint and Microsoft Defender XDR data connectors to Sentinel for enhancing security capabilities.
- Connecting Microsoft Sentinel and Microsoft Defender XDR to unify your security operation in a single portal.
Task 1: Creating a workspace and activating Microsoft Sentinel free trial
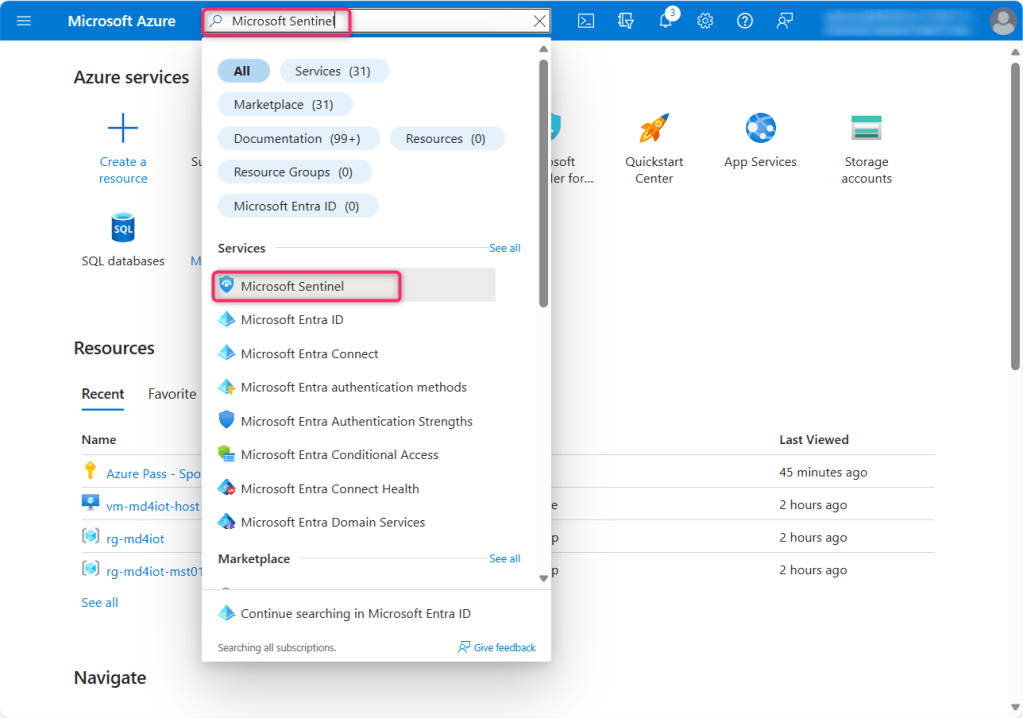
- In the Azure portal search box, type Microsoft Sentinel, then navigate down to Services section and click on Microsoft Sentinel from the list.
- In Microsoft Sentinel page, click on +Create.

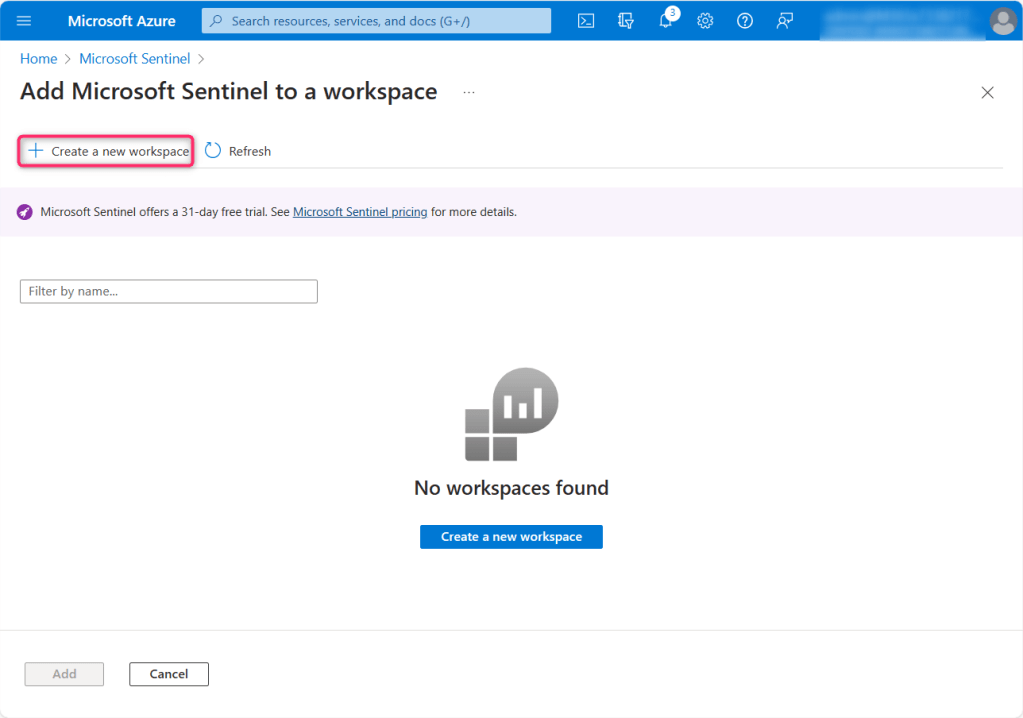
- In Add Microsoft Sentinel to a workspace page, click on + Create a new workspace.
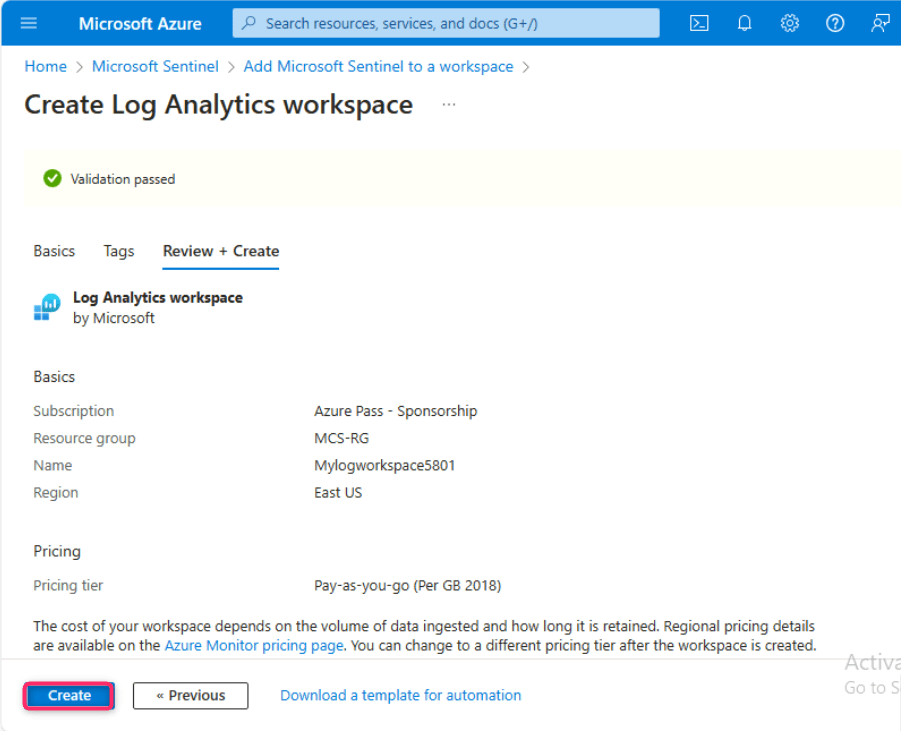
- In Create Log Analytics workspace page, enter the following details, then click on Review and create button.
| Subscription | Select the assigned Azure Pass – Sponsorship. |
| Resource Group | Select the resource group that you’ve created previously. |
| Name | Mylogworkspace+SUFFIX (here, we entered Mylogworkspace5801) |
| Region | East US |

- In Create Log Analytics workspace page, after Validation passed, click on the Create button.
- After few minutes, the workspace will be successfully created.
Note: In case, you did not see the workspace, then refresh the page.

- Select the workspace, then click on the Add button.

- On Microsoft Sentinel free trial activated dialog box, click on the OK button.

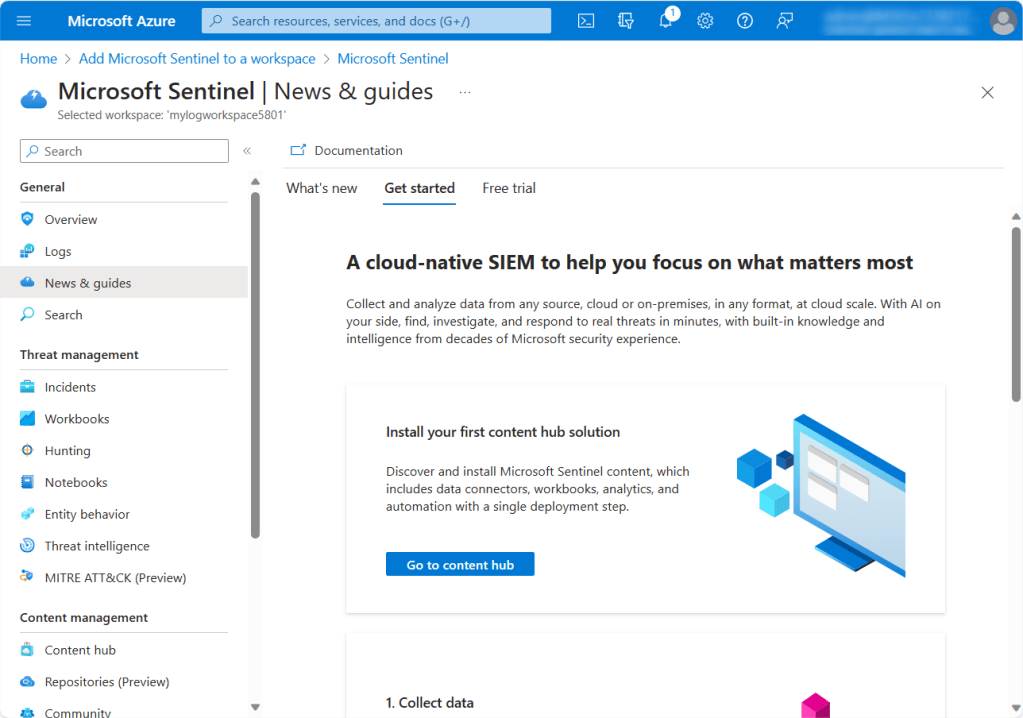
Task 2: Connecting Microsoft Dender for Endpoint and Microsoft Defender XDR data connectors to Sentinel for enhancing security capabilities
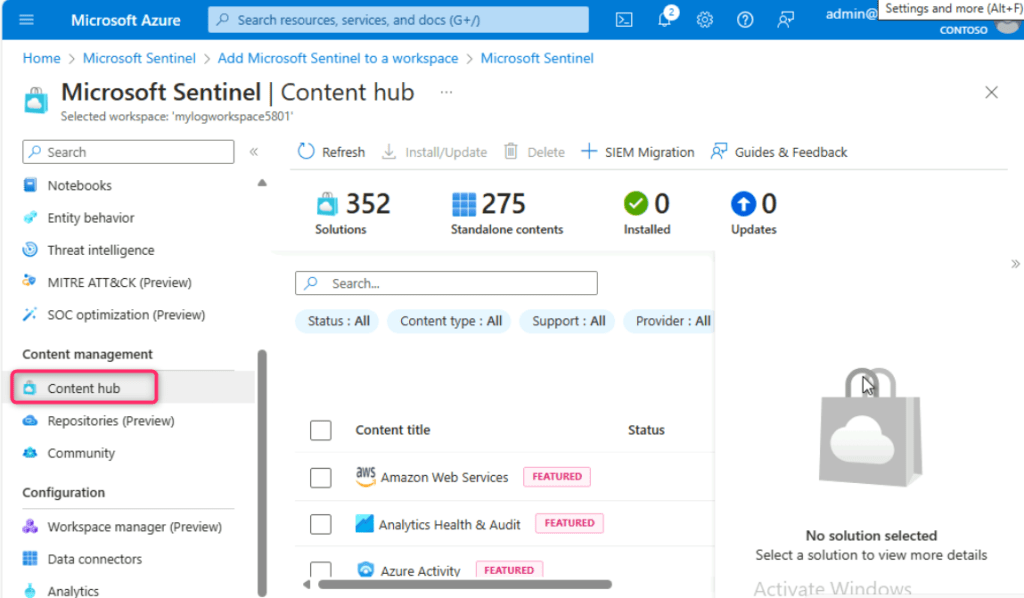
- Scroll down to Content management section and click on Content hub.
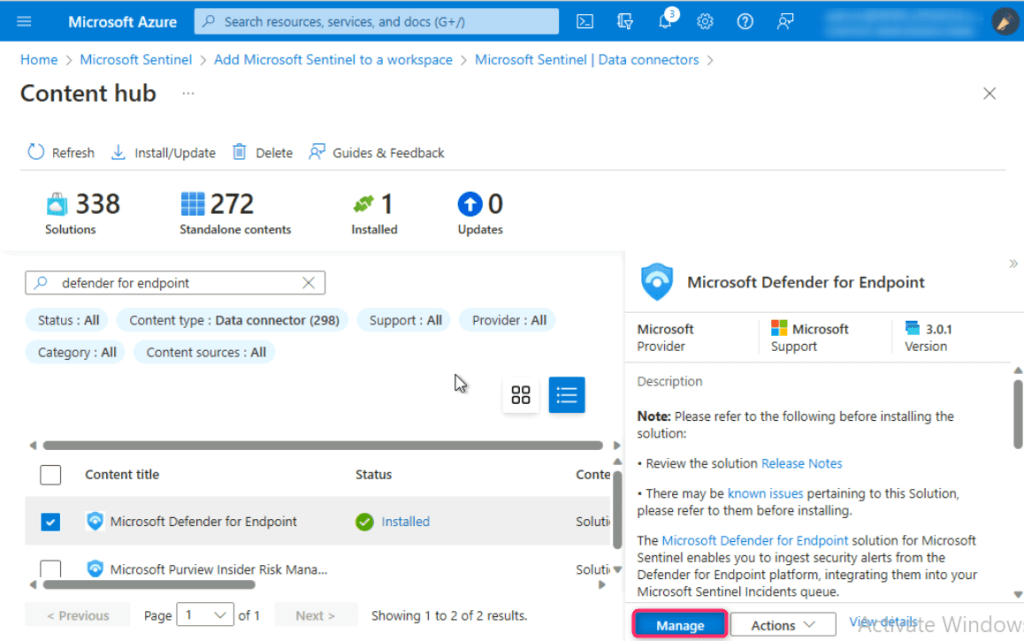
- In the content hub search bar, type defender for endpoint and press the enter button.
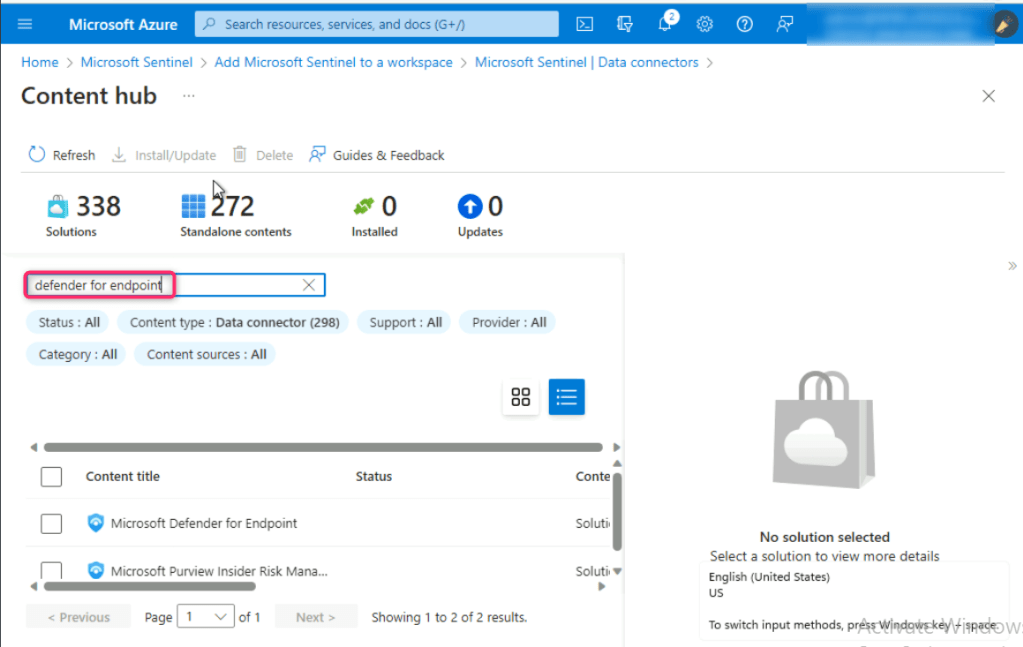
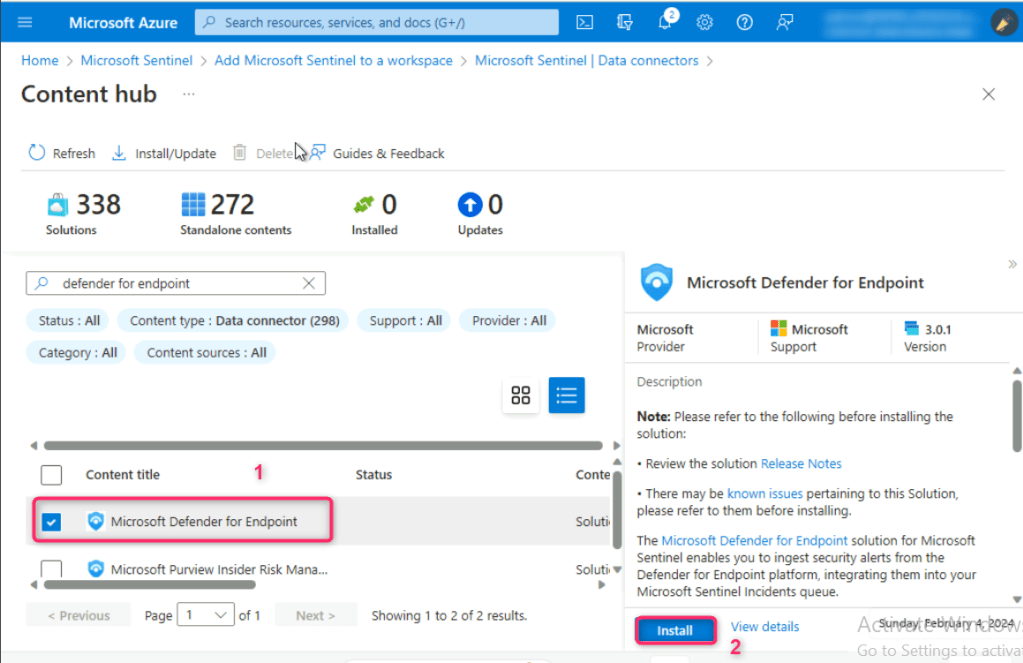
Scroll down and select Microsoft Defender for Endpoint, then select the Install button on the right-sided pane.
Click on Manage button.
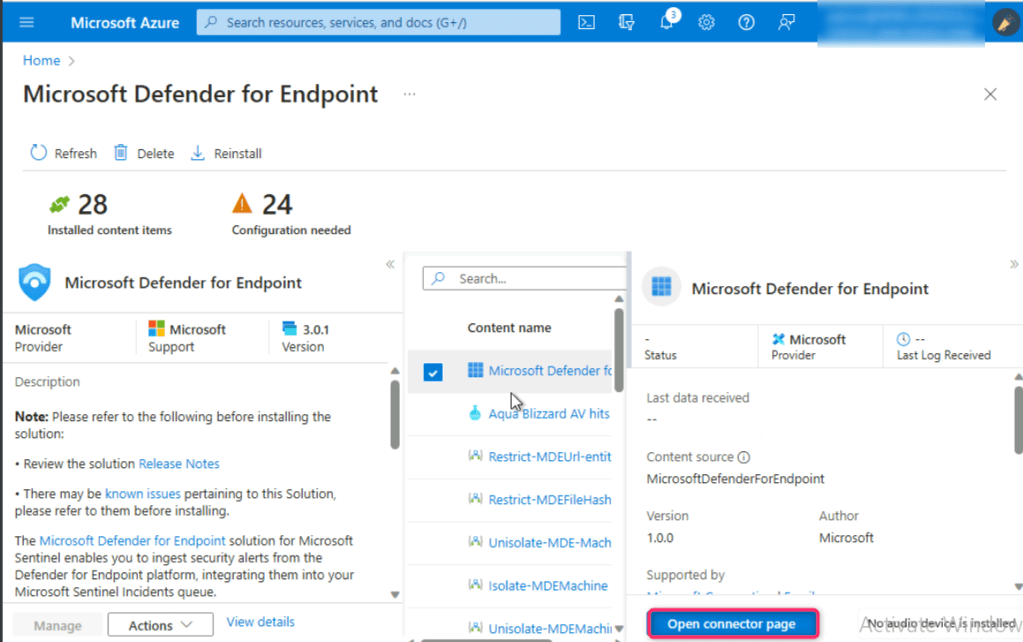
Note: In case, you did not see the Manage button, then select again Microsoft Defender for Endpoint as shown in the below image.
On Microsoft Defender for Endpoint page, navigate to Content name column, check the box beside Microsoft Defender for Endpoint as shown in the below image. Then, click on Open connector page button.

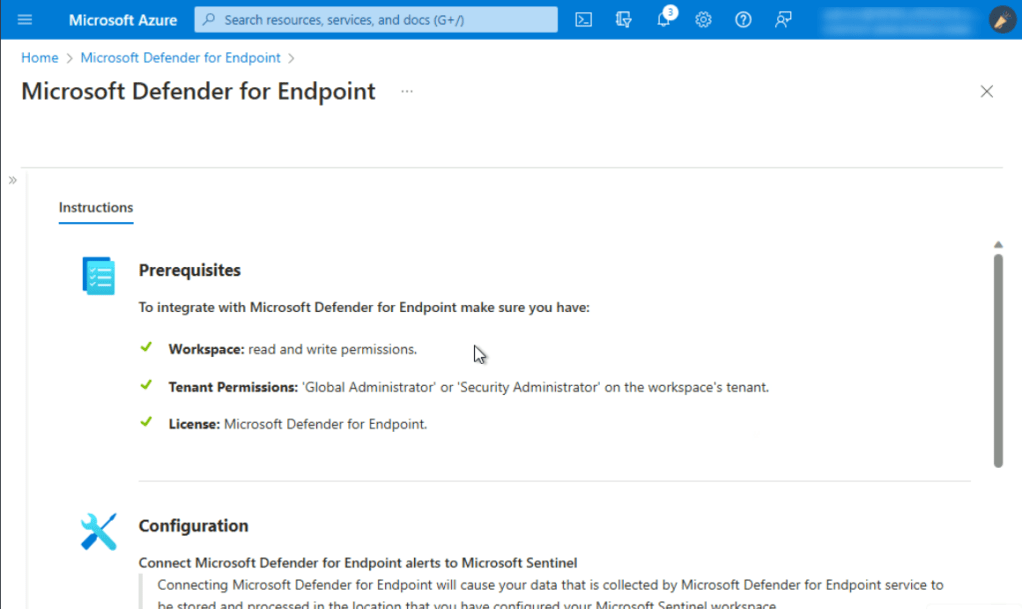
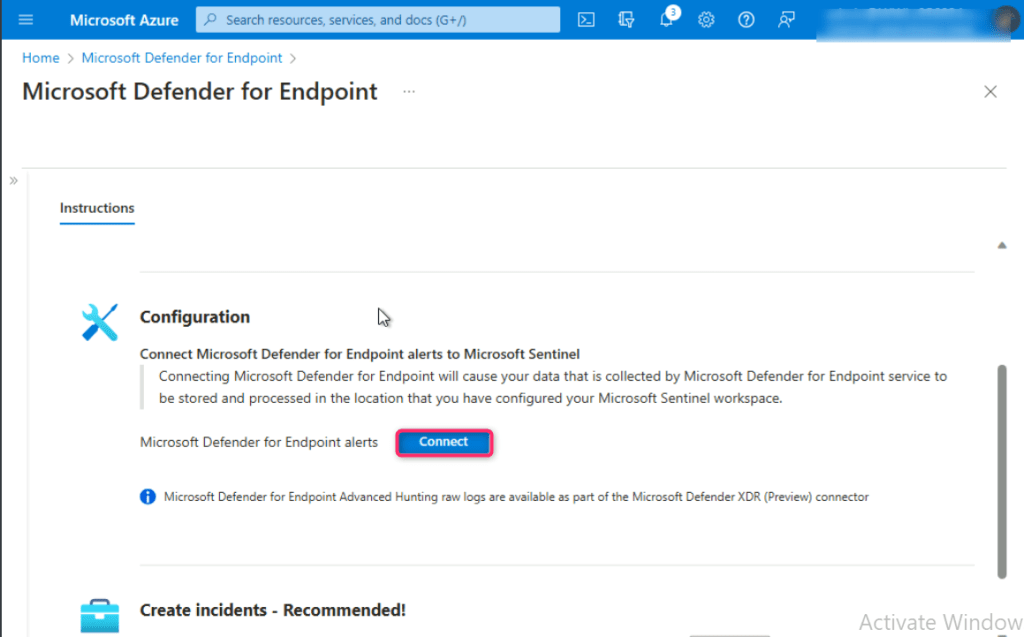
Navigate to Configuration section and click on Connect button. You’ll received a notification – Successfully connected Microsoft Defender for Endpoint alerts.
Click on Microsoft Sentinel | Content hub link below the Azure search bar as shown in the below image. In the Microsoft Sentinel | Content hub page search bar, type Microsoft Defender XDR and press the enter button. Scroll down and select Microsoft Defender XDR.

In Microsoft Defender XDR pane that appears on the right side, navigate and click on Install button.

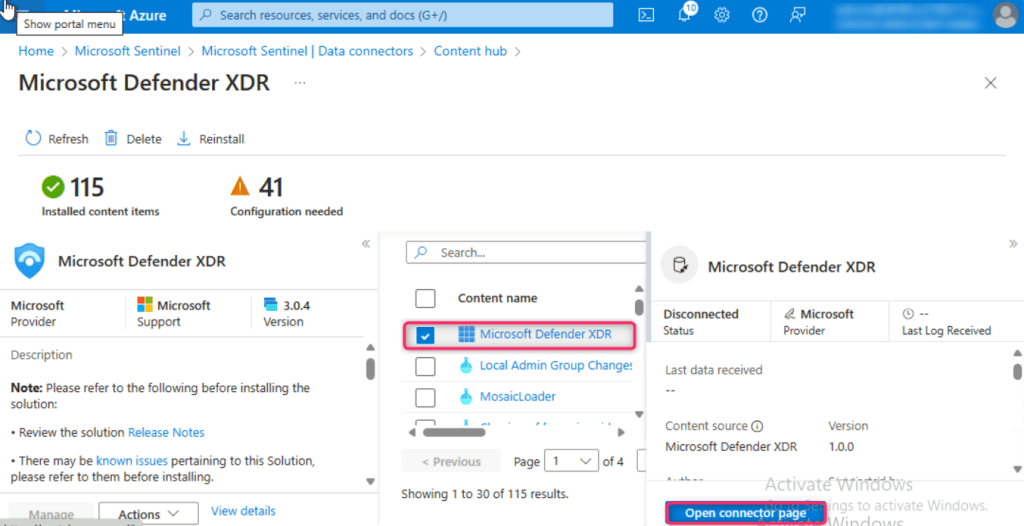
Click on the Manage button.

In Microsoft Defender XDR page, navigate and select the check box of Microsoft Defender XDR, then click on Open connector page button.
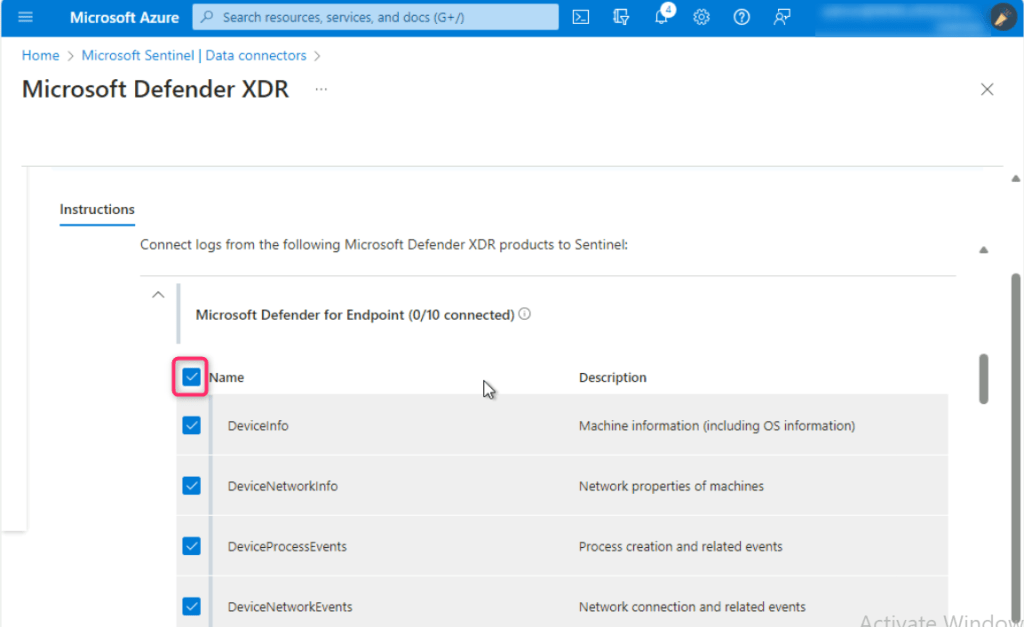
Scroll down to Configuration section. Ensure to check the box of Turn off all Microsoft incident creation rules for these products, then click on the Connect incidents & alerts button.


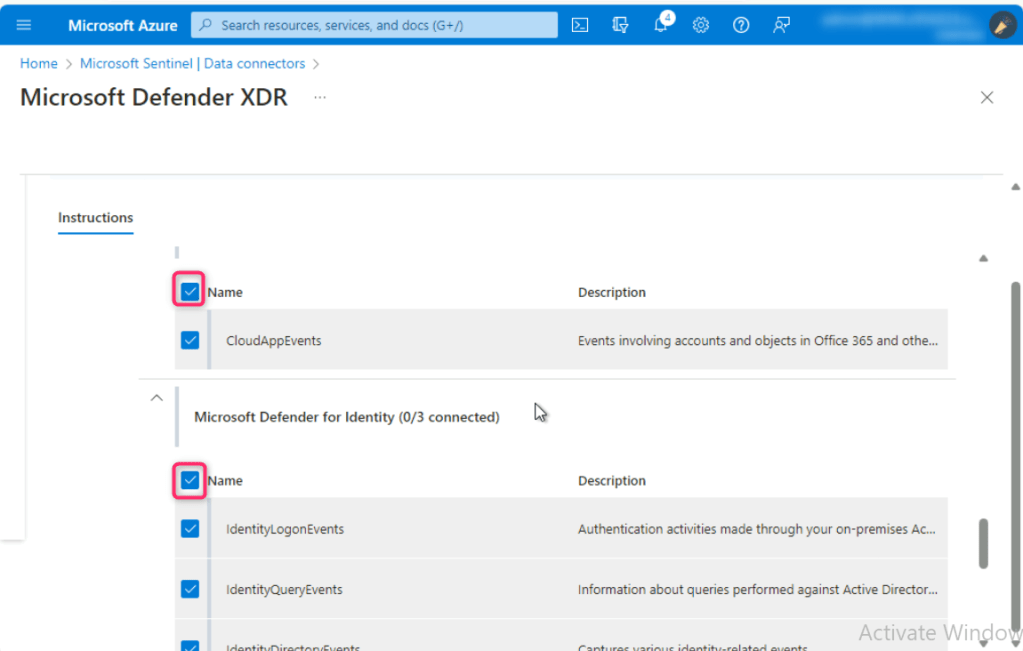
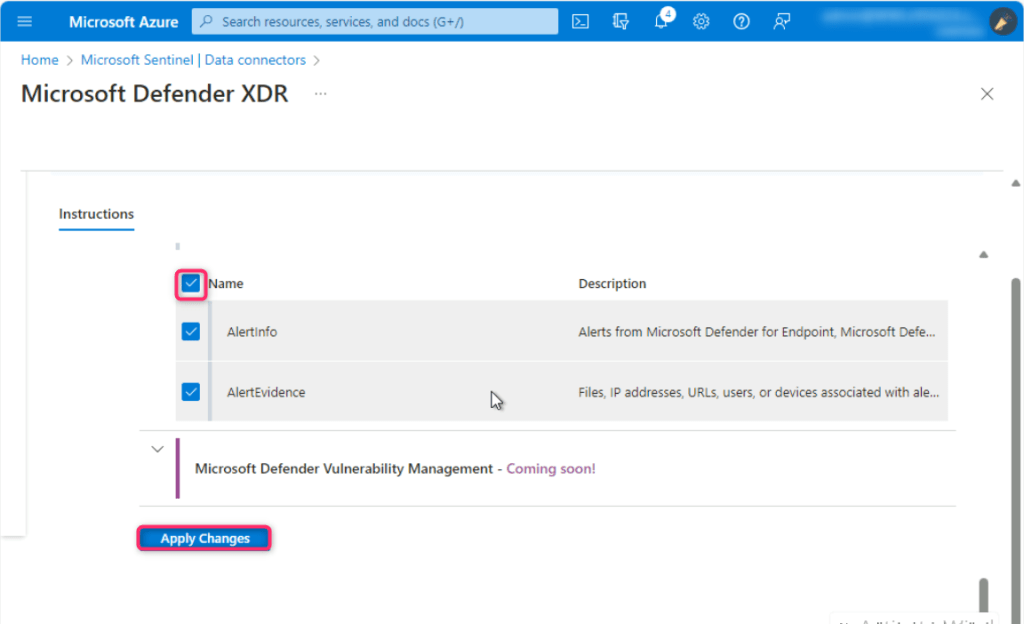
- Select all the Microsoft Defender XDR products except
- Microsoft Defender for Cloud Apps (0/1 connected)
- Microsoft Defender for Identity (0/3 connected)
Click on Apply changes button.
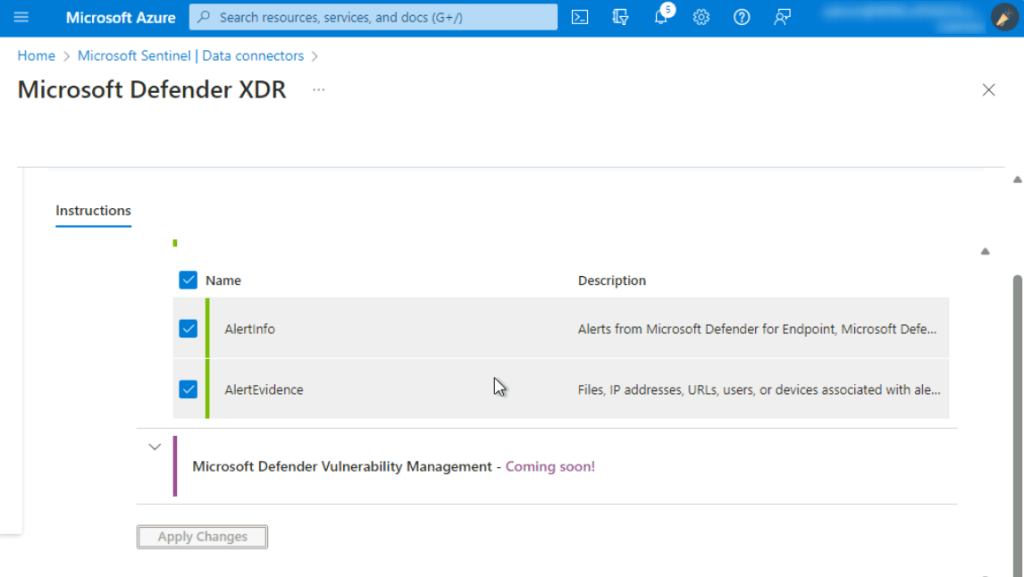
Scroll up to Configuration section, if Microsoft Defender XDR is successfully connected, then you’ll see the Disconnect button as shown in the below image. In case, if you see Connect Incidents & alerts on the button, then click on it.

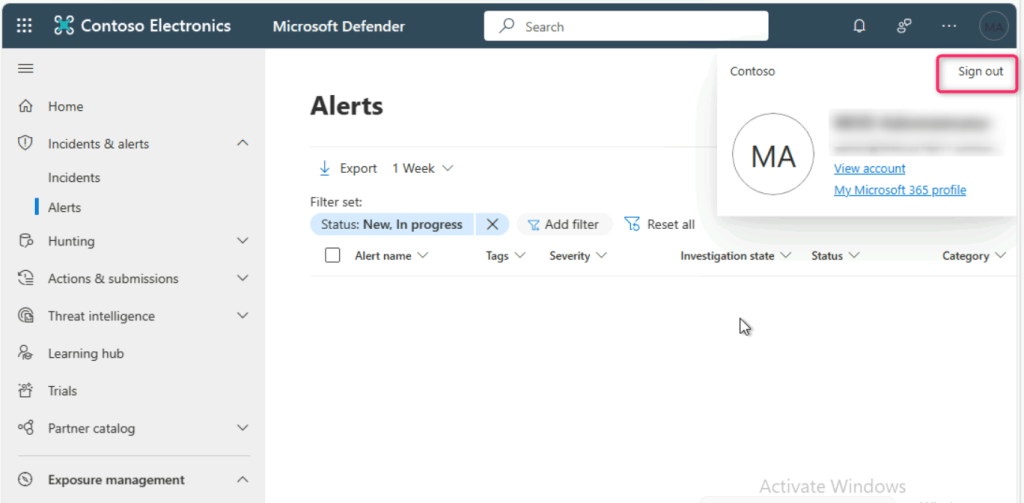
Go back to Microsoft Defender portal and Sign out from it.
Task 3: Connecting Microsoft Sentinel and Microsoft Defender XDR
- Open a new address bar and enter the following link to open the Microsoft Defender Portal: https://security.microsoft.com
- Select your O365 tenant ID.
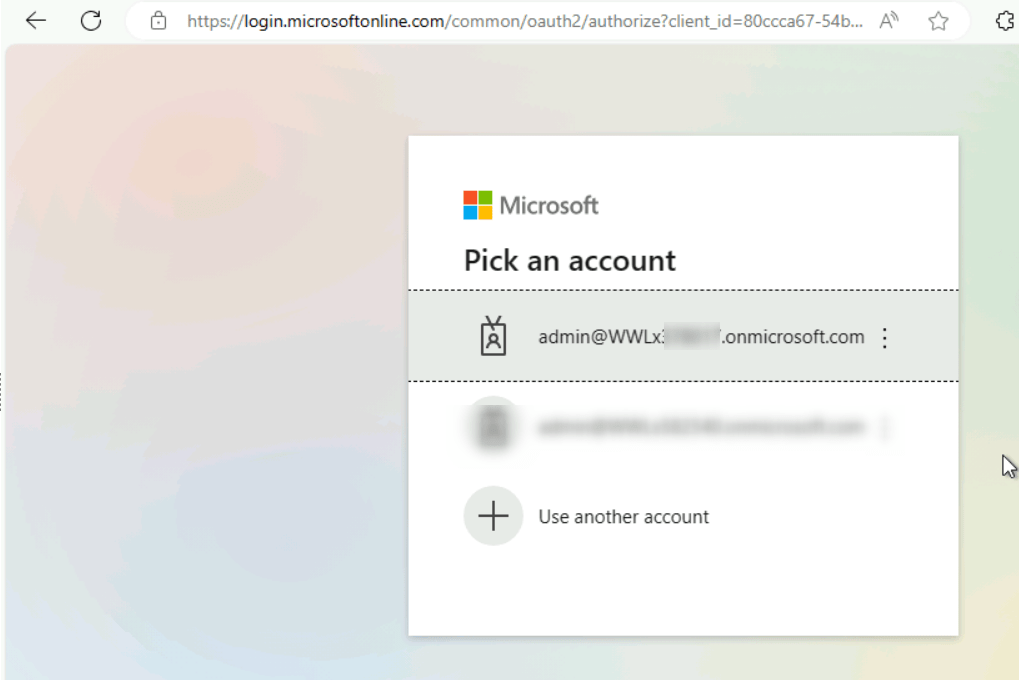
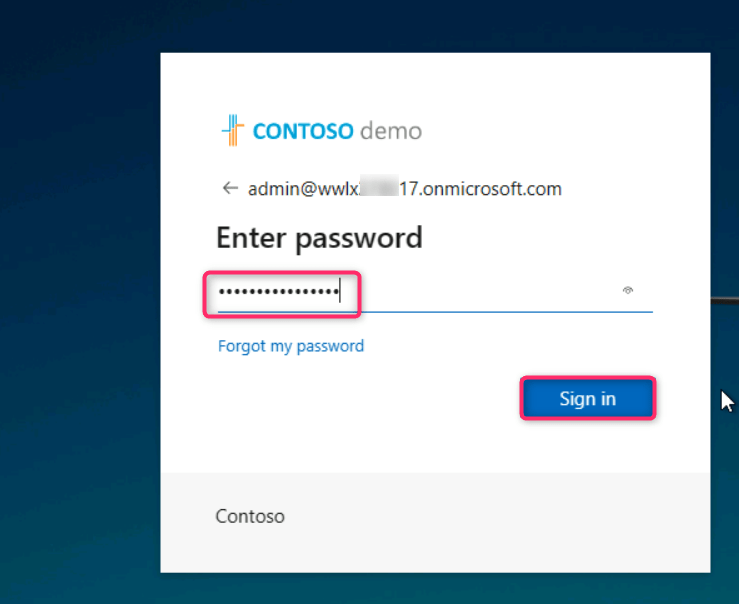
Enter the password.
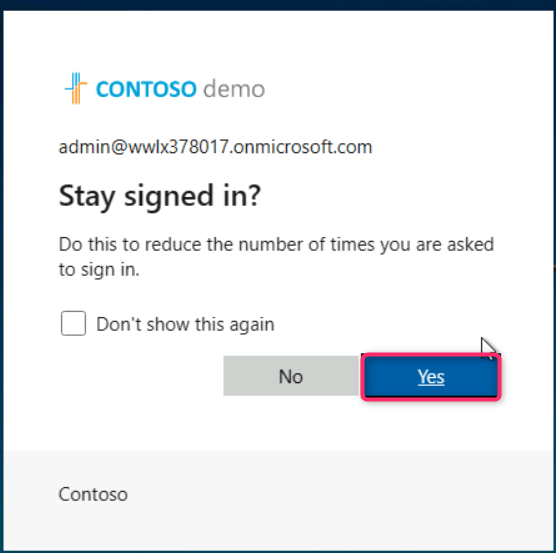
In Stay signed in? window, click on the Yes button.
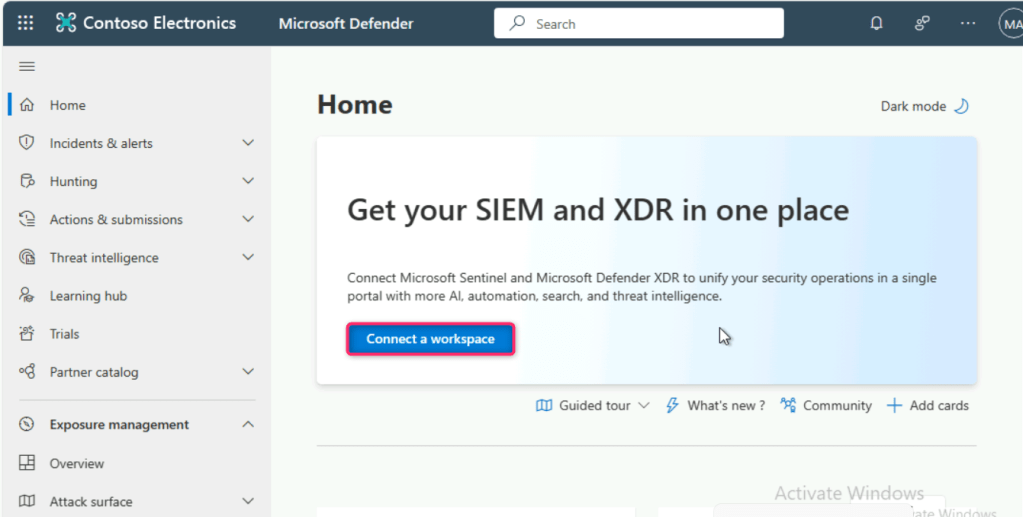
In Get your SIEM and XDR in one place dialog box, click on Connect a workspace button.
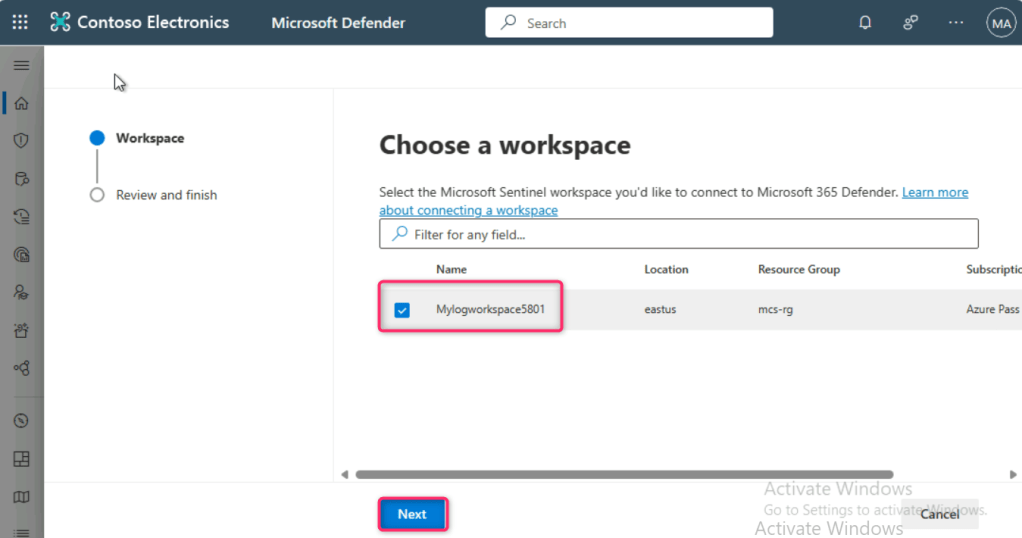
Select MylogworkspaceXXXX workspace and click on the Next button.
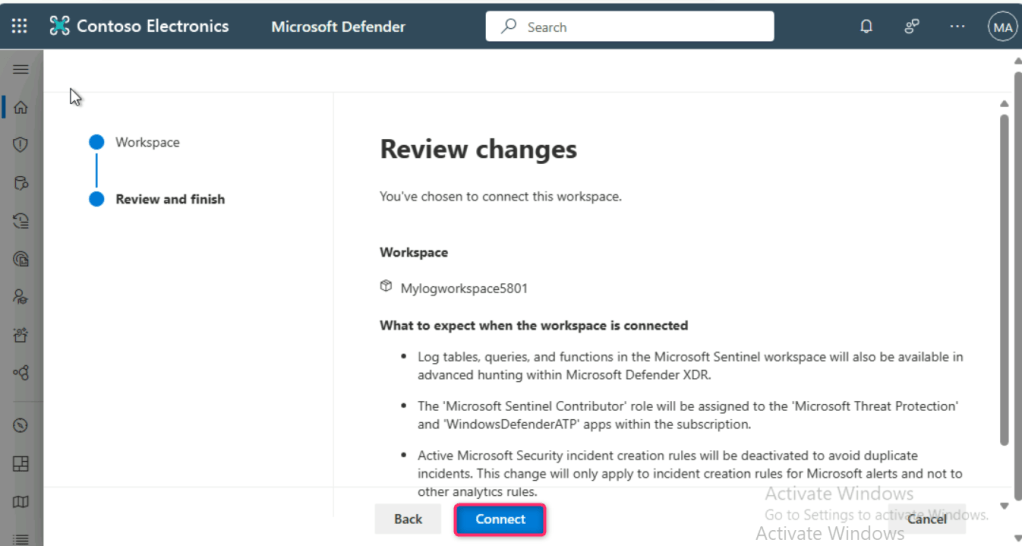
In the Review changes page, click on the Connect button.
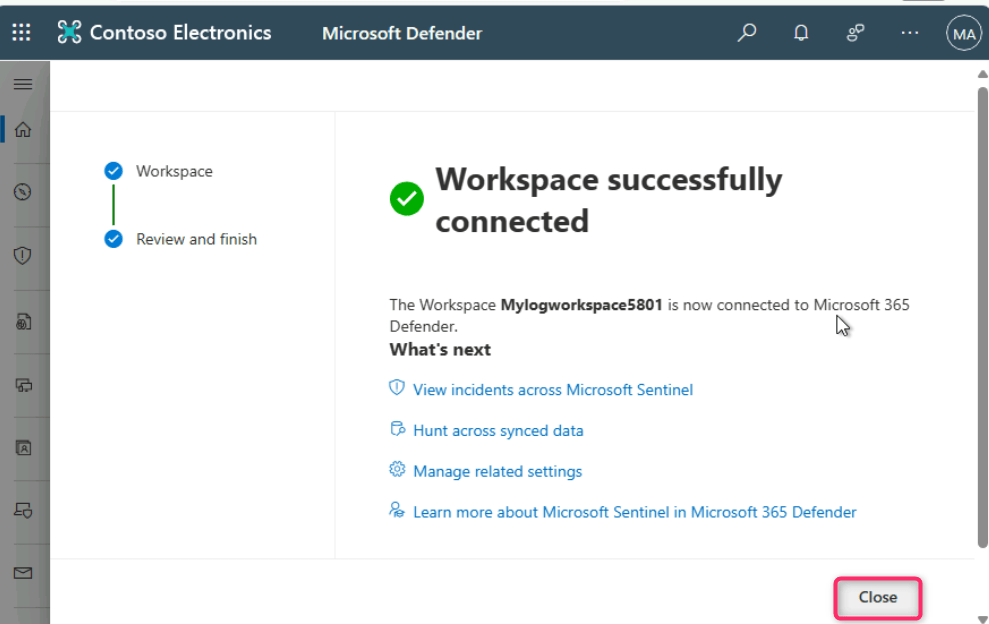
Wait for few minutes for the workspace to be successfully connected to Microsoft 365 Defender. After workspace successfully connected, click on the Close button.
Summary
In this lab, you’ve gained valuable hands-on experience in setting up and configuring Microsoft Sentinel, a powerful security information and event management (SIEM) system. By following the detailed instructions, you successfully created a workspace and activated the Microsoft Sentinel free trial, ensuring a solid foundation for security monitoring and incident response. Additionally, you learned to connect crucial data connectors, such as Microsoft Defender for Endpoint and Microsoft Defender XDR, enabling seamless integration of security solutions within the Sentinel environment. Furthermore, you mastered the process of connecting Microsoft Sentinel and Microsoft Defender XDR, consolidating security monitoring efforts and enhancing overall defense strategies. Your proficiency in these tasks equips you with essential skills for effectively managing and securing your organization’s digital assets.
