The Microsoft Defender portal serves as a centralized hub for managing security across an organization, integrating protection, detection, investigation, and response capabilities. Key components include:
- Microsoft Defender for Office 365: Secures email and Office 365 resources.
- Microsoft Defender for Endpoint: Provides protection and detection for devices.
- Microsoft Defender for Identity: Identifies and investigates threats using Active Directory signals.
- Microsoft Defender for Cloud Apps: Enhances visibility and control for cloud applications.
- Microsoft Sentinel: Offers proactive threat detection and response.
In this lab, participants will configure the environment by creating and onboarding Windows Server and Windows 11 Pro virtual machines to Microsoft Defender for Endpoints for security monitoring. Additionally, a new user account with Microsoft 365 E5 and Microsoft Teams enterprise licenses will be created, alongside the installation of Microsoft 365 apps on the Windows 11 Pro virtual machines.
Objectives:
- Assign the Owner role to the Azure subscription.
- Create and onboard a Windows Server VM (testserver1) and two Windows 11 Pro VMs (testVM1 and testVM2) to Microsoft Defender for Endpoints.
- Create a new user account (Robert Frost) with necessary licenses.
- Prepare testVM1 for future tasks by installing Microsoft 365 apps.
Task 1: Sync Host environment time
- Login to the Lab Virtual Machine using the credentials provided on the Home tab of the Lab interface.
- In your VM, navigate and click in the Search bar, type Settings and then click on Settings under Best match.
- On Settings window, navigate and click on Time & language.
- On Time & language page, navigate and click on Date & time.
- Scroll down and navigate to Additional settings section, then click on Sync now button.
- Close the Settings window.


Task 2: Add Owner role to subscription
- In the Azure portal search box, type subscription, navigate and click on Subscriptions under Services.
- Click on your Azure Pass – Sponsorship subscription name.
- On Azure Pass – Sponsorship page, navigate and click on Access control (IAM), click on +Add button, navigate and click on Add role assignment as shown in the below image.
- On Add role assignment page, click on Privileged administrator roles tab, navigate and select Owner role, then click on the Next button.
- Navigate and click on +Select members hyperlink. On Select members pane that appear on the right side, type and select your Office 365 tenant ID, then click on the Select button as shown in the below images.


- Click on the Next button.
- In the Add role assignment – Conditions tab, navigate to What user can do row and select the radio button Allow user to assign all roles (highly privileged). Then, click on Review + assign button.
- Click again on Review + assign button.
- You’ll receive a notification confirming the Owner role is successfully assigned to the subscription.
- Note: Microsoft 365 E5 license is assigned to your O365 tenant ID, which included Microsoft Defender for Endpoint feature.


Task 3: Onboarding testserver1 in Microsoft Defender for Endpoints
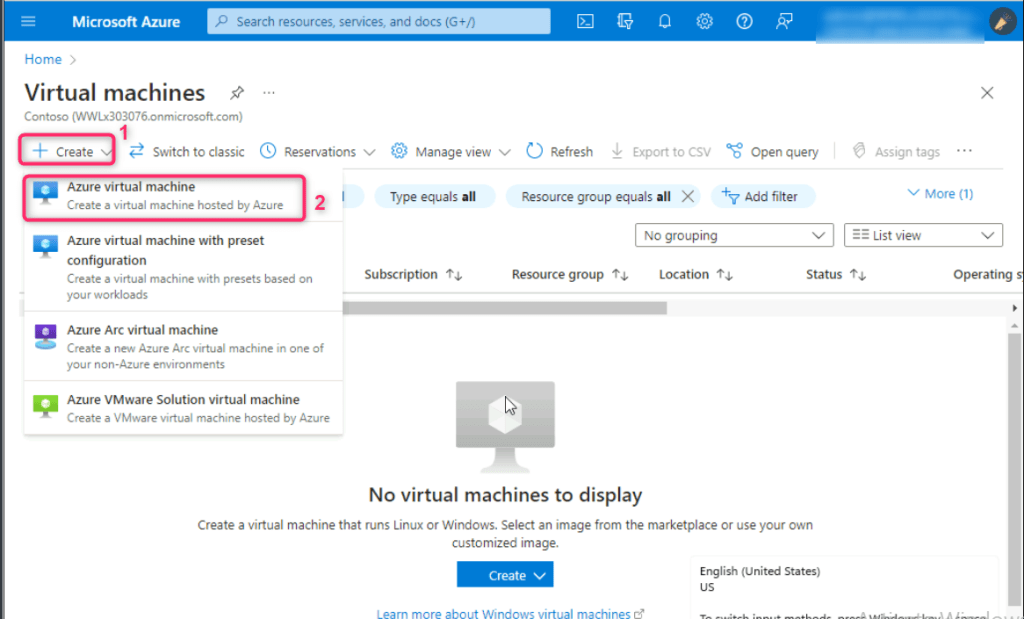
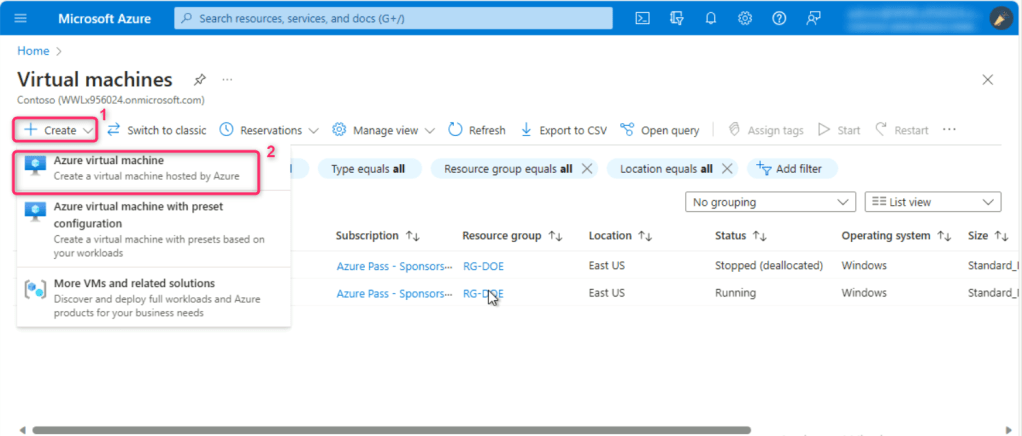
- In the Virtual machines page, navigate and click on Create, then click on Azure virtual machine.
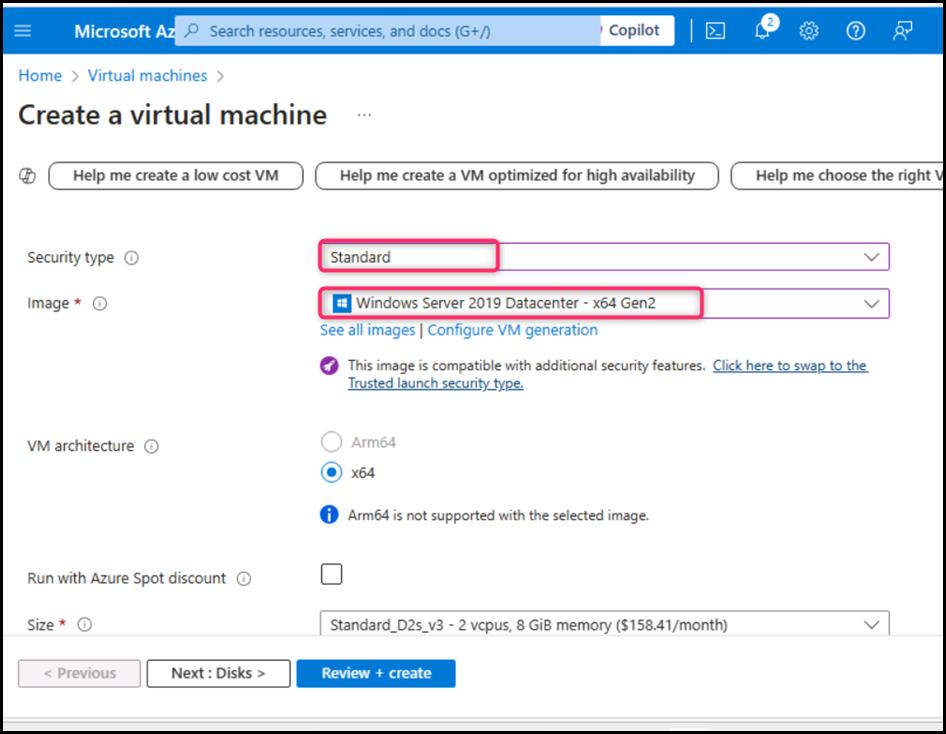
- Navigate to Instance details section, in the virtual machine name field, enter the name of the virtual machine (here, we entered TESTSERVER1). In the Region field, select Southeast Asia. In the Availability zone field, ensure that Zone 1 is selected. In the Security type field, click on the dropdown and select Standard. In the Image field, select Windows Server 2019 Datacenter -x64 Gen2 from the dropdown.
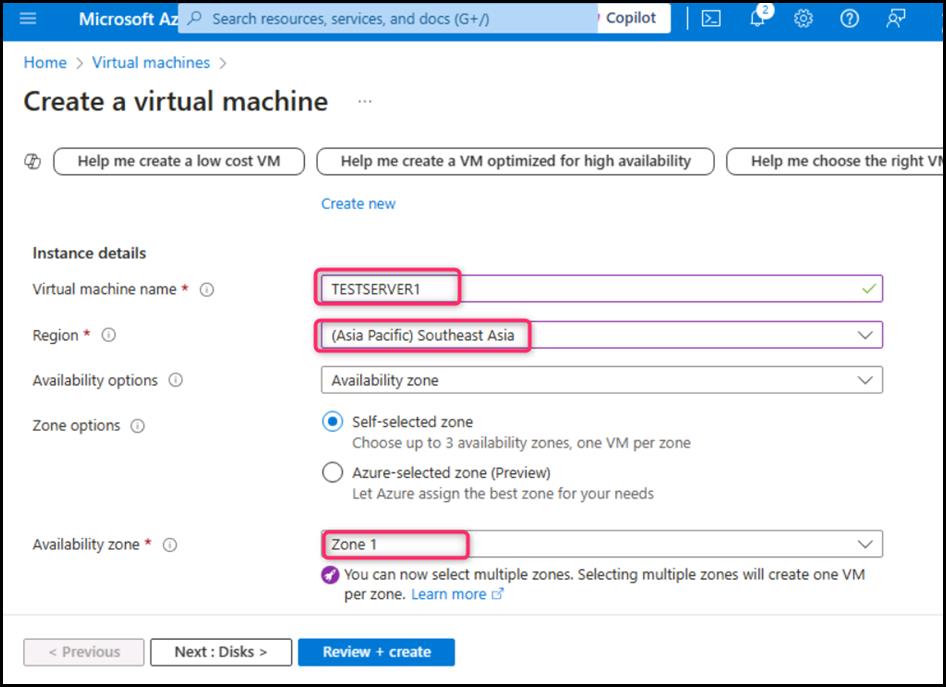
- Note: If you encounter the following error – This size is not available in zone 1 . Zones ‘2,3’ are supported”, then scroll up and uncheck Zone 1, check Zone 2 or 3 box.
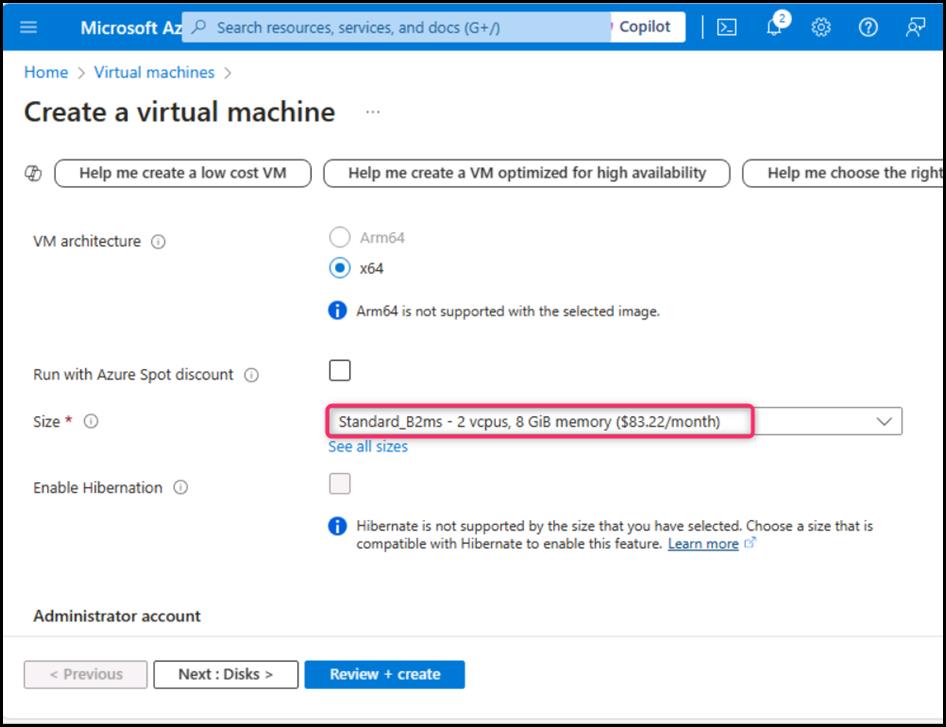
- Navigate to Size field and click on See all sizes. In Select a VM size page, navigate and select B2ms, then click on the Select button.


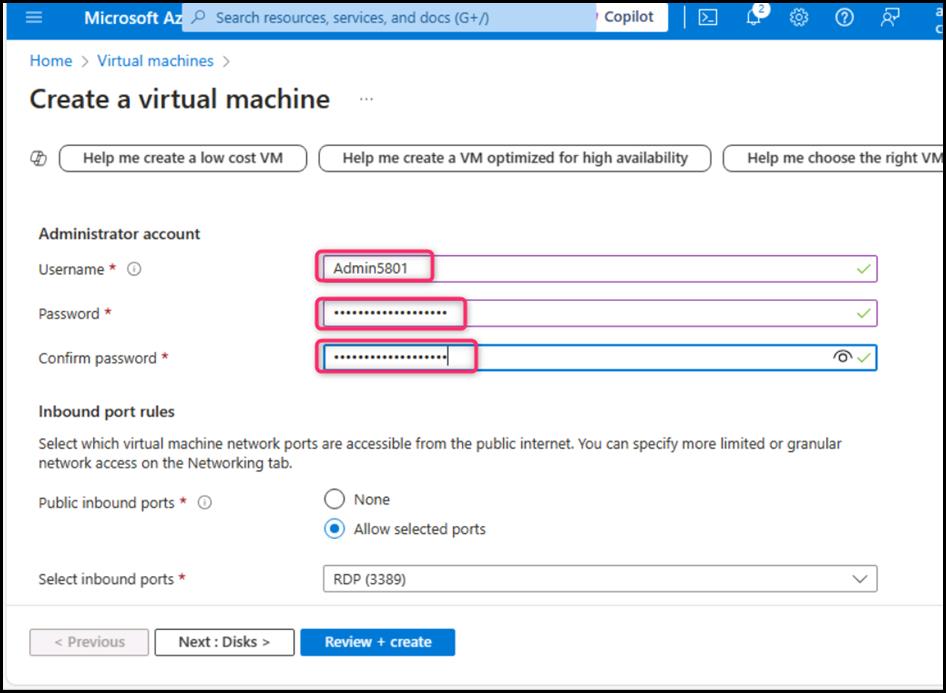
- Scroll down to Administrator account section, enter the following details:
- Username Admin5801 Password Administrator5801@* Confirm password Administrator5801@*
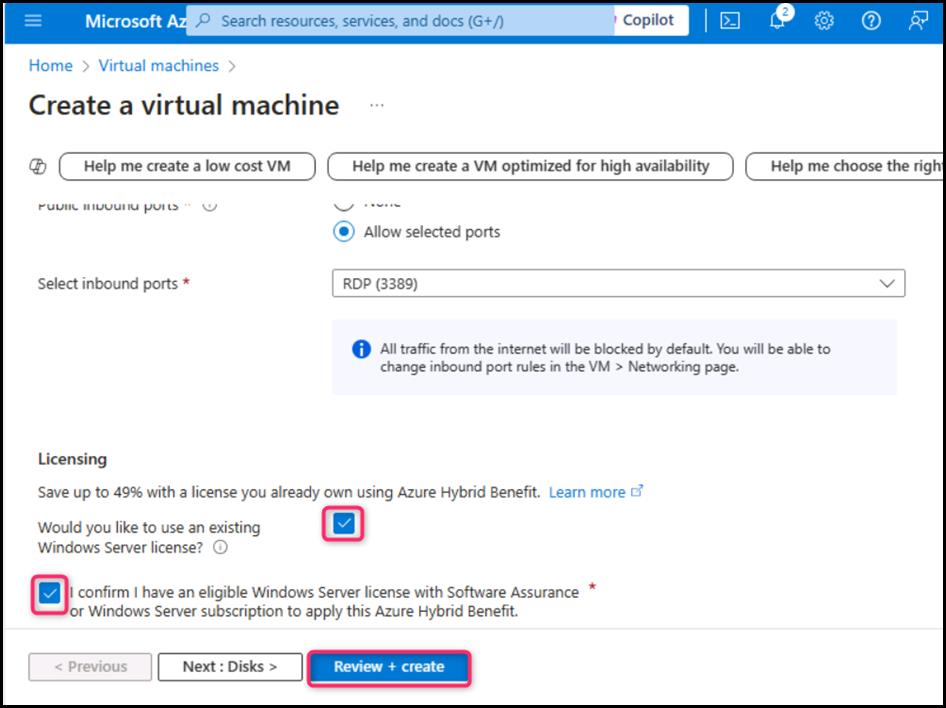
- Scroll down and select the checkbox, then click on Review + create button as shown in the below image.
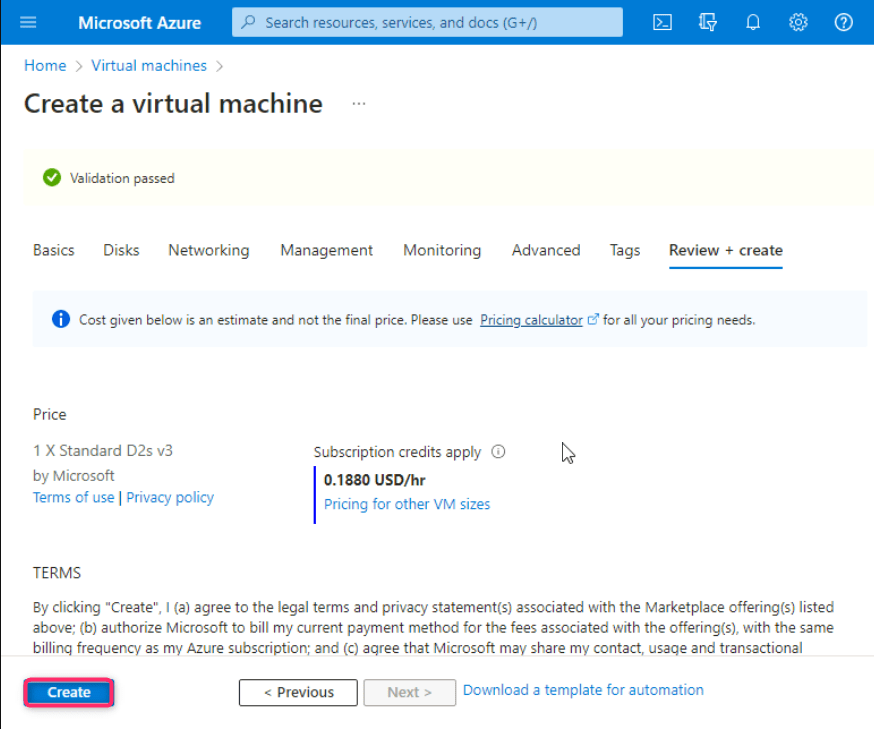
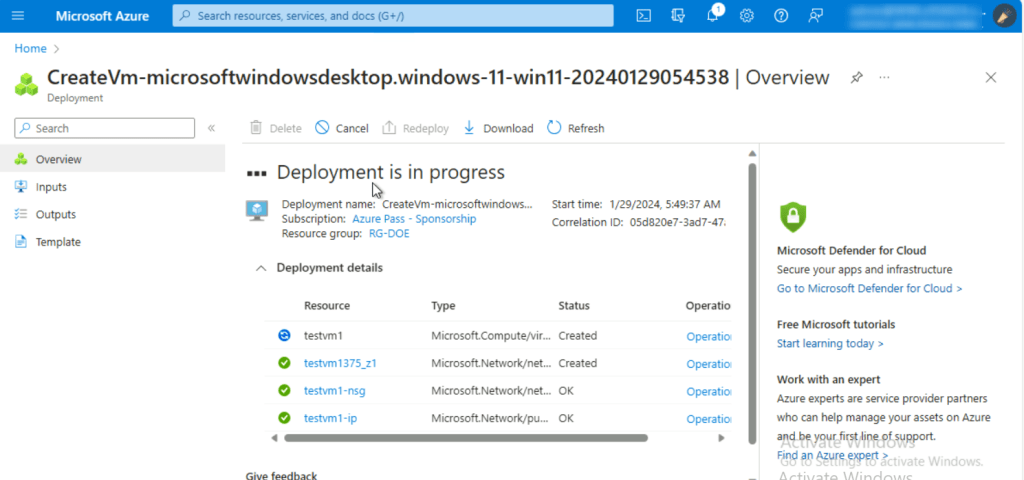
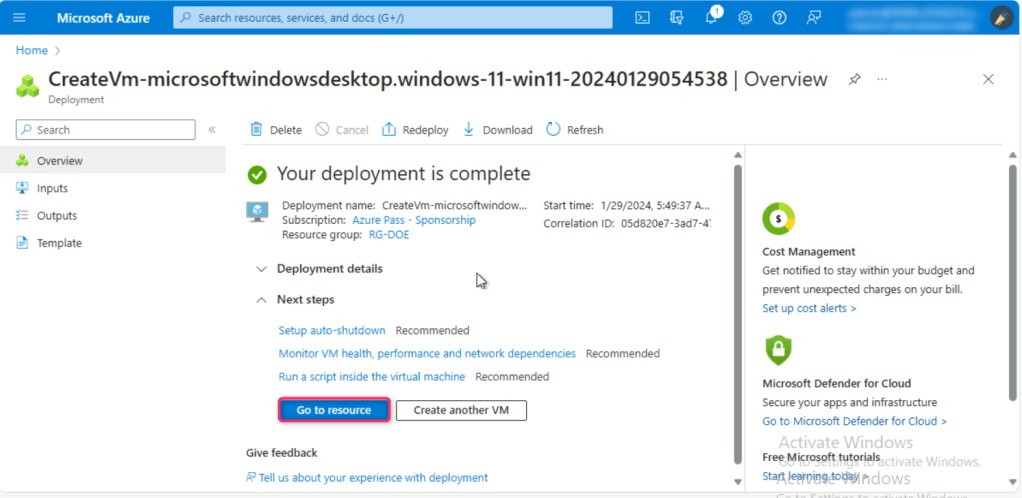
- In the Create a virtual machine page, navigate and click on the Create button.
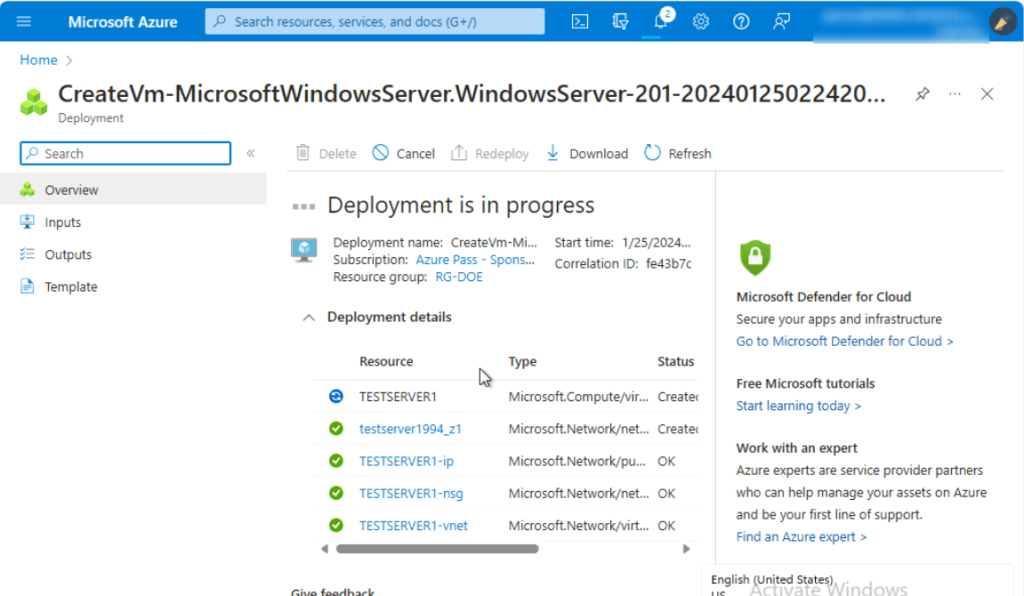
- After the TESTSERVER1 virtual machine is successfully created, click on the Go to resource button.
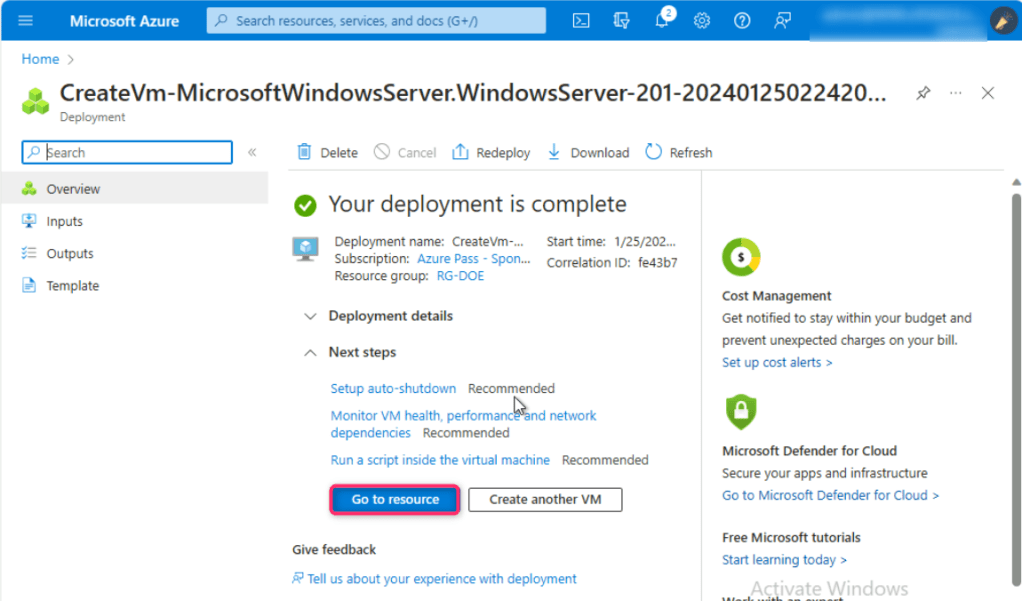
- You will be directed to the TESTSERVER1 virtual machine page.

Note: If you see testserver1 virtual machine status is not ready. Troubleshoot the issue… then wait for 10-15 minutes and reload the page.
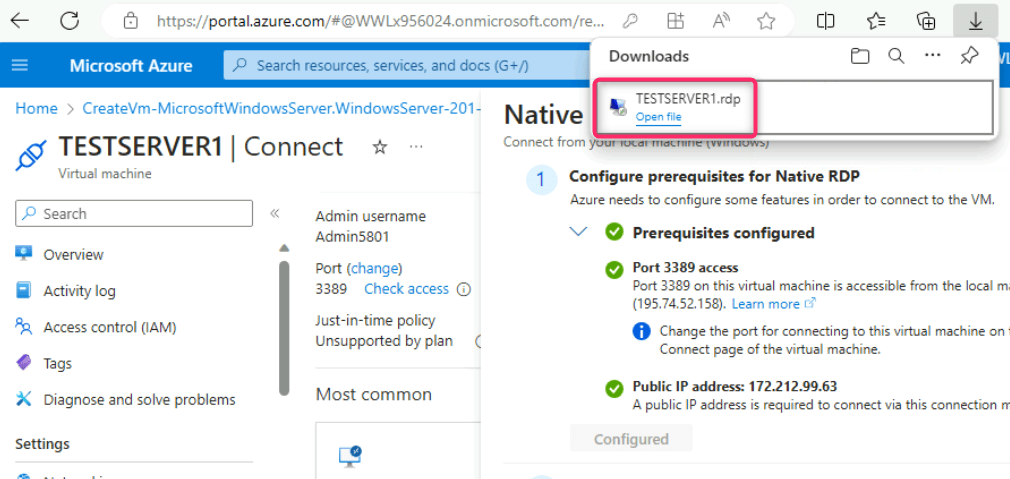
- In TESTSERVER1 virtual machine page, navigate and click on Connect on the left side navigation menu, then click on Select under Native RDP section.
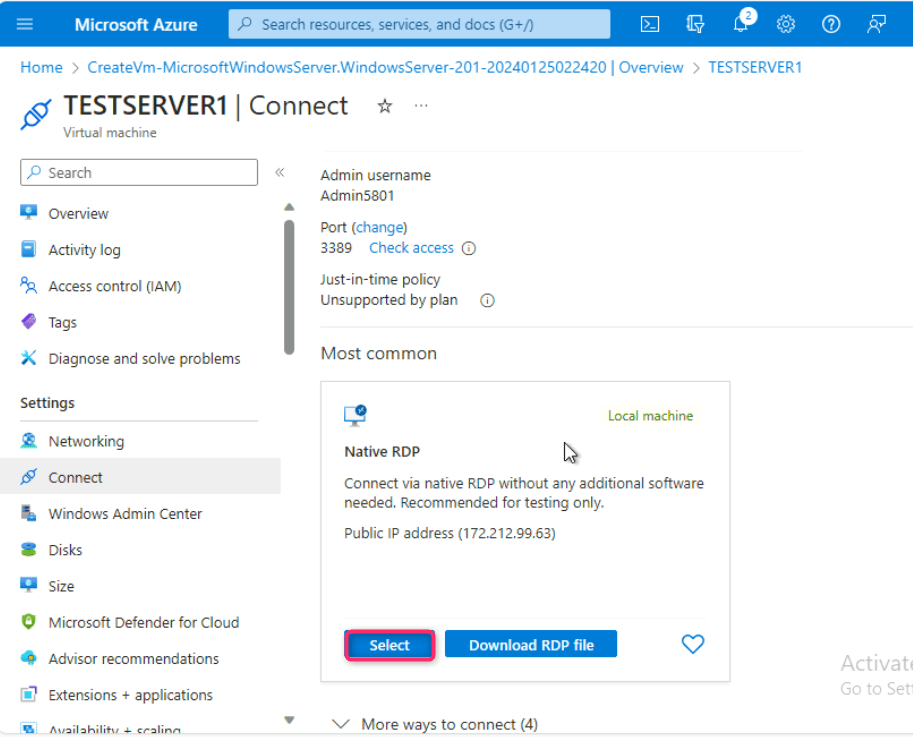
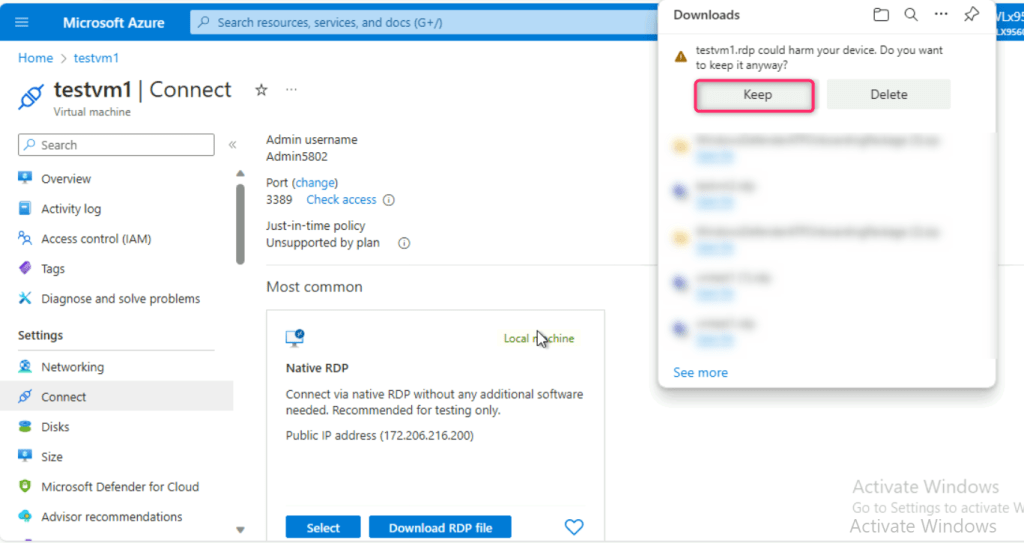
- In the Native RDP pane that appears on the right side, after fulfilling all the requirements, scroll down and click on Download RDP file button.

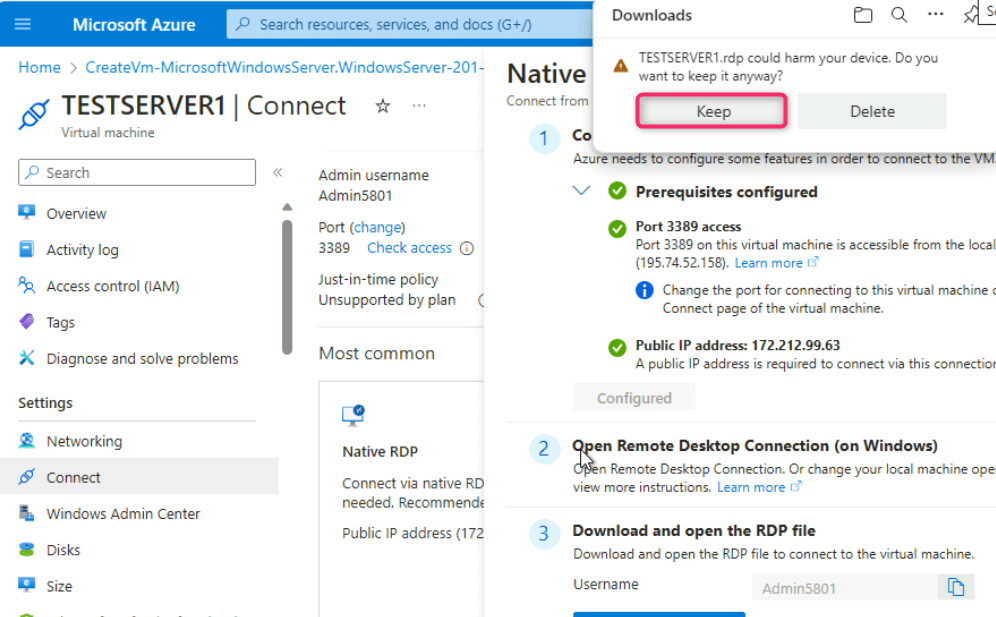
- On TESTSERVER1.rdp could harm your device. Do you want to keep it anyway? dialog box, click on Keep button.
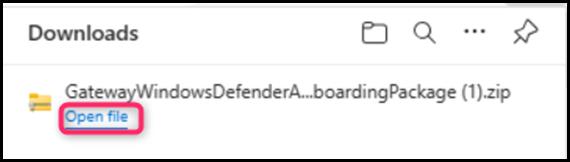
- On TESTSERVER1.rdp file, click on Open file link.
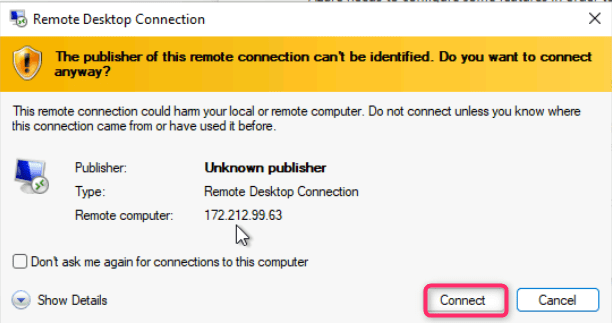
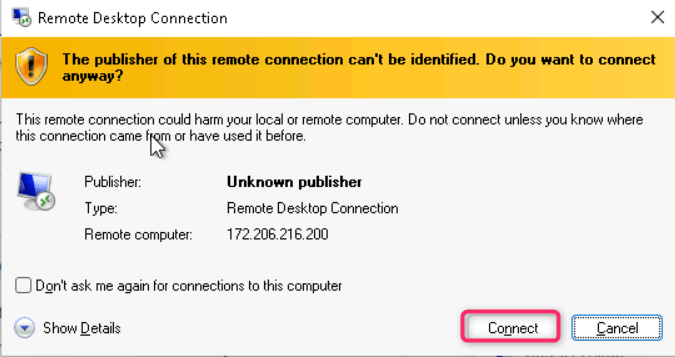
- On The publisher of this remote connection can’t be identified. Do you want to connect anyway? dialog box, click on Connect button.
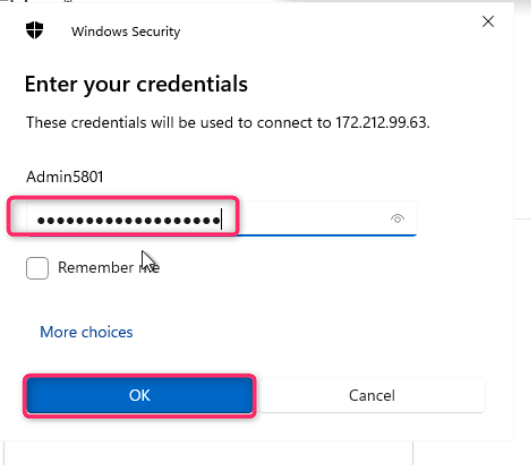
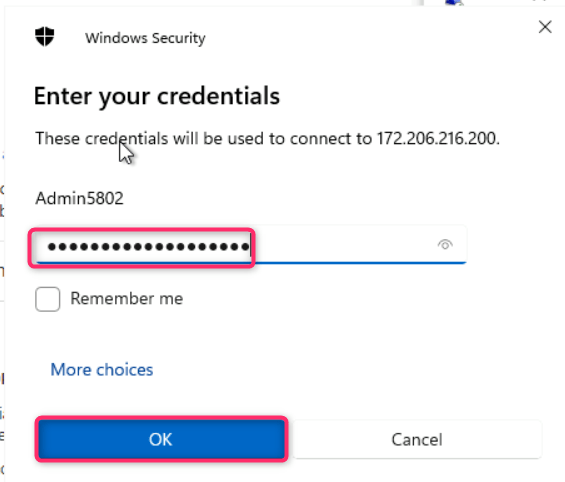
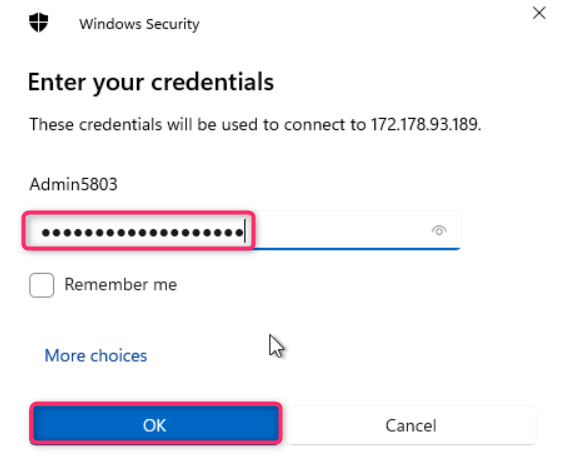
- On Enter your credentials dialog box, enter the password (here, Administrator5801@*) and click on the OK button.
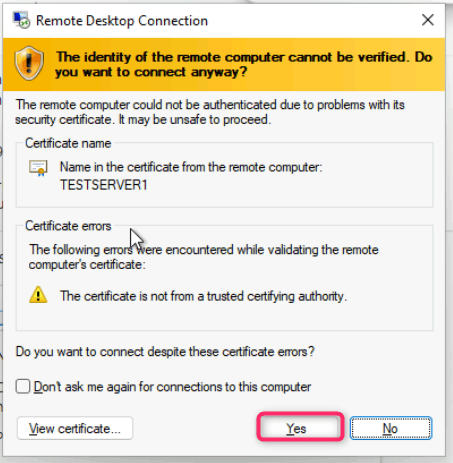
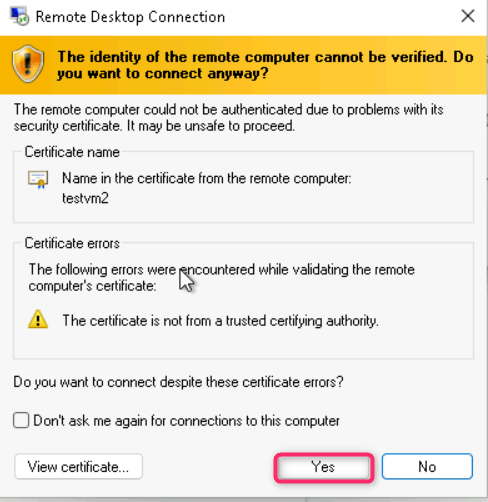
- On The identity of the remote computer cannot be verified. Do you want to connect anyway? dialog box, click on Yes button.
- The TESTSERVER1 VM will be opened. Minimize the Server Manager – Dashboard then minimize the virtual machine.

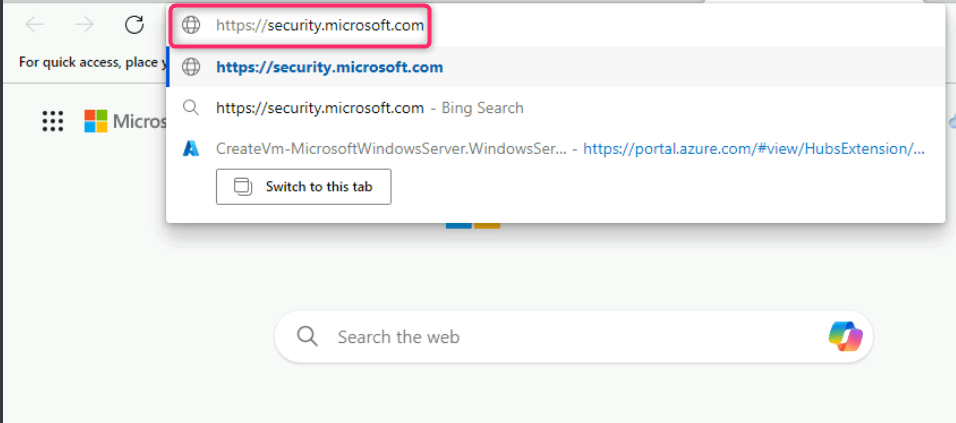
- In the Edge browser, open a new address bar and enter the following link: https://security.microsoft.com to open the Microsoft Defender Portal
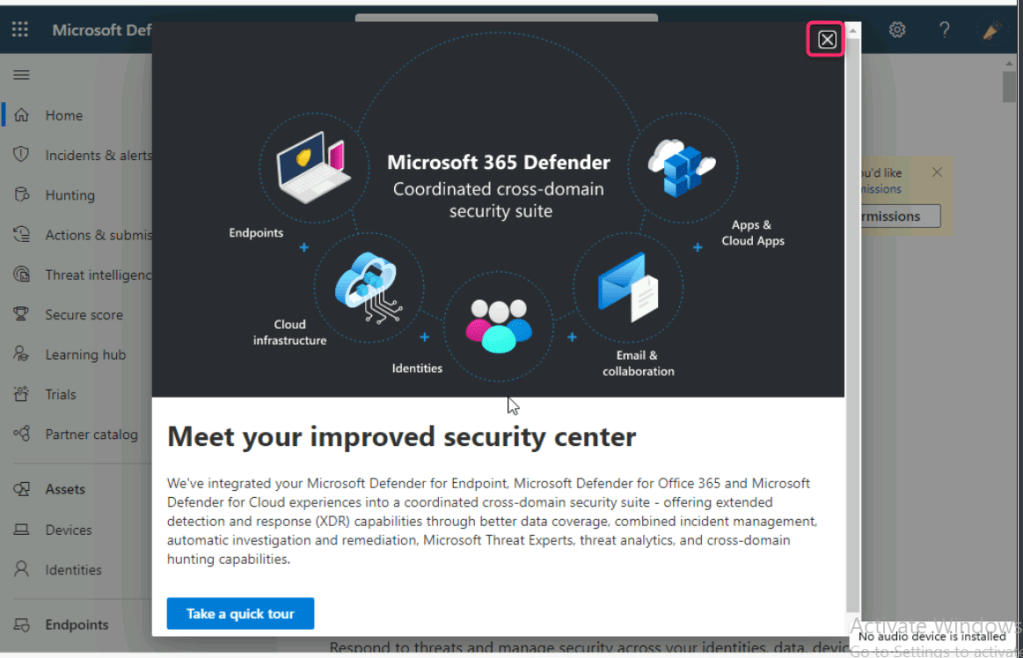
- Close Meet your improved security center dialog box.
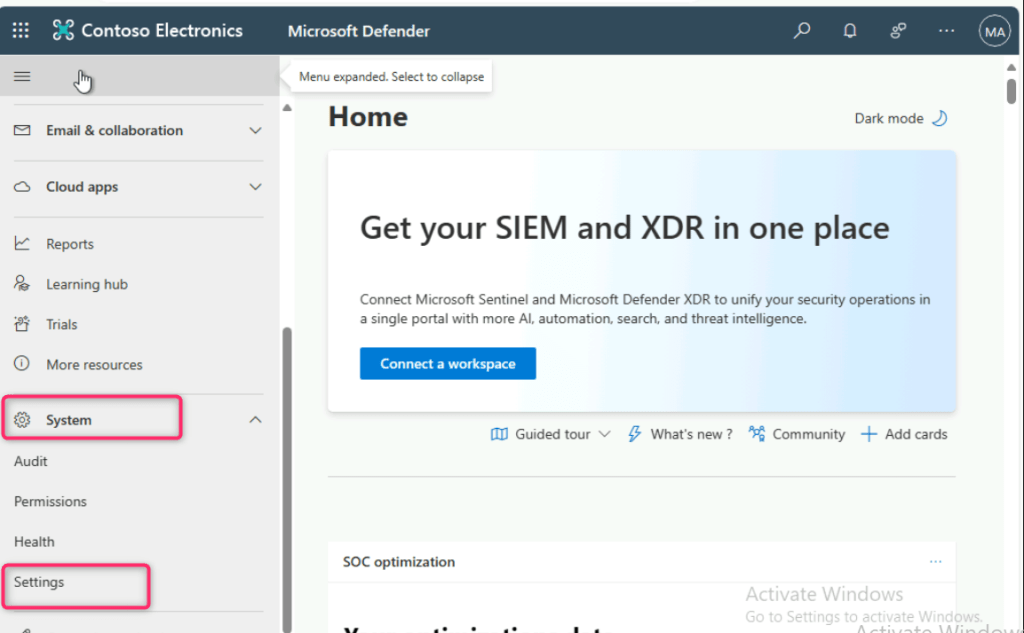
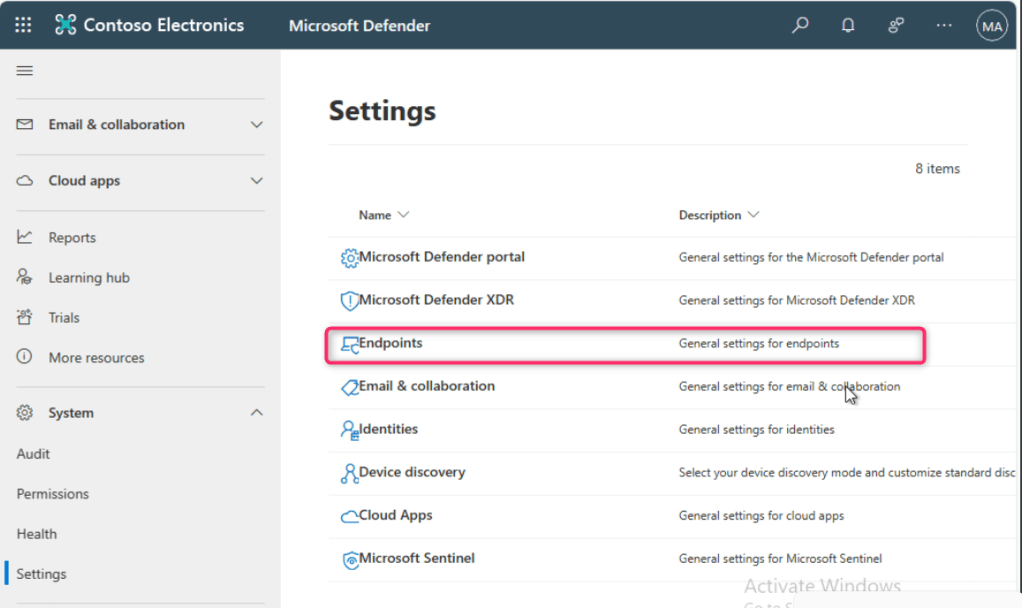
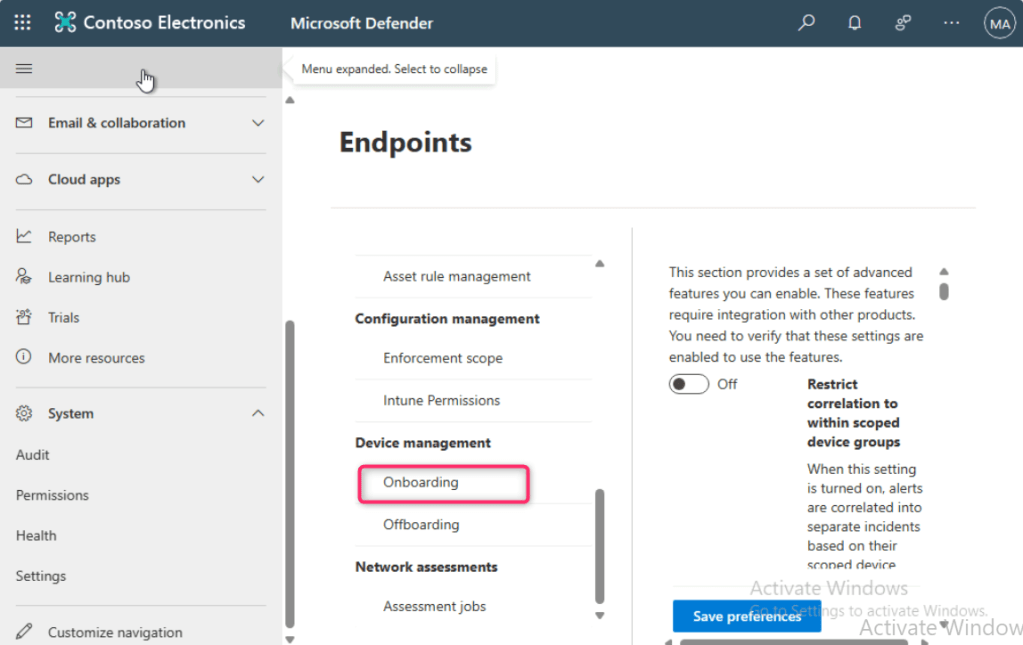
- In Microsoft Defender portal, navigate and click on System, then click on Settings. In the Settings page, you’ll see Defender for Endpoints as shown in the below image.
Note: In case, you did not see Defender for Endpoint, ensure that you are logged into Azure portal, then open a new address bar and enter the following URL and wait for the configuration to be completed: https://security.microsoft.com/securitysettings/endpoints/integration?tid=
- In the Endpoints page, navigate to Device management section and then click on Onboarding.
- Click on the dropdown under Select operating system to start onboarding process and select Windows Server 2019 and 2022.
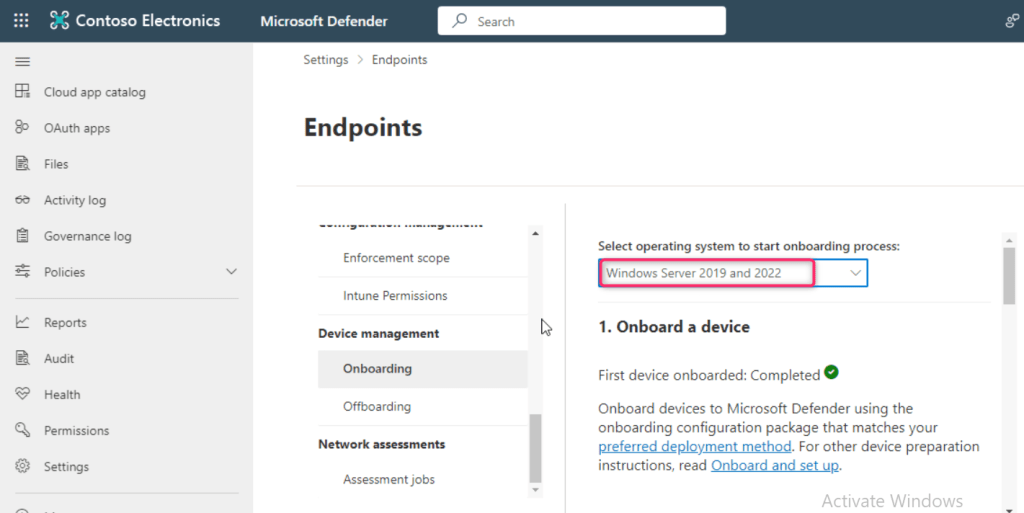
- Scroll down and click on Download onboarding package button.

- After onboarding package is successfully downloaded, click on Open file link.

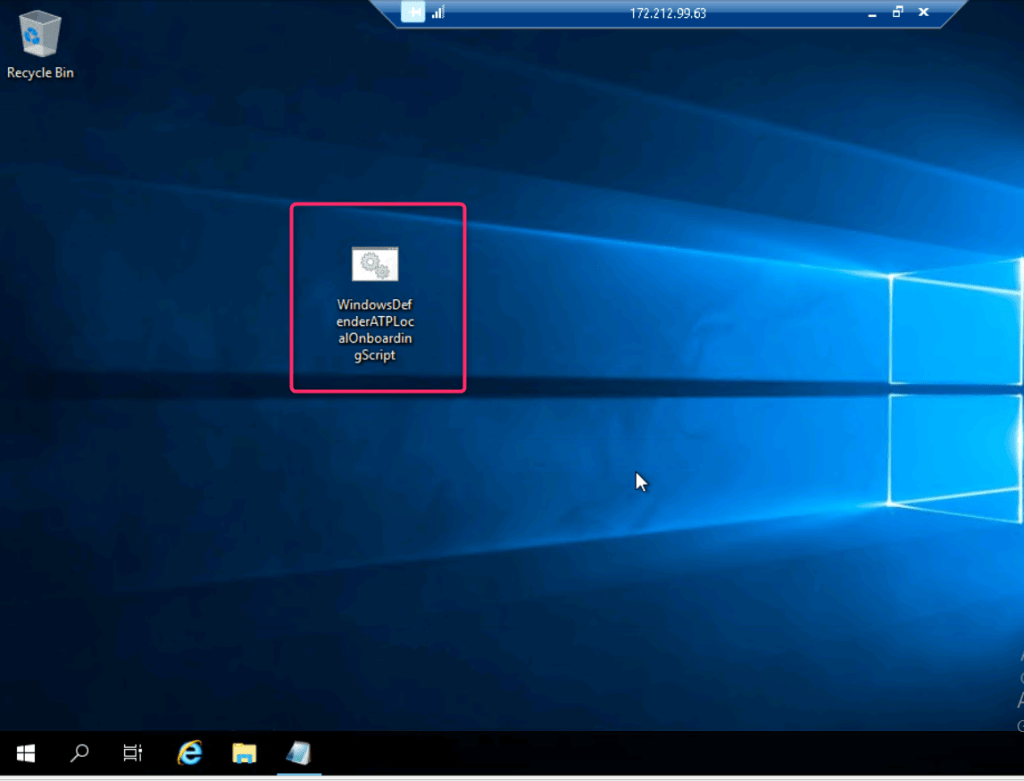
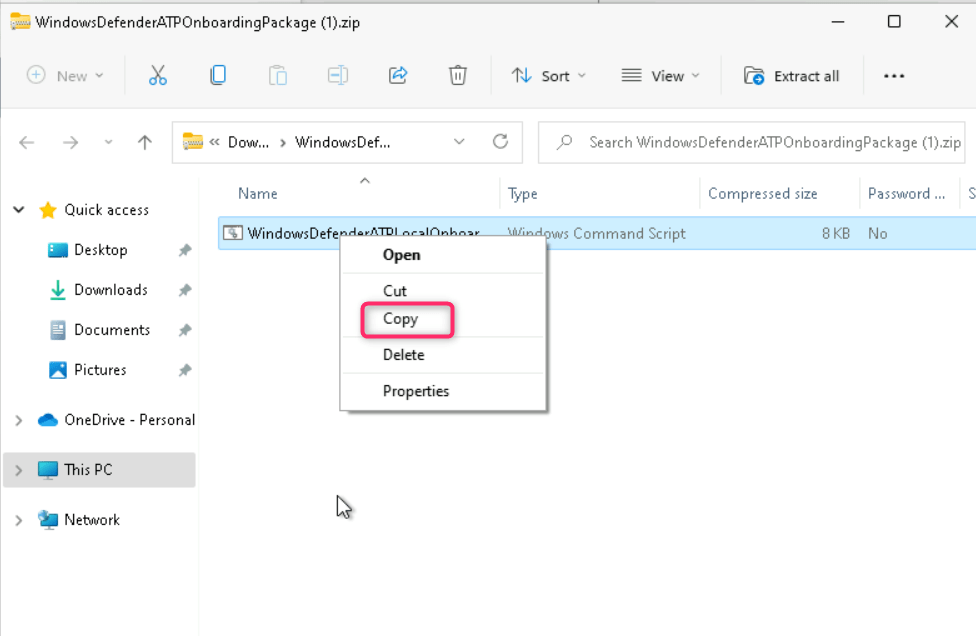
- Copy the Windows Command script

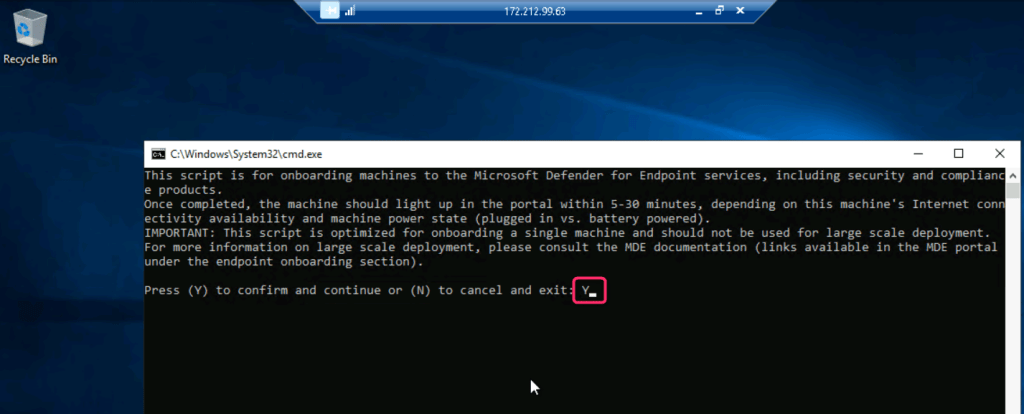
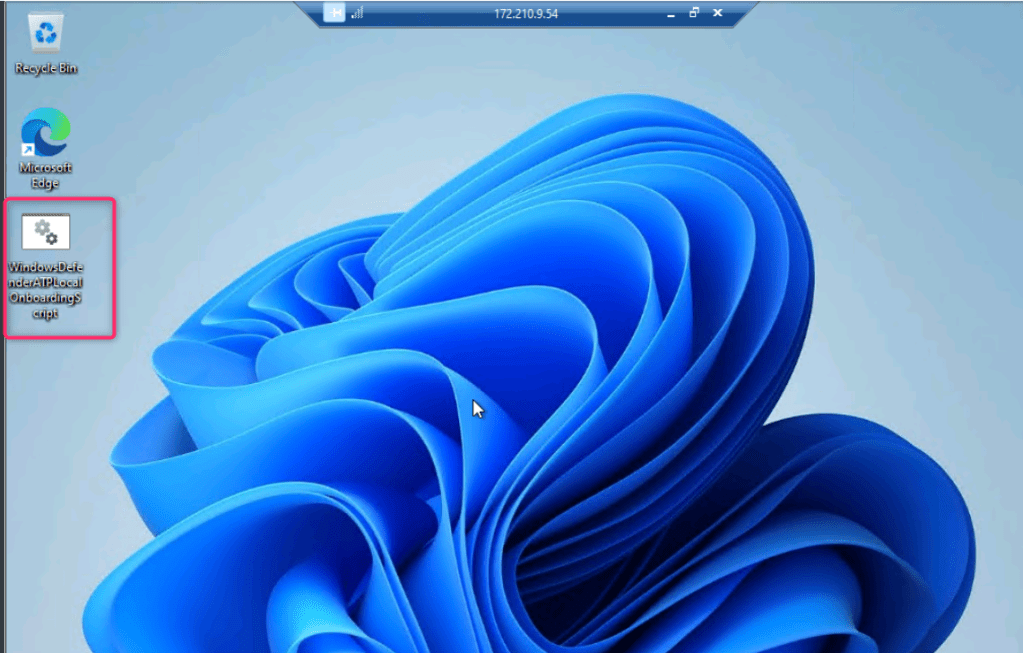
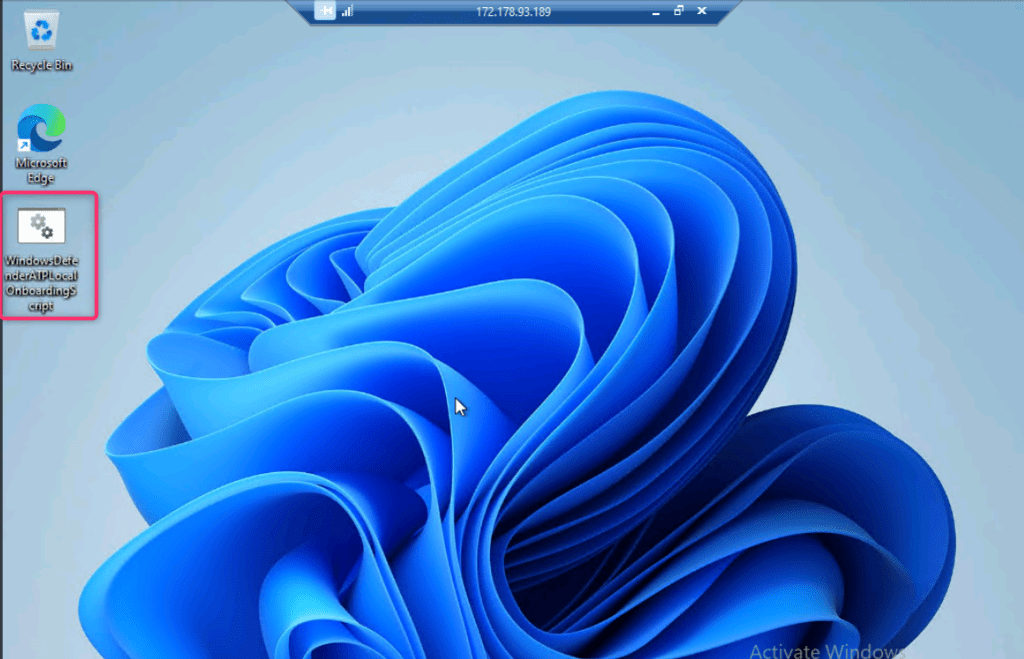
- Go back to your server VM and paste the copied Windows Command Script on the desktop as shown in the below image.
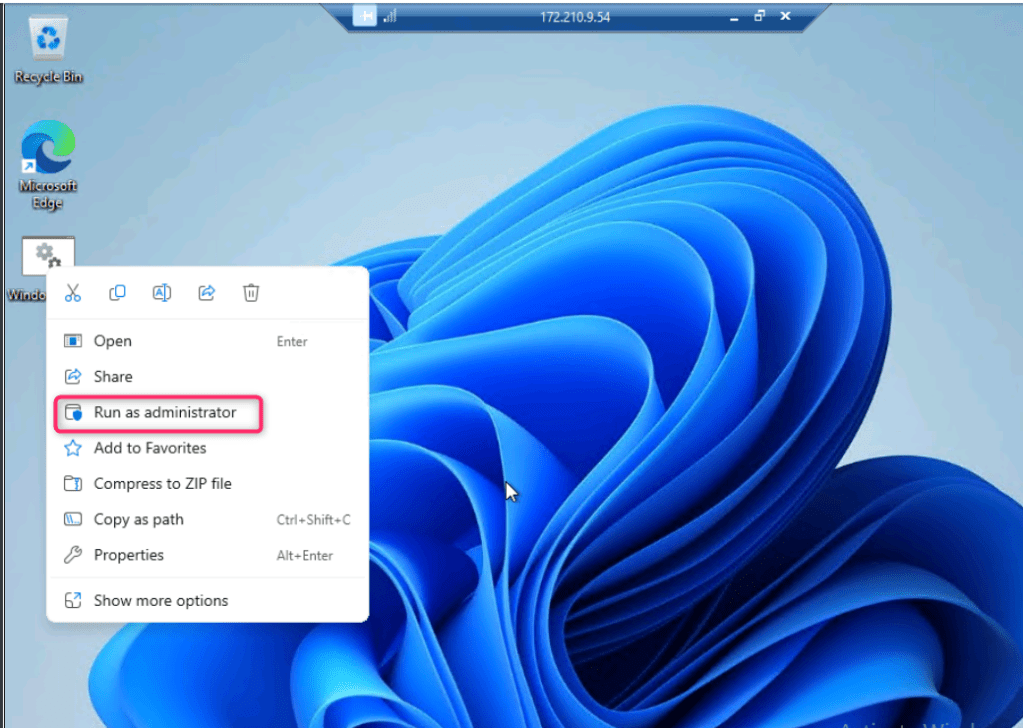
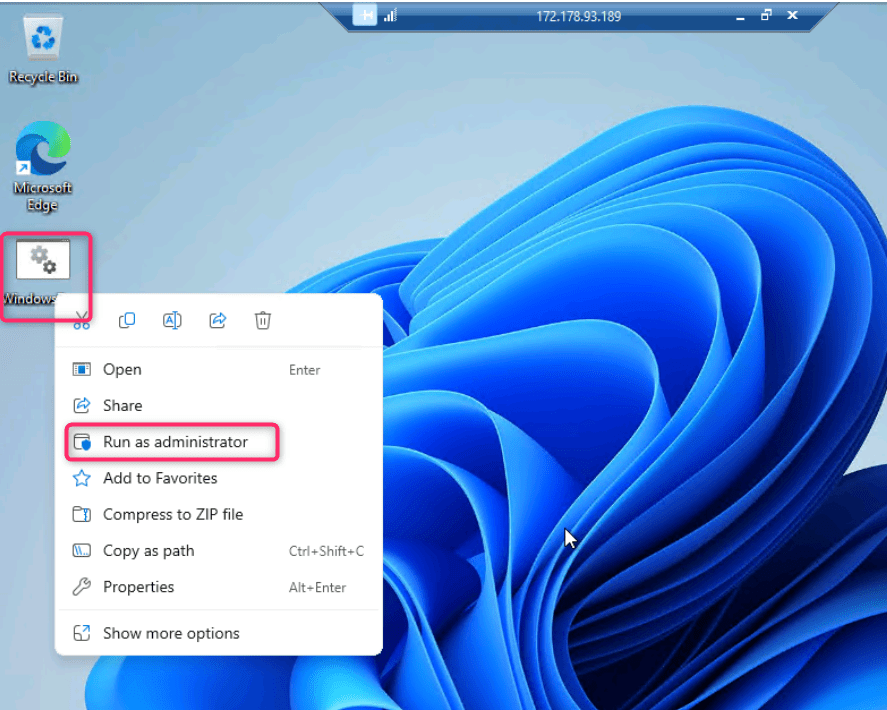
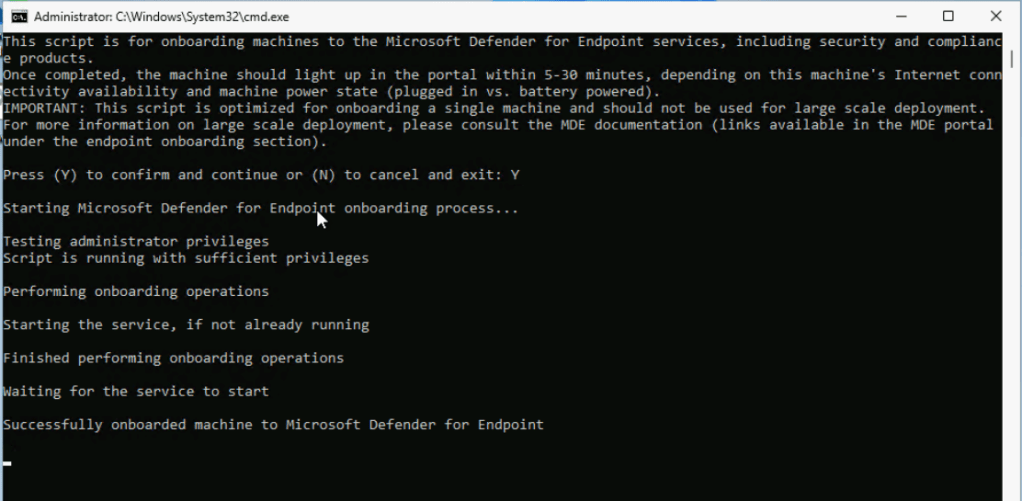
- Right click on the script and select Run as administrator.
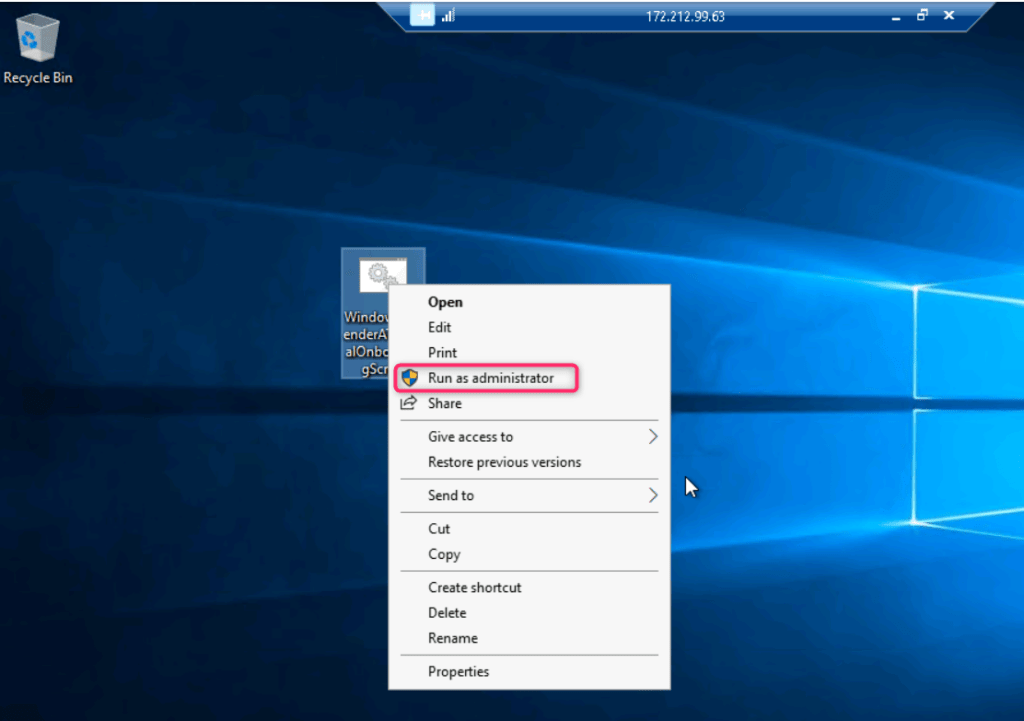
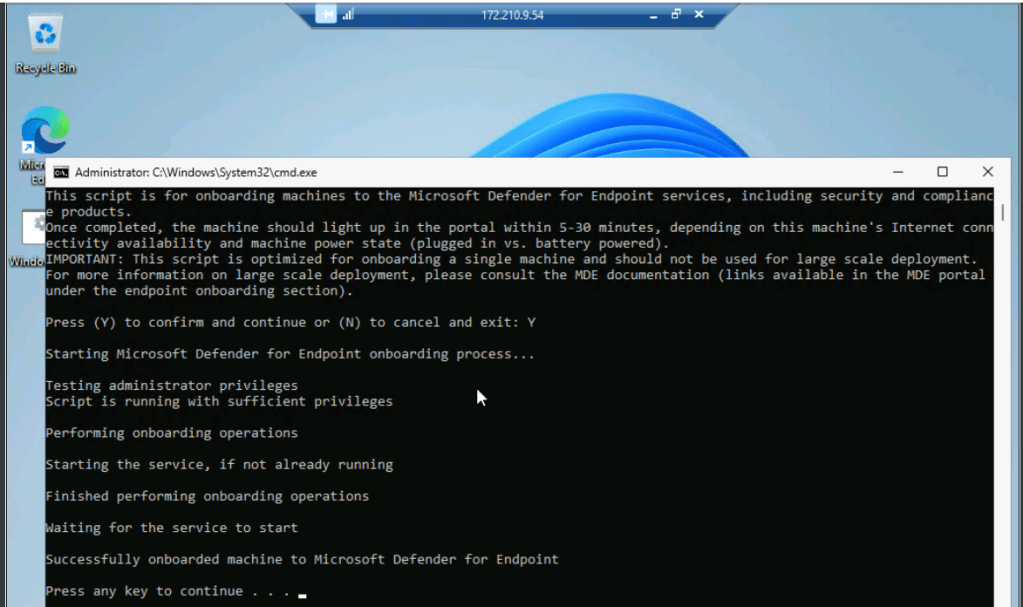
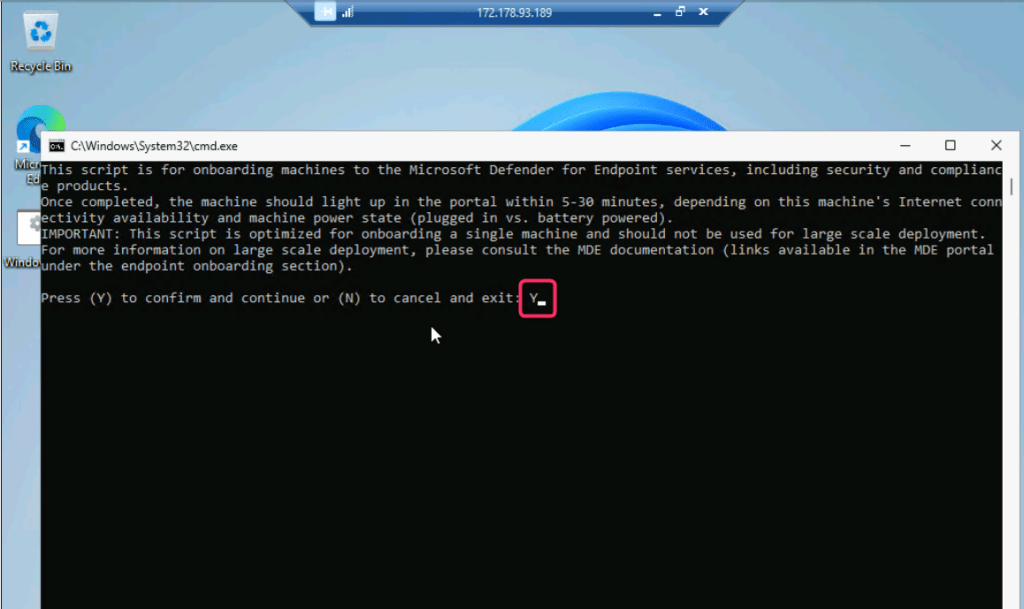
- Type Y and press the Enter button to continue the onboarding process.
- After onboarding the machine successfully on Defender for Endpoint, click on any key to continue the onboarding process.
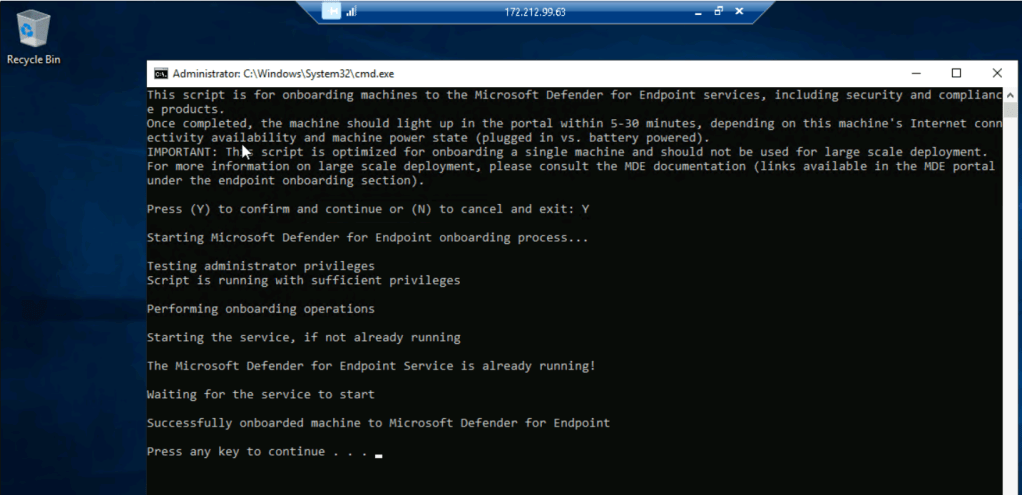
- The onboarding of the testserver1 VM usually takes 15-30 minutes; therefore, continue with the next task.
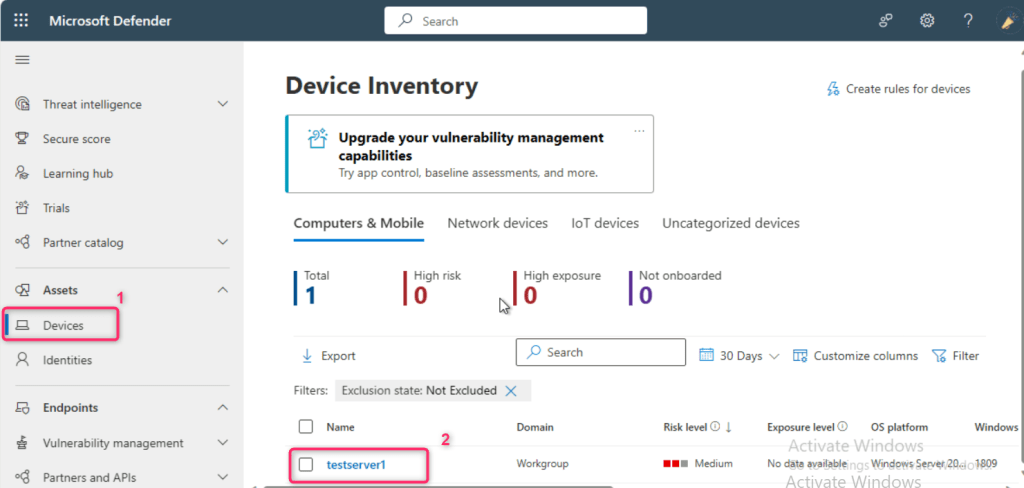
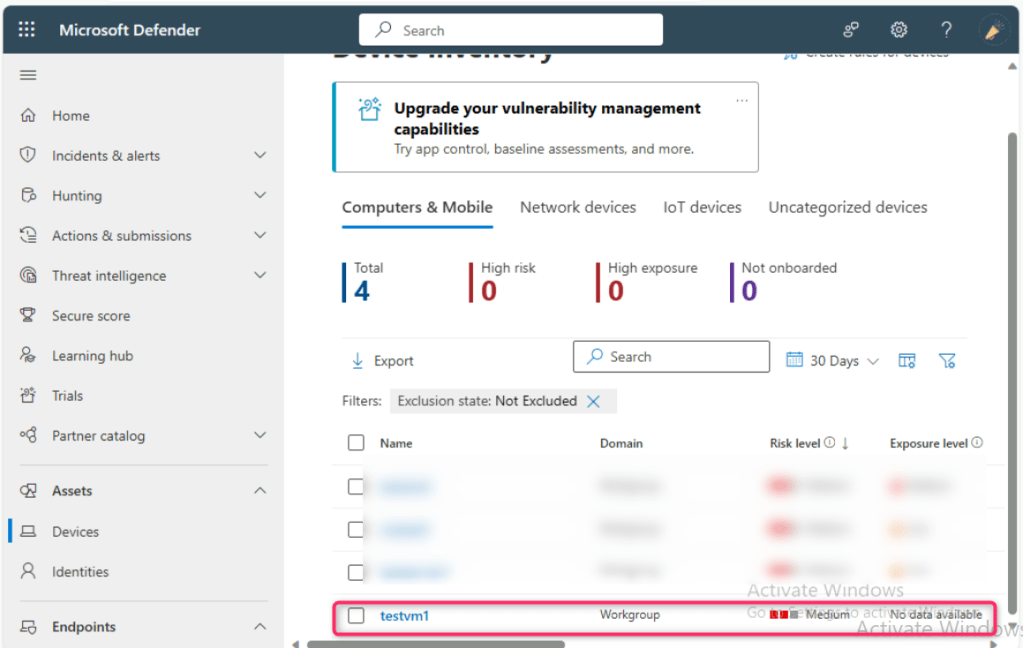
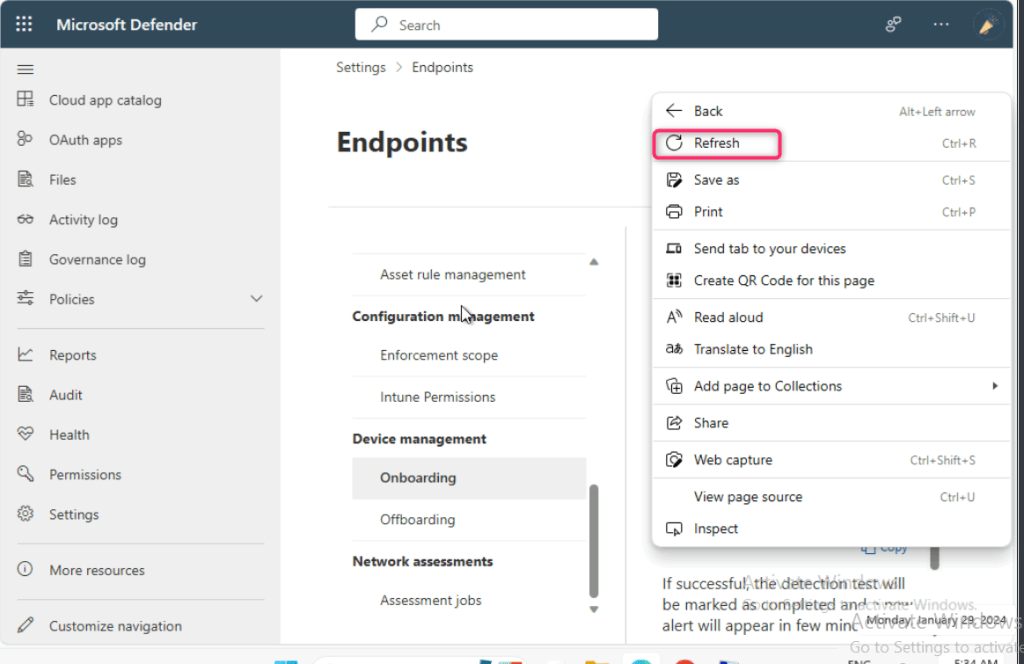
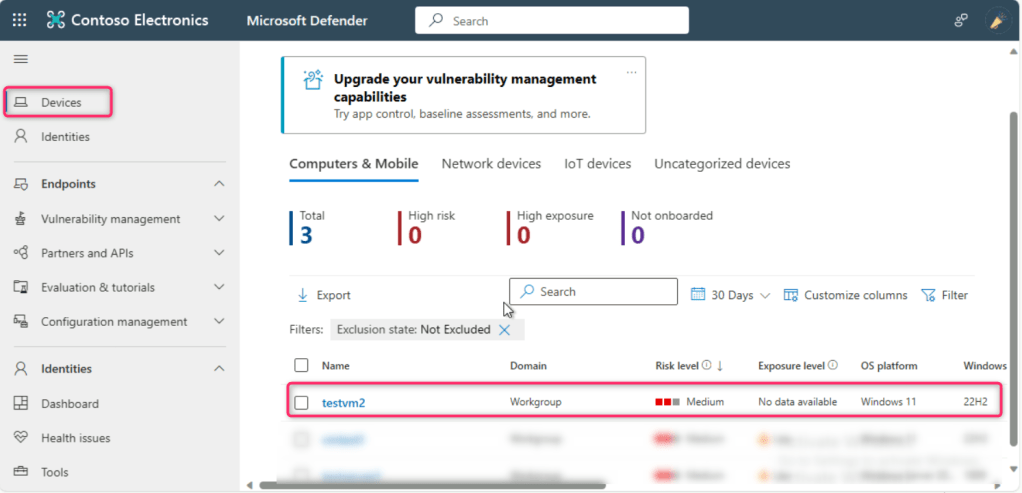
- After 15-30 minutes, close the testserver1 VM, go back to Microsoft Defender portal and refresh the page, navigate and click on Devices, you’ll see the testserver1 was successfully onboarded in Microsoft Defender for Endpoint.
Task 4: Onboarding testVM1 in Microsoft Defender for Endpoints
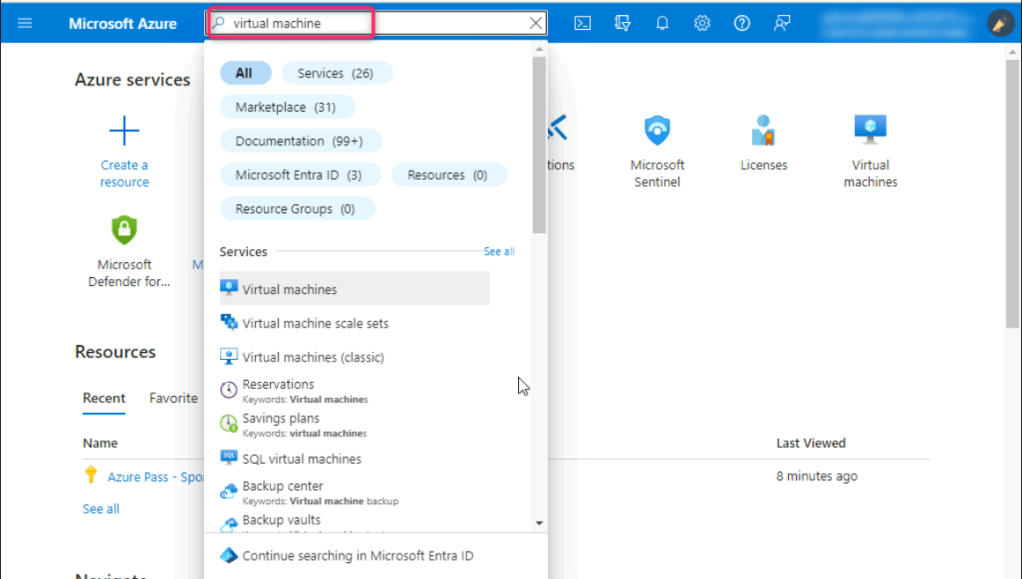
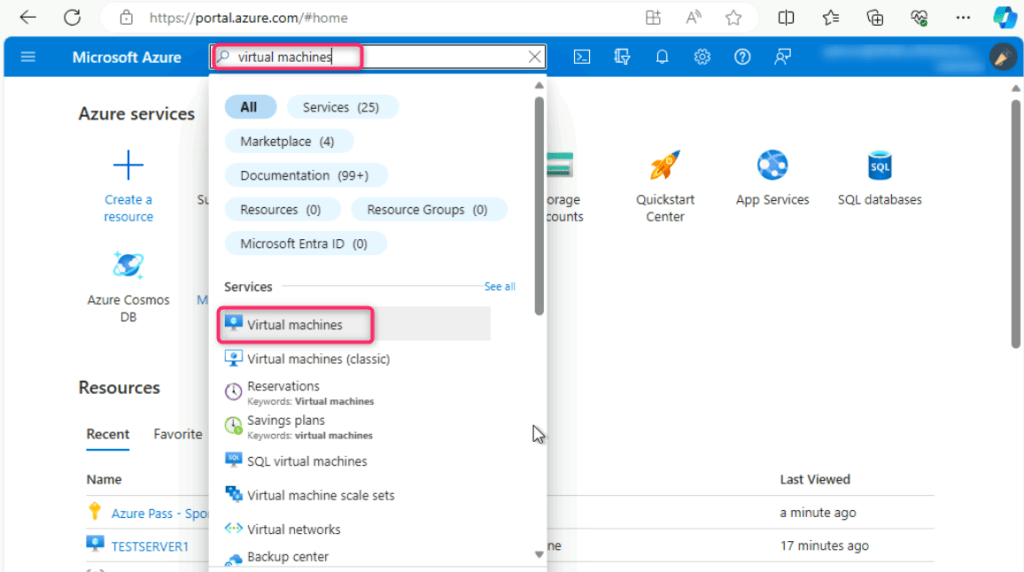
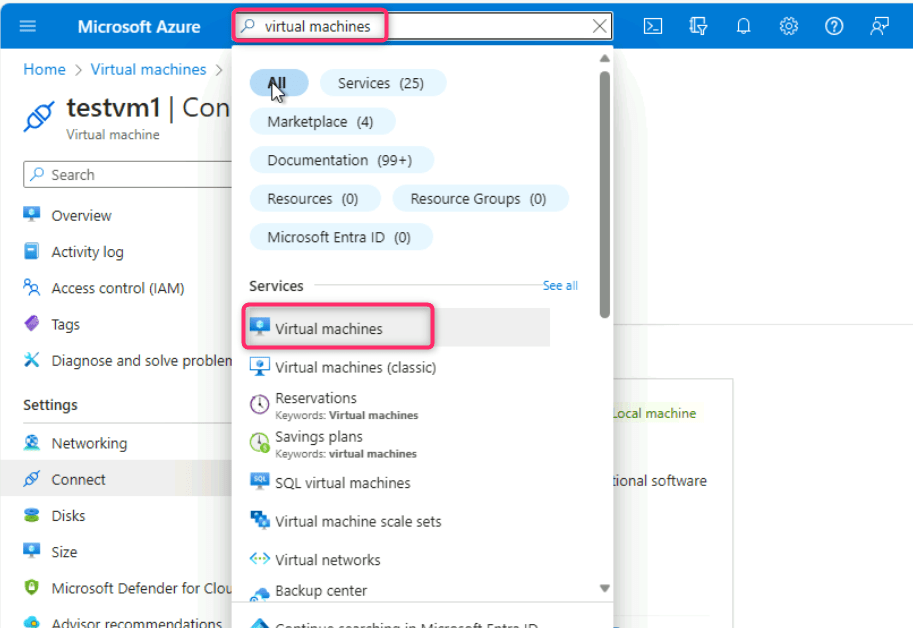
- In the Azure portal search bar, type virtual machine, then navigate and click on Virtual machines under Services.
- In the Virtual machines page, navigate and click on Create, then click on Azure virtual machine.

- In Create a virtual machine, under the Resource group field, select MCS-RG resource group. Then, navigate to Instance details section, in the Virtual machine name field, enter testvm1. In the Region field, ensure Southeast Asia region is selected.

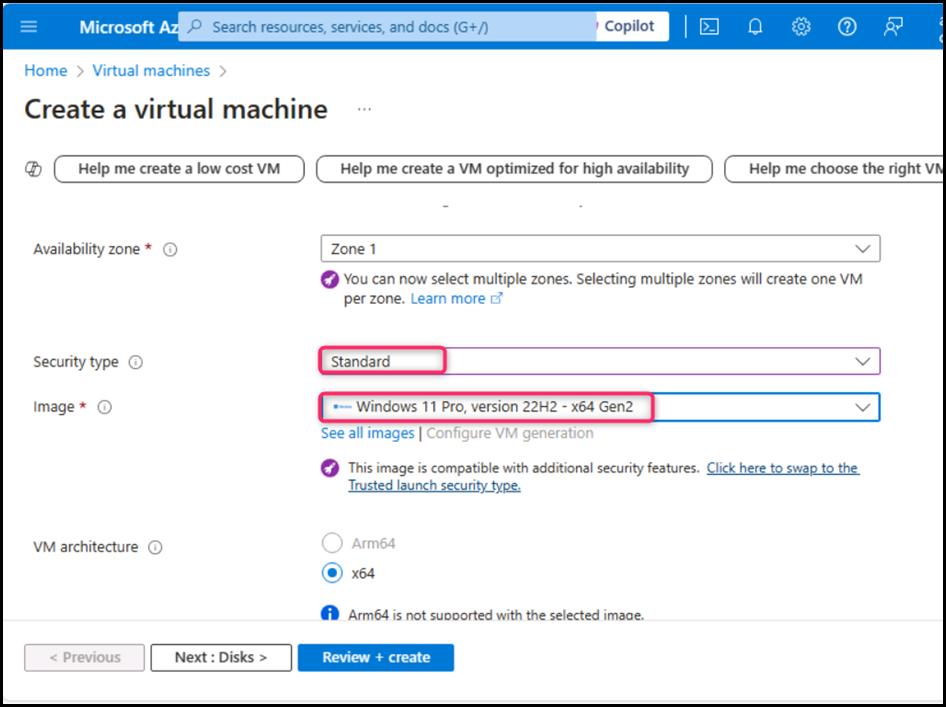
- In the Security type field, click on the dropdown and select Standard. In the Image field, select Windows 11 Pro, version 22H2 -x64 Gen2 from the dropdown.
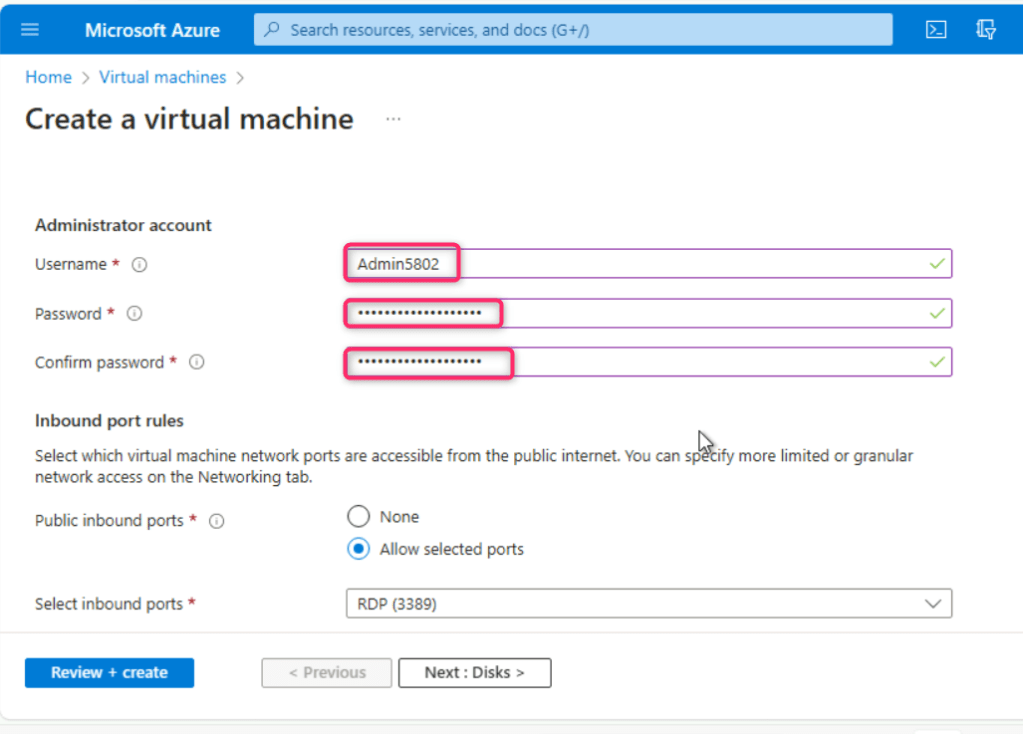
- Navigate to Administrator account section, enter the following details and leave all the field in the default state:
| Username | Admin5802 |
| Password | Administrator5801@* |
| Confirm password | Administrator5801@* |
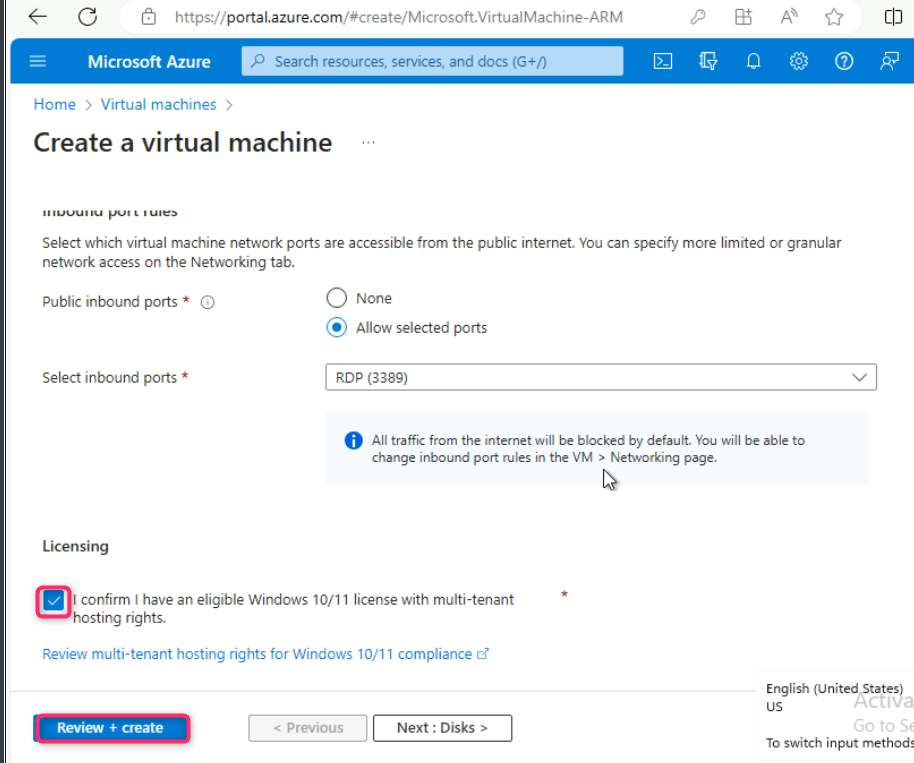
- Under Licensing section, select the checkbox I confirm I have an eligible Windows 10/11 license with multi-tenant hosting rights. Then, click on Review + create button.
- Click on the Create button.
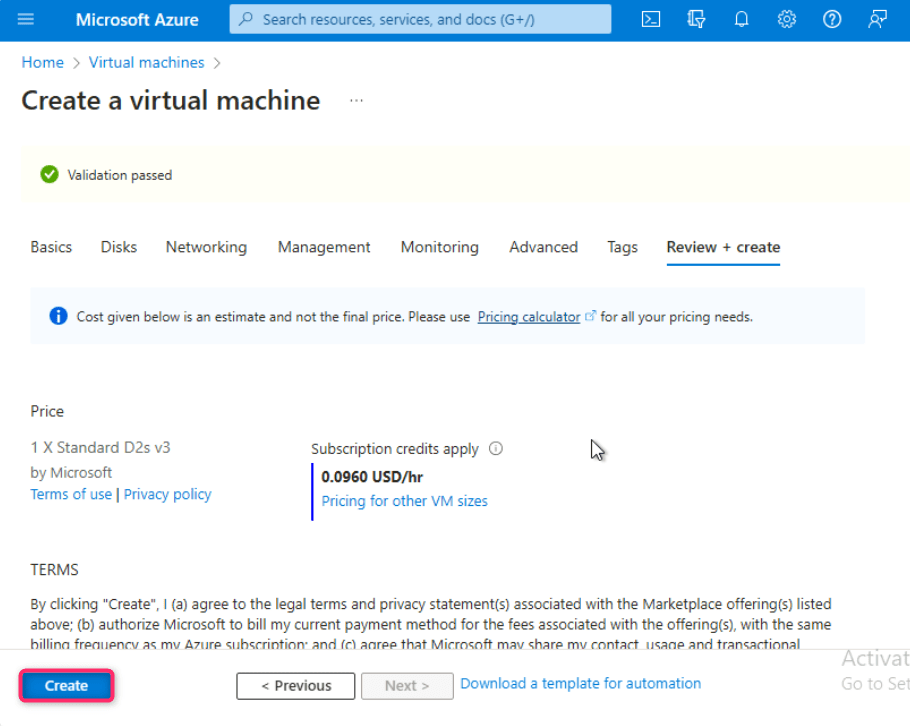
- The virtual machine is successfully created, click on the Go to resource button.
- You will be directed to the vmtest1 virtual machine page.

Note: If you see testvm1 virtual machine status is not ready. Troubleshoot the issue… then wait for 10-15 minutes and reload the page.
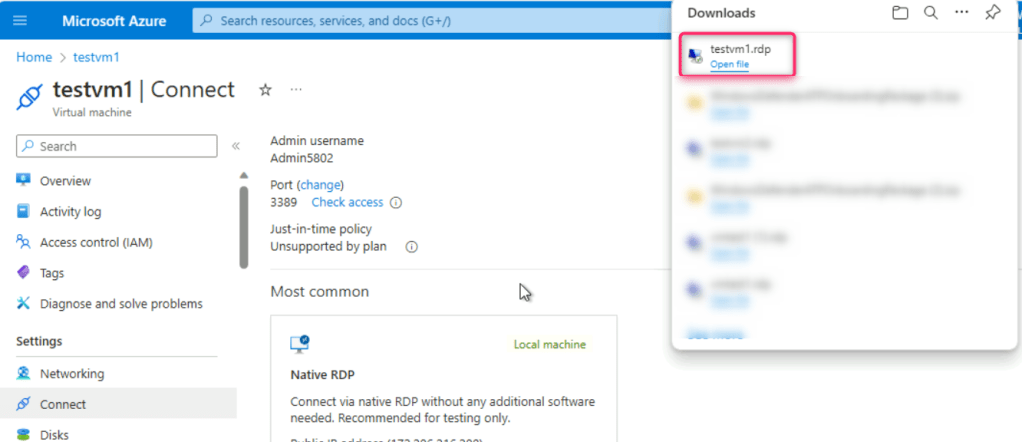
- In testvm1 virtual machine page, navigate and click on Connect on the left side navigation menu, scroll down to Native RDP tile, and click on the Download RDP file.

- On testvm1.rdp could harm your device. Do you want to keep it anyway? dialog box, click on Keep button.
- On testvm1.rdp file, click on Open file link.

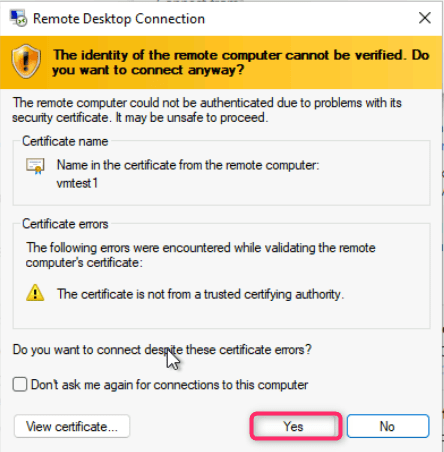
- On The publisher of this remote connection can’t be identified. Do you want to connect anyway? dialog box, click on Connect button.
- On Enter your credentials dialog box, enter the password (here, Administrator5801@*) and click on the OK button.
- On The identity of the remote computer cannot be verified. Do you want to connect anyway? dialog box, click on Yes button.

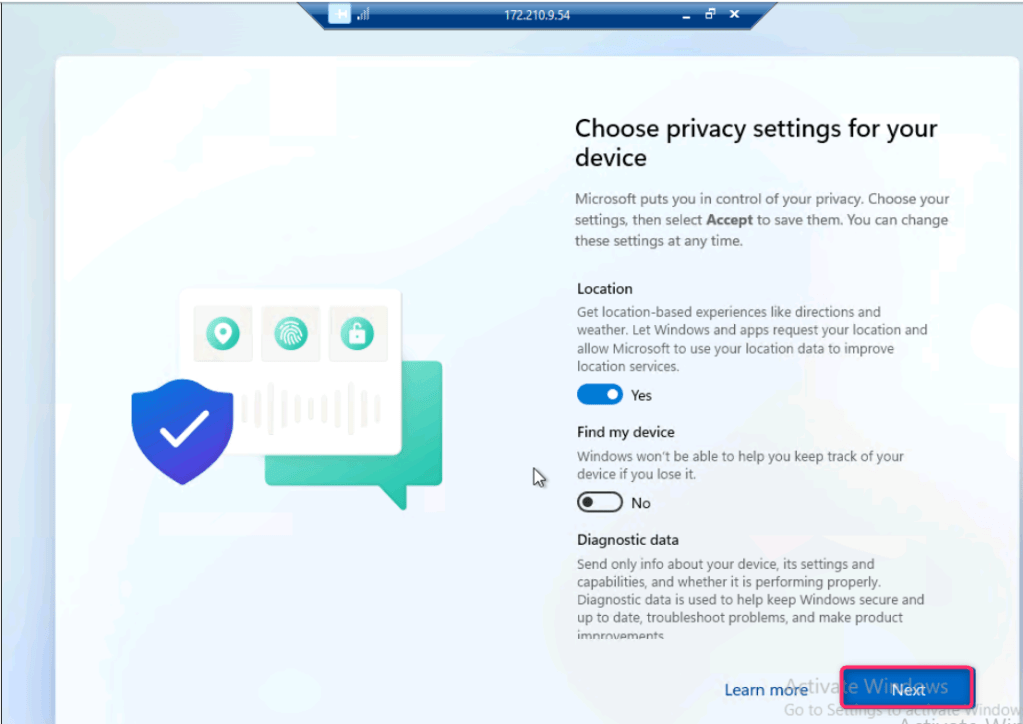
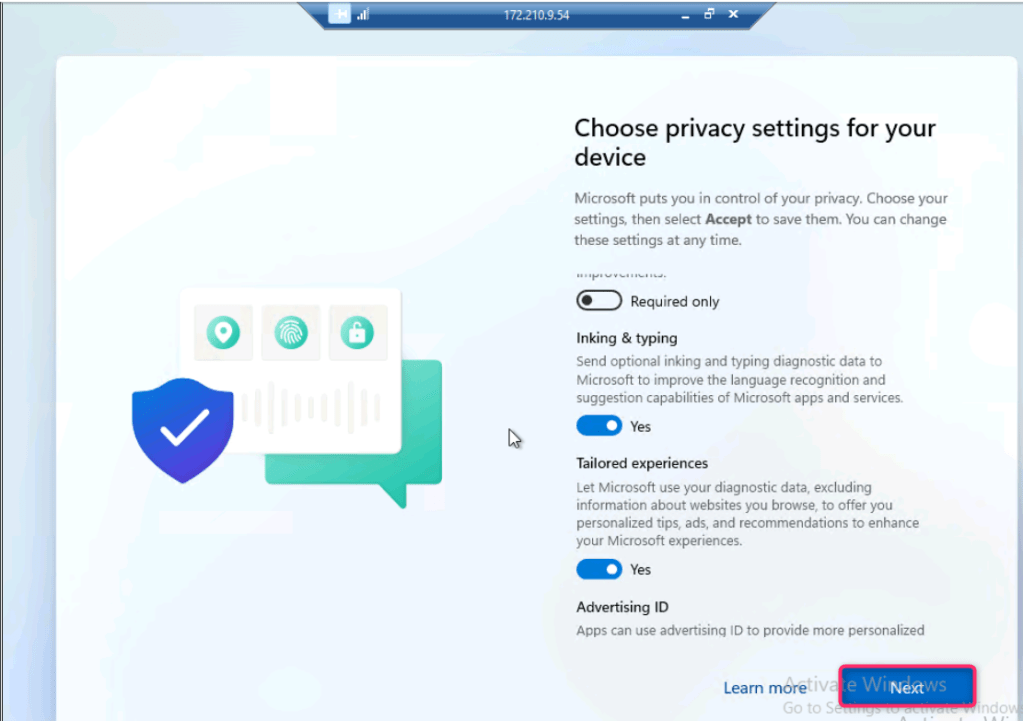
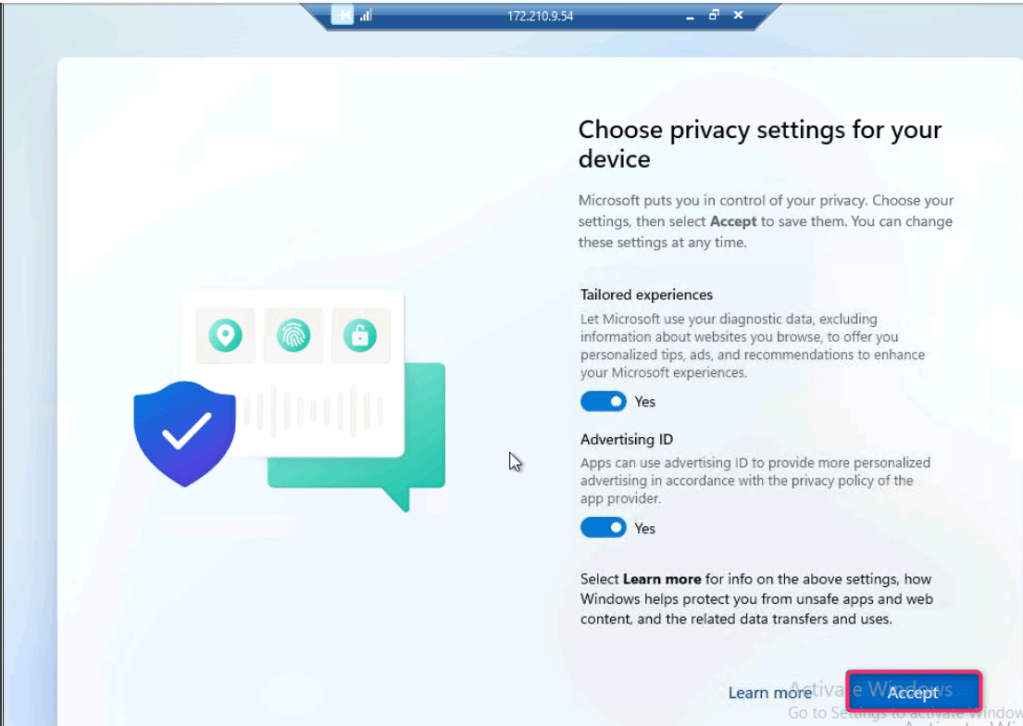
- On the Choose privacy settings for your device page, click on Next couple of times and then click on Accept button as shown in the below images.


- Go back to Microsoft Defender portal. In Microsoft Defender portal, navigate and click on Settings. In the Settings page, click on Endpoints.

- In the Endpoints page, navigate to Device management section and then click on Onboarding.
- Click on the dropdown under Select operating system to start onboarding process and select Windows 10 and 11.

- Scroll down and click on the Download onboarding package button.

- After the onboarding package is successfully downloaded, click on Open file link.

- Copy the Windows Command script
- Go back to testvm1 and paste the copied Windows Command Script on the desktop as shown in the below image.
- Right click on the script and select Run as administrator.
- Type Y and press the Enter button to continue the onboarding process.

- After onboarding the machine successfully on Defender for Endpoint, click on any key to continue the onboarding process.
- The onboarding of the testvm1 usually takes 15-30 minutes; therefore, continue with the next task.
- After 15-30 minutes, close the testvm1, go back to Microsoft Defender portal and refresh the page, navigate and click on Devices, you’ll see the testvm1 was successfully onboarded in Microsoft Defender for Endpoint.
Task 5: Onboarding testVM2 in Microsoft Defender for Endpoints
- In the Azure portal search bar, type virtual machine, then navigate and click on Virtual machines under Services.

- In the Virtual machines page, navigate and click on Create, then click on Azure virtual machine.
- In Create a virtual machine, under the Resource group field, select MCS-RS resource group. Then, navigate to Instance details section, in the Virtual machine name field, enter testvm2. In the Region field, ensure Southeast Asia region is selected.
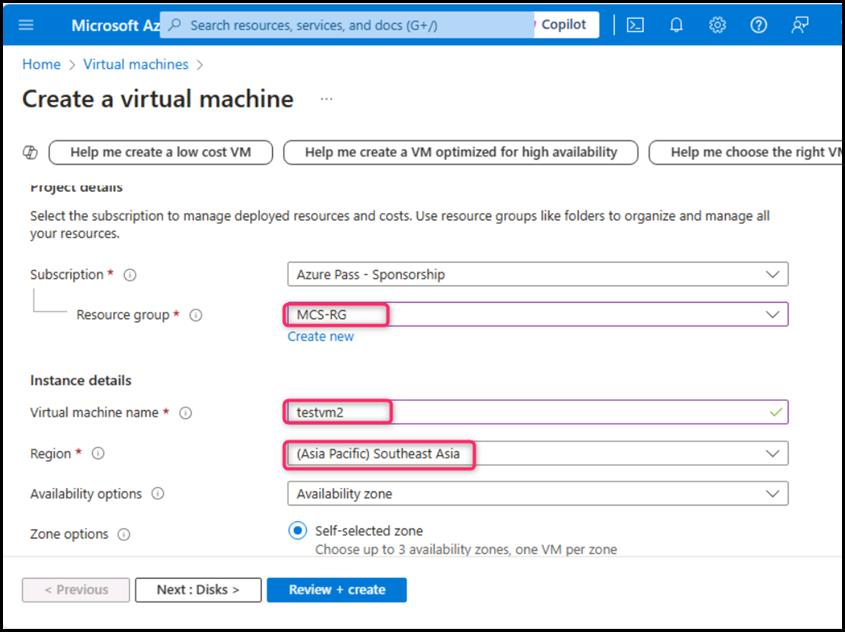
- In the Security type field, click on the dropdown and select Standard. In the Image field, select Windows 11 Pro, version 22H2 -x64 Gen2 from the dropdown.

- Navigate to Administrator account section, enter the following details and leave all the field in the default state:
| Username | Admin5803 |
| Password | Administrator5801@* |
| Confirm password | Administrator5801@* |

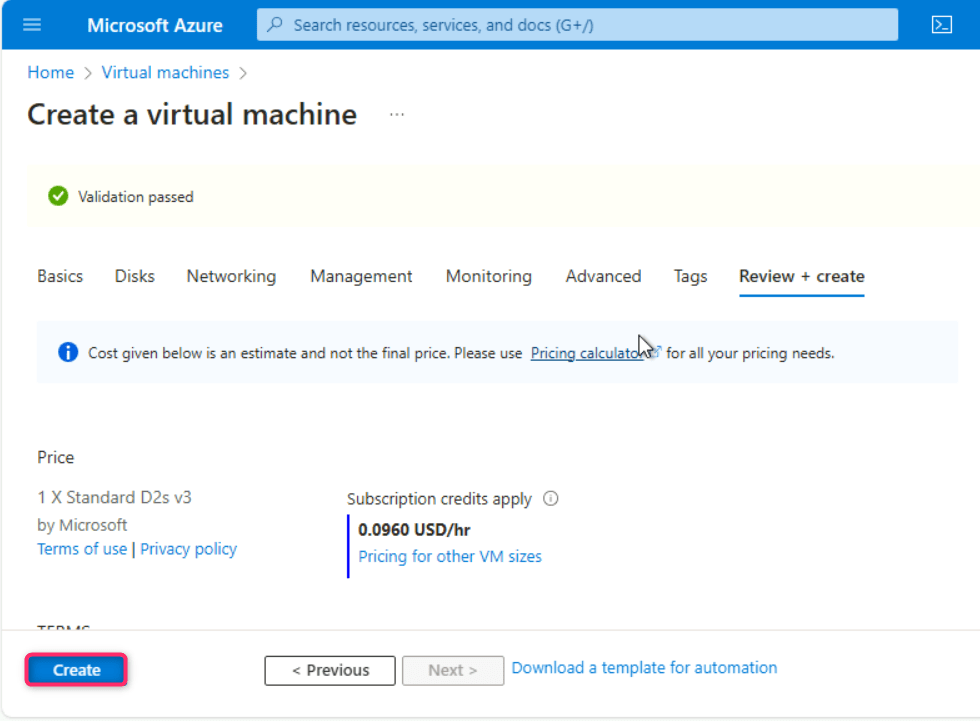
- Under Licensing section, select the checkbox I confirm I have an eligible Windows 10/11 license with multi-tenant hosting rights. Then, click on Review + create button.

- Click on the Create button.
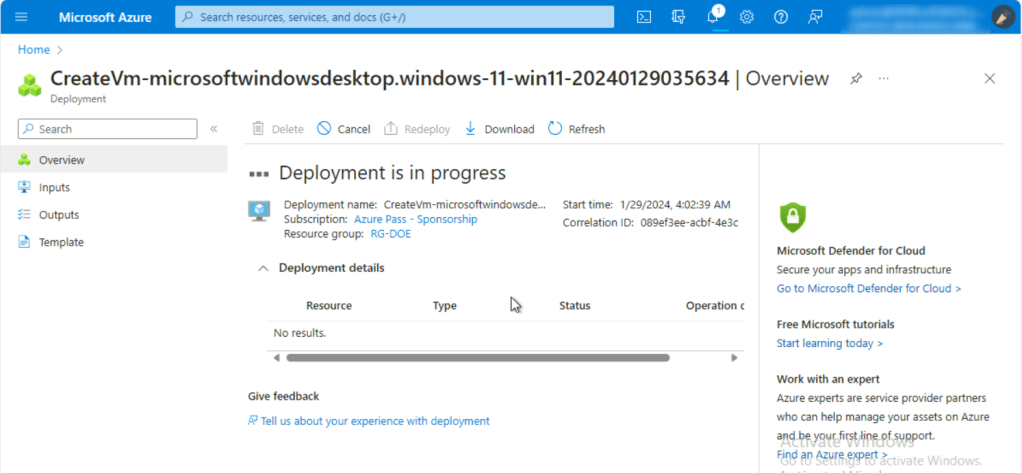
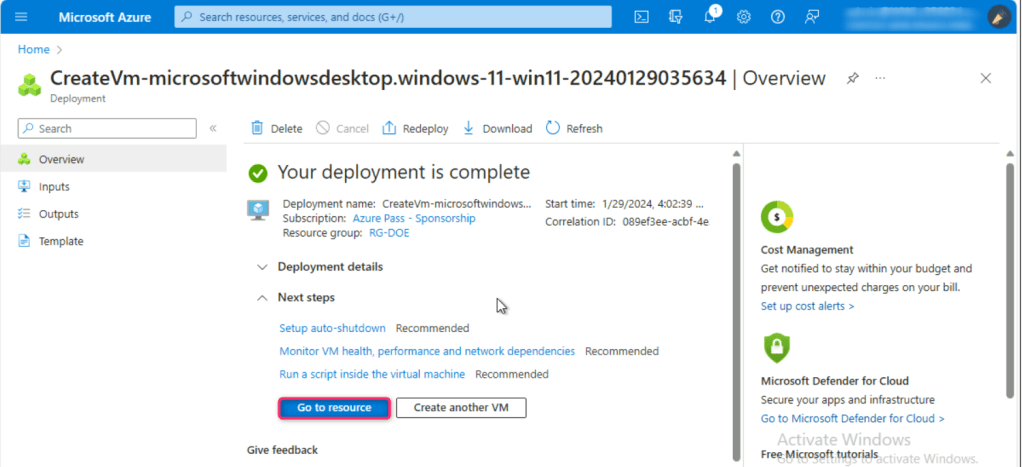
- The virtual machine is successfully created, click on the Go to resource button.
Note: If you see testvm2 virtual machine status is not ready. Troubleshoot the issue… then wait for 10-15 minutes and reload the page.
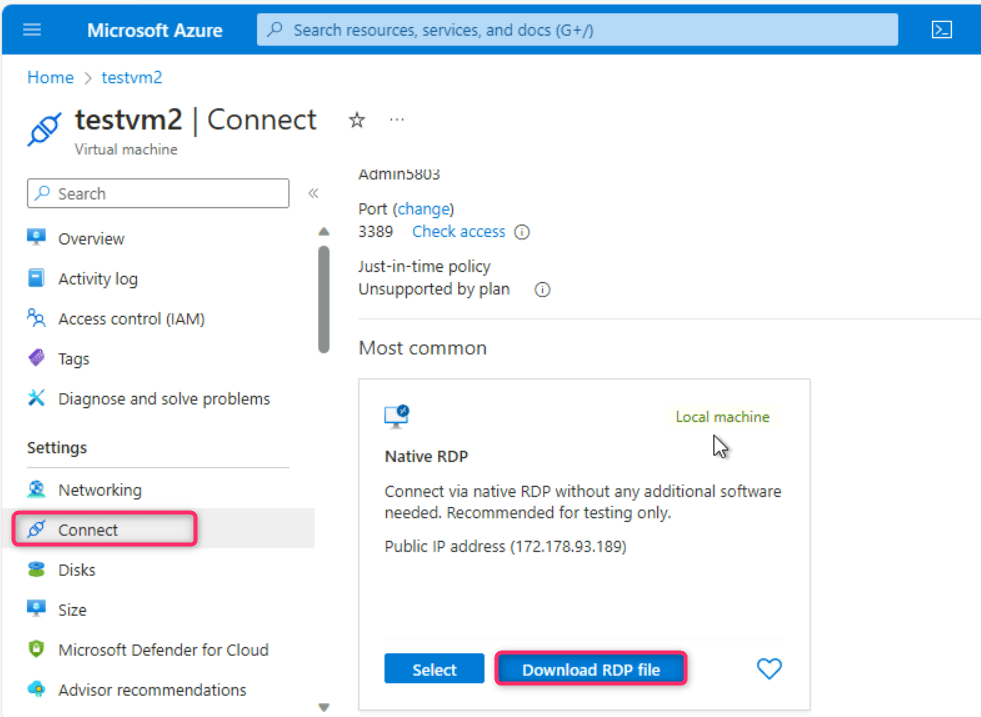
- In testvm2 virtual machine page, navigate and click on Connect on the left side navigation menu, scroll down to Native RDP tile, and click on the Download RDP file.
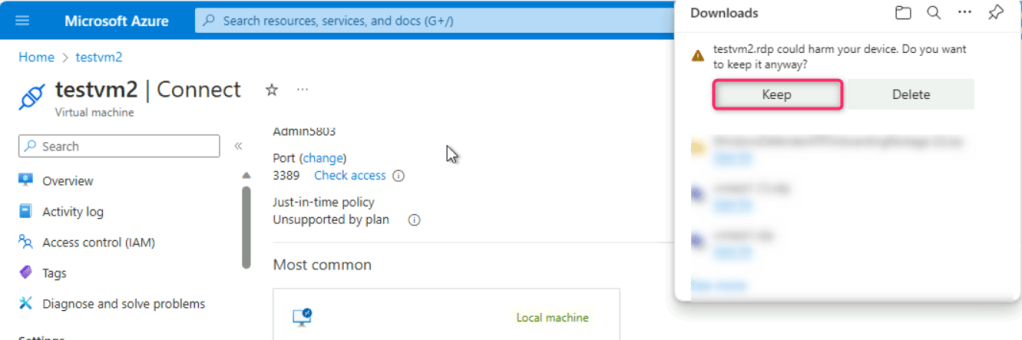
- In testvm2.rdp could harm your device. Do you want to keep it anyway? dialog box, click on Keep button.
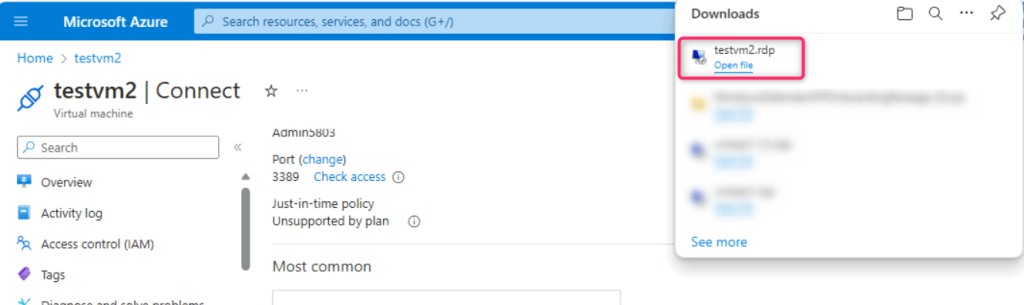
- On testvm2.rdp file, click on Open file link.
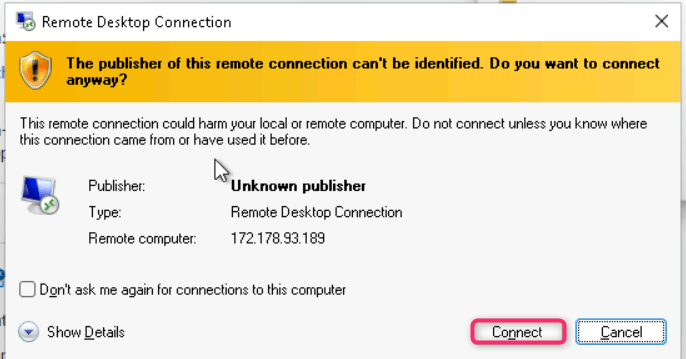
- On The publisher of this remote connection can’t be identified. Do you want to connect anyway? dialog box, click on Connect button.
- On Enter your credentials dialog box, enter the password (here, Administrator5801@*) and click on the OK button.
- On The identity of the remote computer cannot be verified. Do you want to connect anyway? dialog box, click on Yes button.
- On Choose privacy settings for your device page, click on Next couple of times and then click on Accept button as shown in the below images.

- Go back to your VM and open the WindowsDefenderATPOnboardingPackage that you have downloaded in Task 4, Step #22.
- Copy the Windows Command script

- Go back to testvm2 and paste the copied Windows Command Script on the desktop as shown in the below image.
- Right click on the script and select Run as administrator.
- Type Y and press the Enter button to continue the onboarding process.
- After onboarding the machine successfully on Defender for Endpoint, click on any key to continue the onboarding process.
- Refresh Microsoft Defender portal.
- The onboarding of the testvm2 usually takes 15-30 minutes; therefore, continue with the next task.
- After 15-30 minutes, close the testvm2, go back to Microsoft Defender portal and refresh the page, navigate and click on Devices, you’ll see the testvm2 was successfully onboarded in Microsoft Defender for Endpoint.
- Close all the VMs.
Task 6: Create test account using Microsoft Entra ID
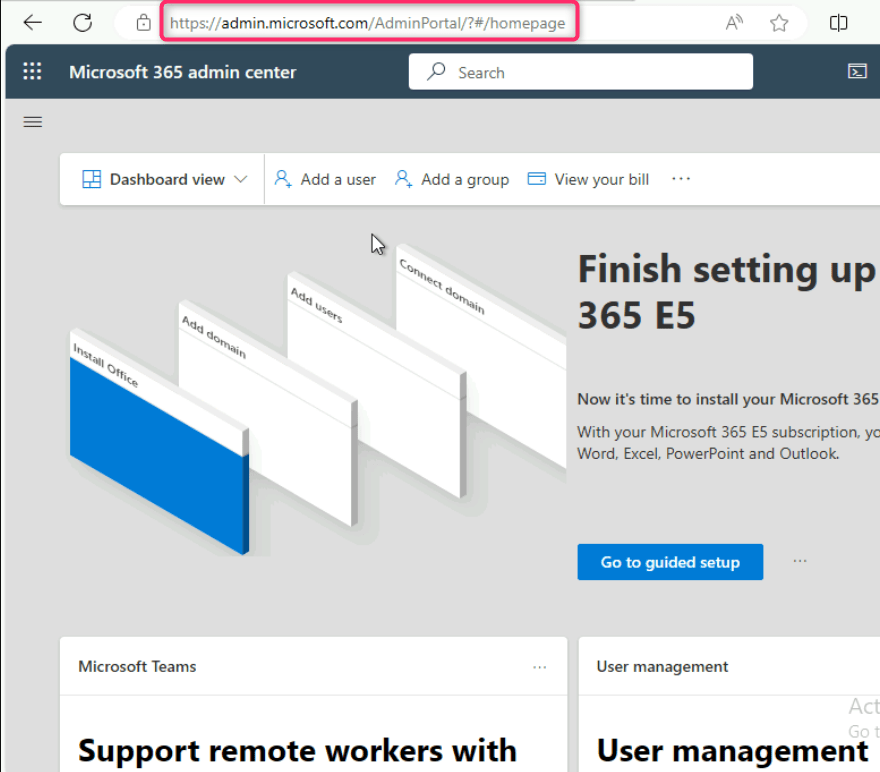
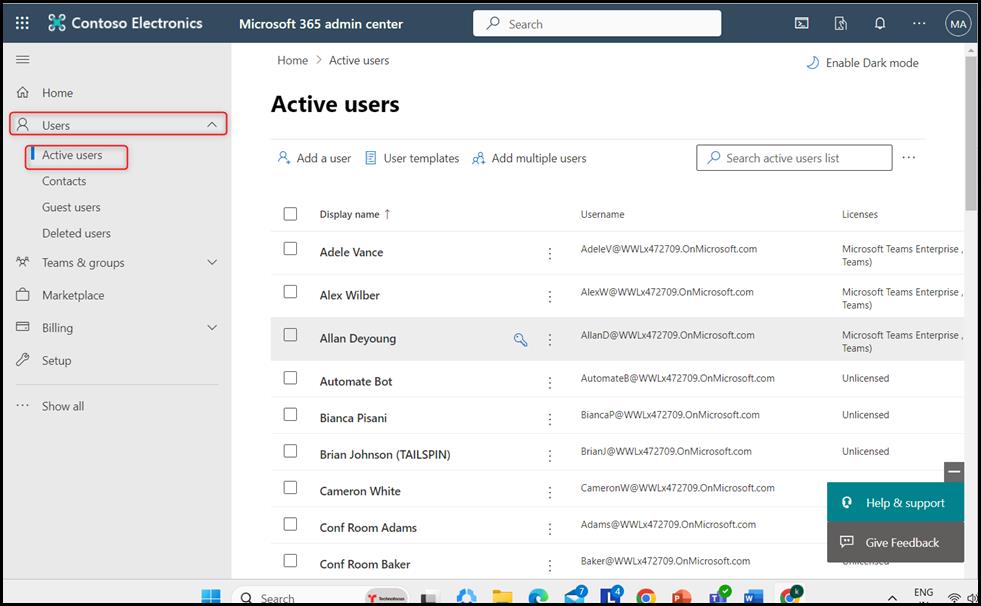
- Open a new tab and enter the following link: https://admin.microsoft.com/AdminPortal/#/homepage
- Click on the navigation menu represented by three horizontal bars, navigate and select Users, then click on Active users, as shown in the below image.
- Scroll down and select the user – Diego Siciliani, click on the vertical ellipsis beside the user name, then navigate and click on Manage product licenses as shown in the below image.
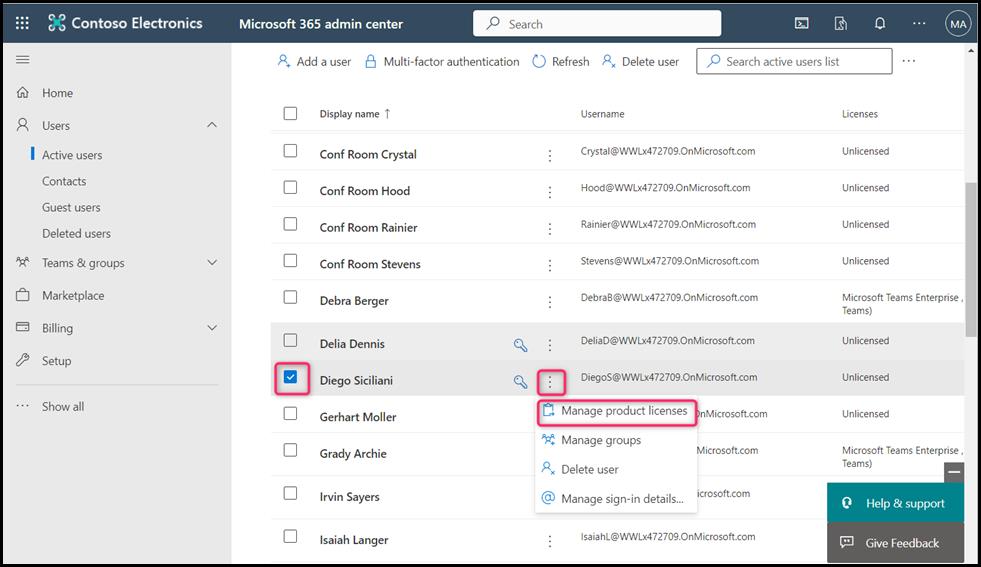
- Remove all the licenses assigned to Diego Siciliani by unchecking thee check boxes and then click on Save changes button.


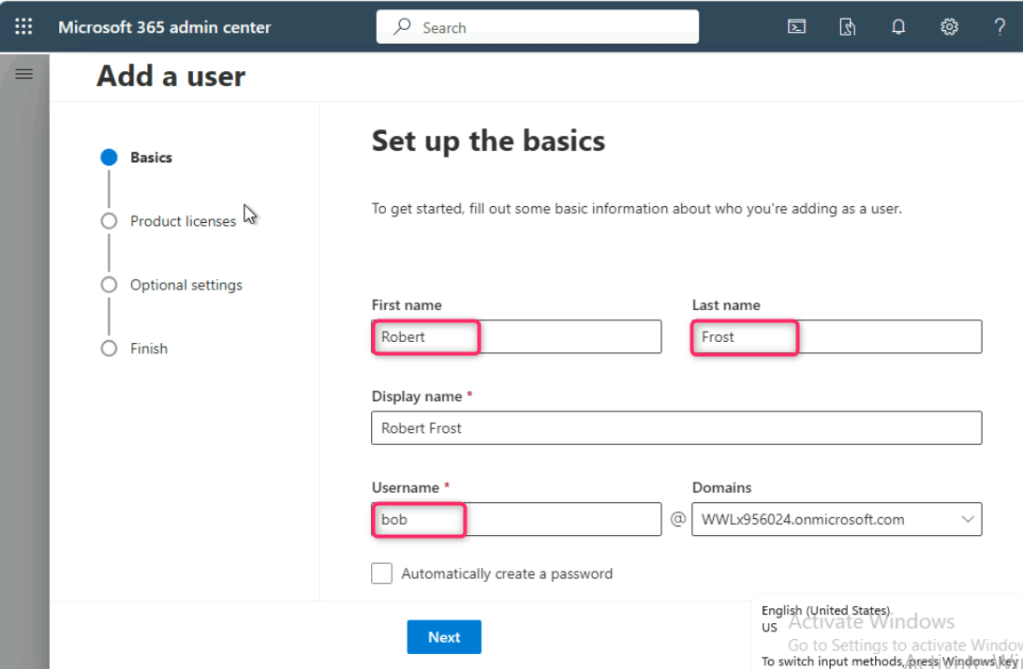
- In the Users page, click on Add user.

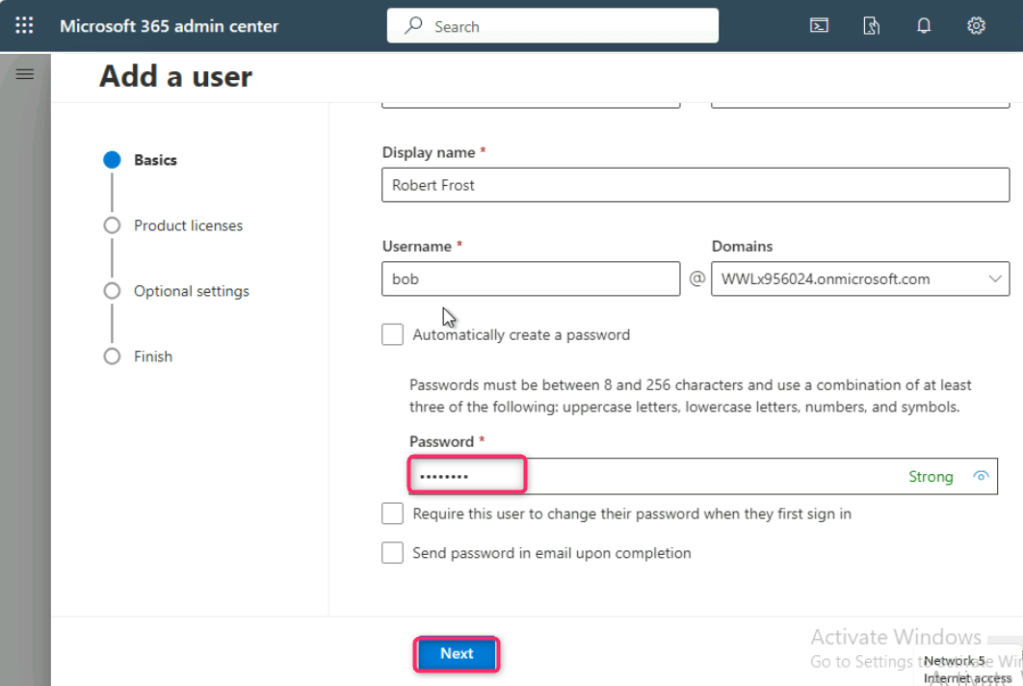
- Under Set up the basics pane, in the First name field, enter Robert, and in the Last name field, enter Frost. Navigate to Username field, and enter bob as shown in the below image.
- Uncheck all the boxes, in the Password field, enter the following password: Xof37931@
| Username | bob@WWLx956024.onmicrosoft.com |
| Password | Xof37931@ |
- Click on the Next button.
Note: You can use the Username and Password of your choice, kindly note them on a notepad as these are required in the upcoming tasks.
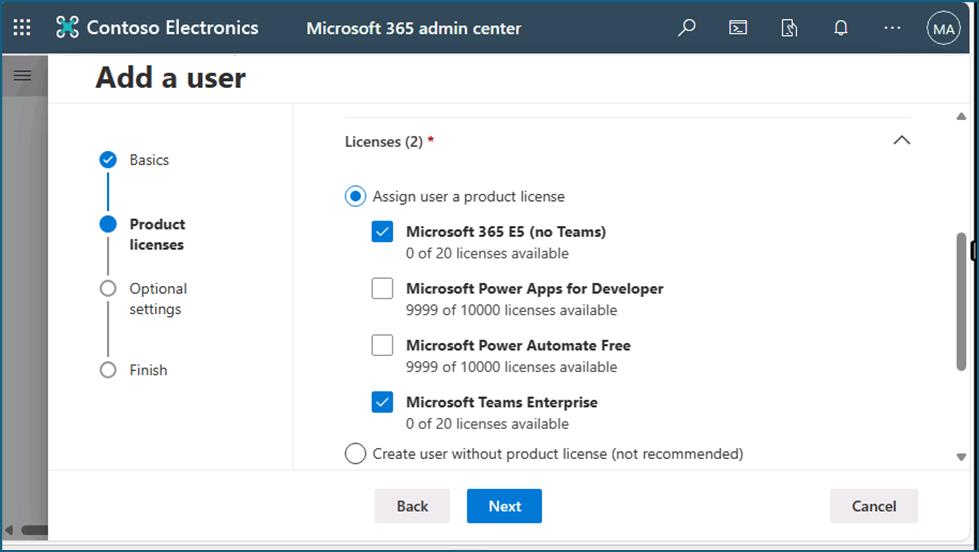
- In the Product licenses pane, navigate and select Microsoft 365 E5 and Microsoft teams enterprise license checkboxes, then click on the Next button
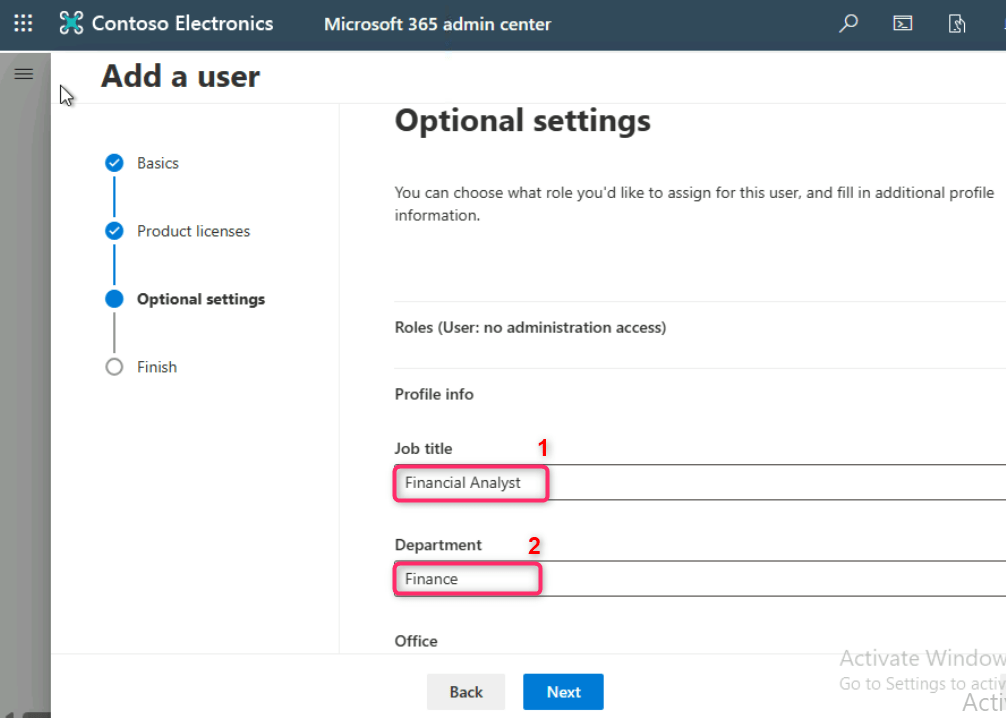
- In the Optional settings pane, click on Profile info, enter the following details and click on the Next button. You can mentioned your address details.
| Job title | Financial Analyst |
| Department | Finance |
| Office | Alpine |
| Mobile phone | XXX-XXX-XXXX |
| Street Address | Suite 215 |
| City | Alpine |
| State or province | Alabama |
| Zip or postal code | 35014 |
| Country or region | United States |
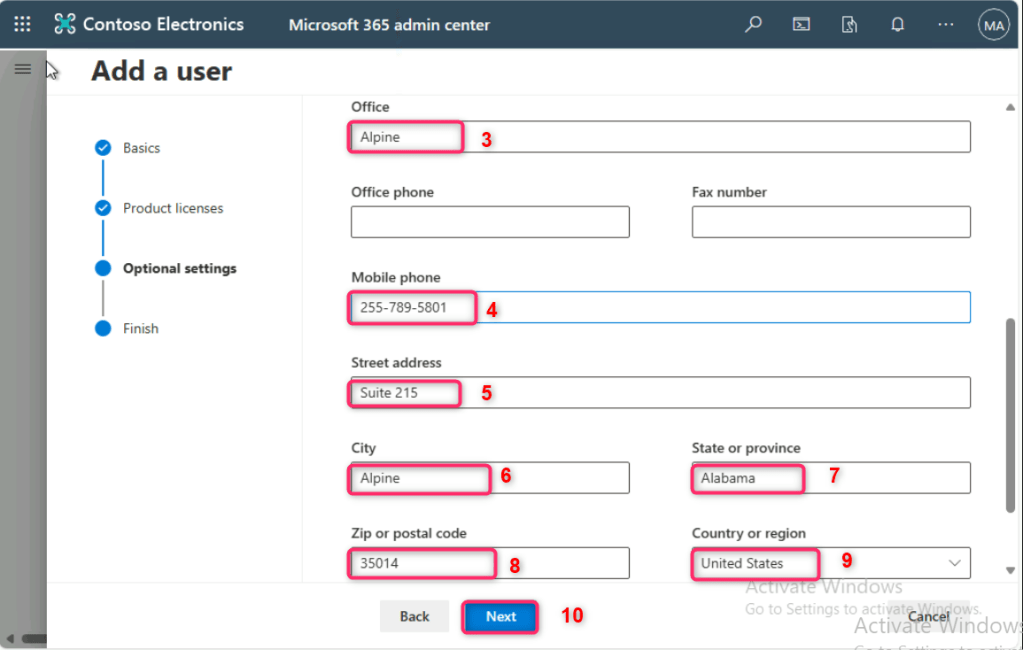
- Review the details and click on the Finish adding button.

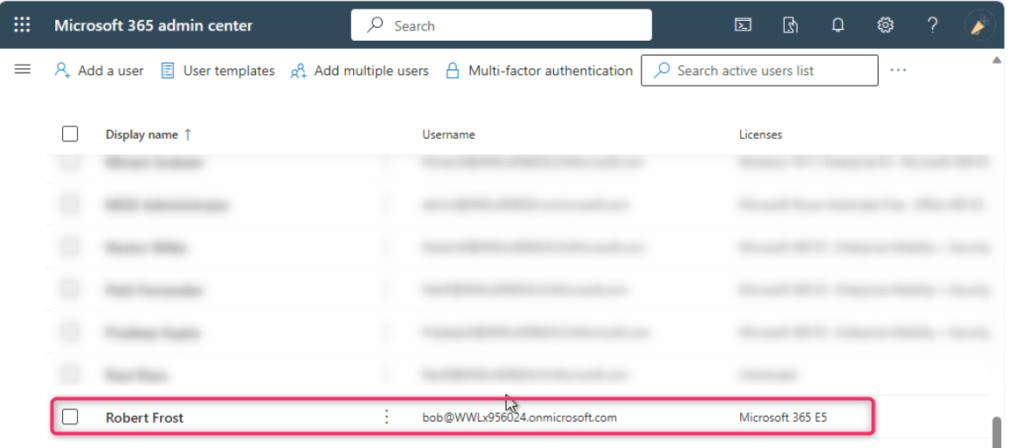
- On Robert Frost added to active users pane, navigate and click on the Close button.

- You’ll see that Robert Frost is added to the Active users page.
Task 7: Preparing the prerequisite on the testvm1 virtual machine
- Go back to Azure portal. In the Azure portal search bar, type virtual machines, then navigate and click on Virtual machines under Services.
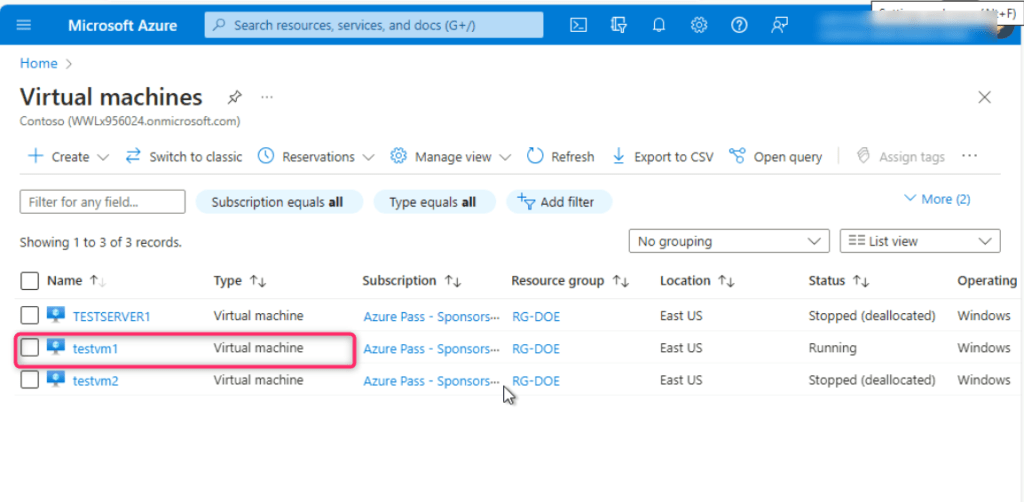
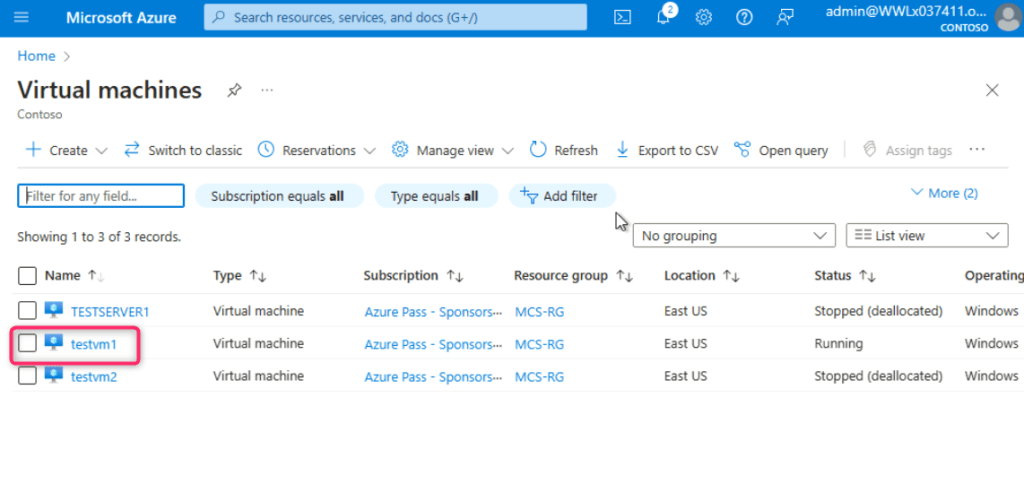
- In the Virtual machines page, click on testvm1.
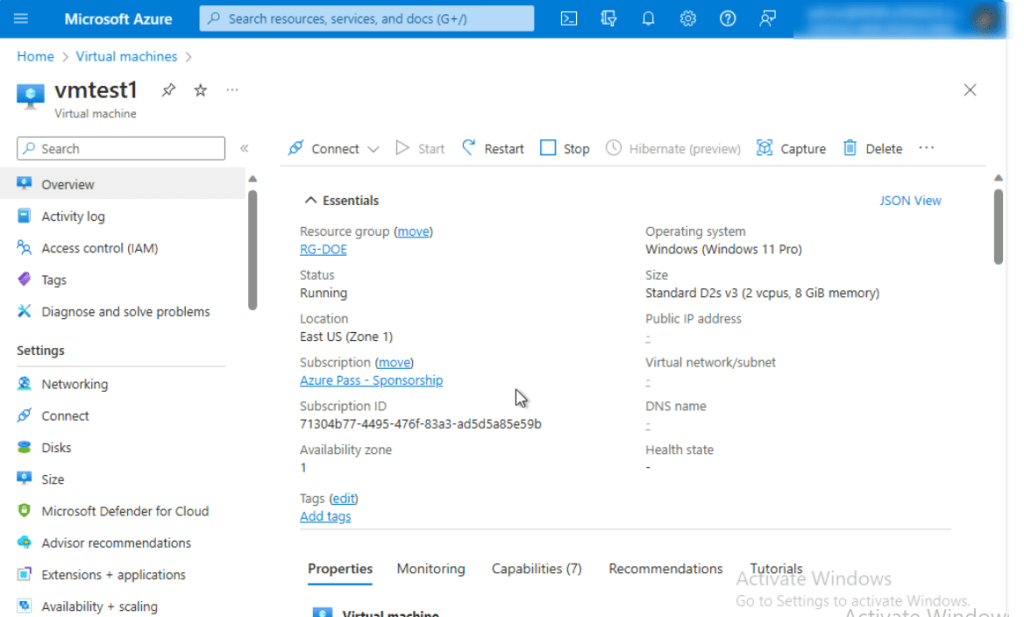
- vmtest1 virtual machine page will be opened.
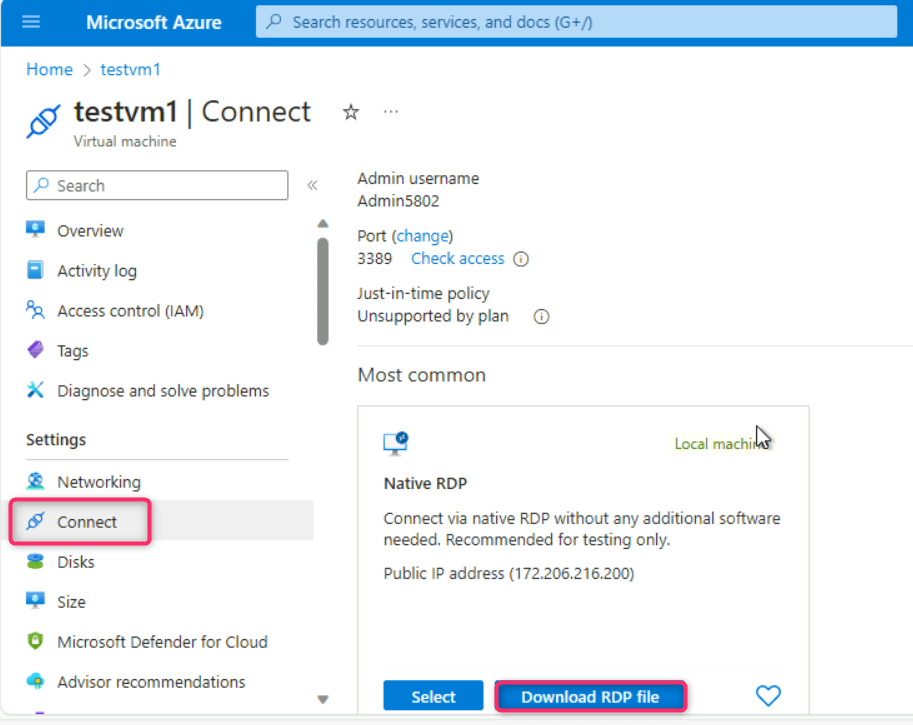
- In testvm1 virtual machine page, navigate and click on Connect on the left side navigation menu, scroll down to Native RDP tile, and click on the Download RDP file.
- On the testvm1.rdp could harm your device. Do you want to keep it anyway? dialog box, click on Keep button.

- On testvm1.rdp file, click on Open file link.
- On The publisher of this remote connection can’t be identified. Do you want to connect anyway? dialog box, click on Connect button.

- On Enter your credentials dialog box, enter the password (here, Administrator5801@*) and click on the OK button.

- On The identity of the remote computer cannot be verified. Do you want to connect anyway? dialog box, click on Yes button.
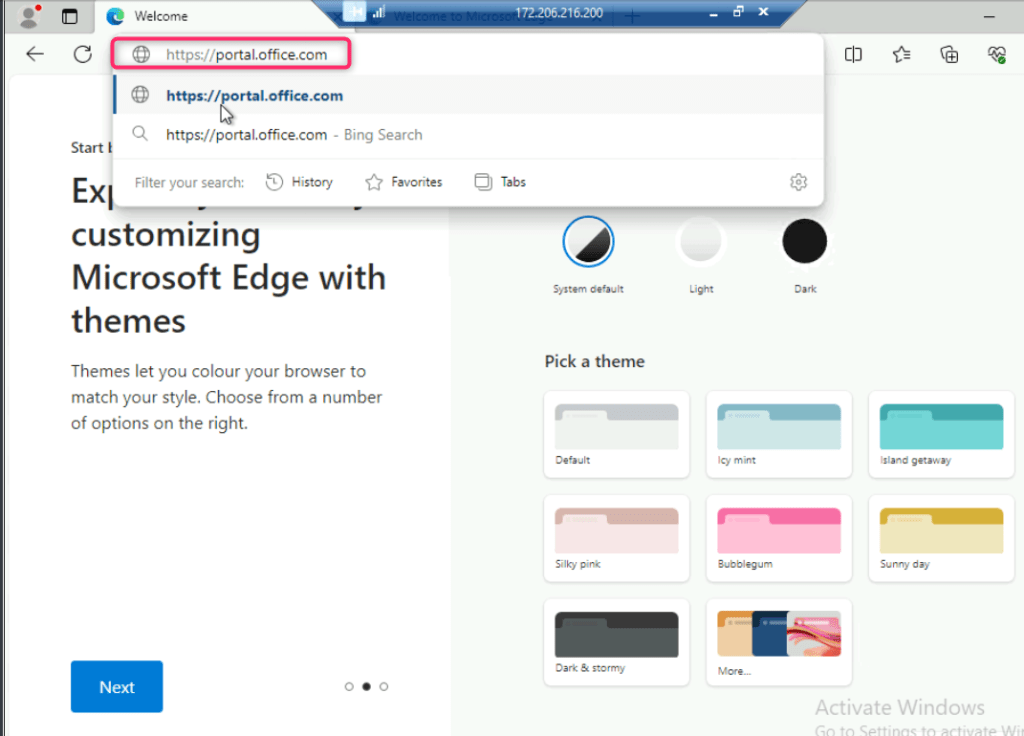
- After logging in to testvm1 virtual machine, open the Edge browser, then select Start without data button >Confirm and Continue button >Continue without this data button >Confirm and start browsing button >Finish button) and enter the following URL in the address bar: https://portal.office.com
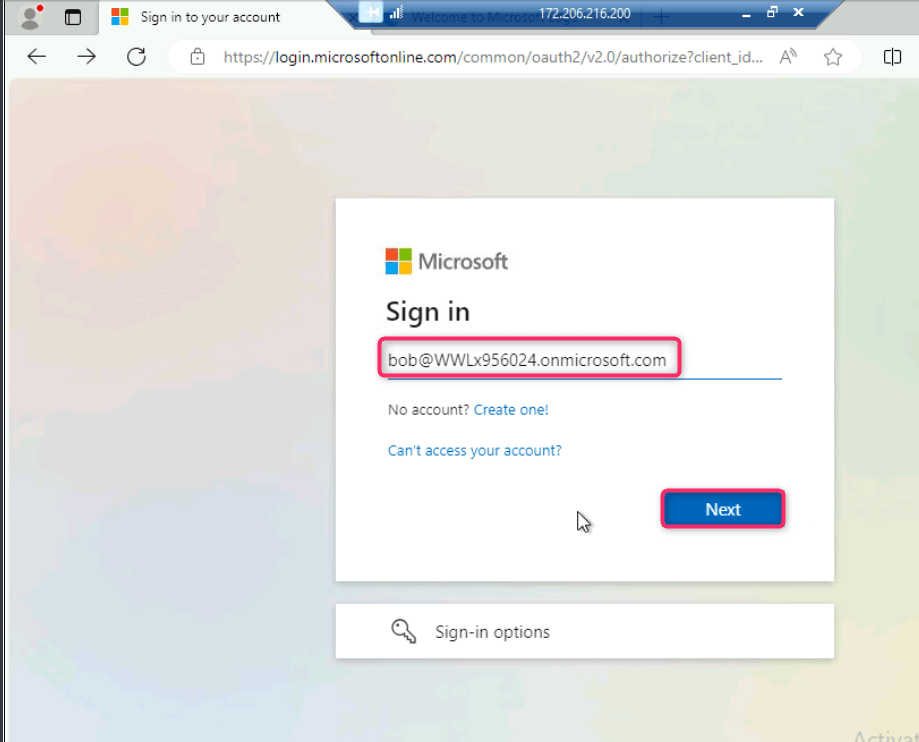
- Sign in to the Microsoft 365 portal using the following details:
| Username | bobadmin@WWLx802718.onmicrosoft.com.onmicrosoft.com |
| Password | Xof37931@ |
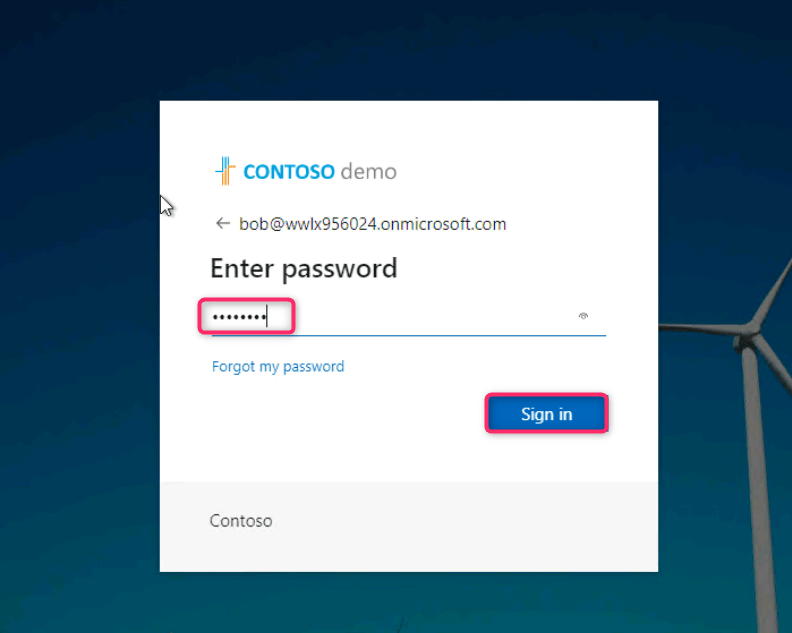
- In the Stay signed in? window, click on the Yes button.

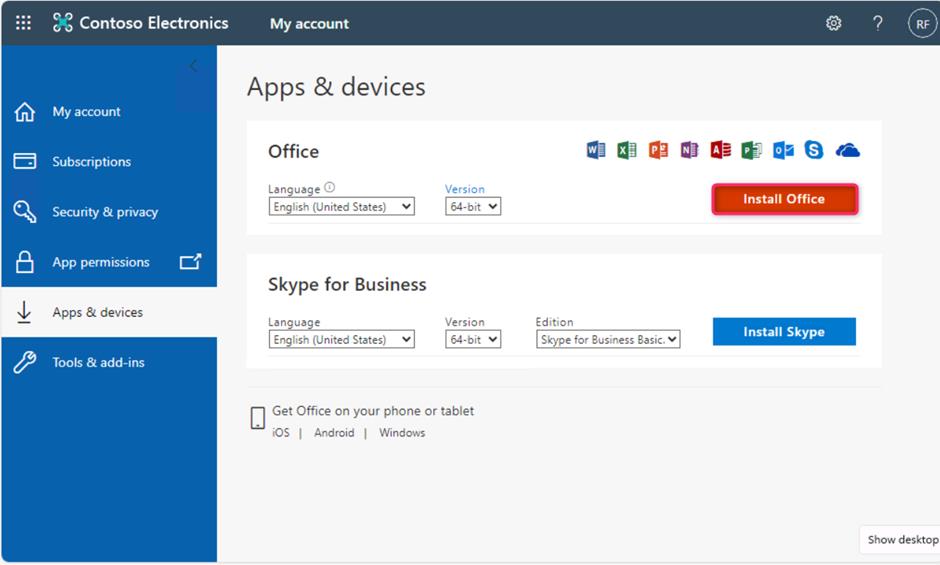
- In Microsoft 365 page, navigate and click on Install and more dropdown, then click on Install Microsoft 365 apps.

- Click on Install Office button.
- OfficeSetup.exe file will be downloaded, click on Open file link.

- Wait for few minutes while Microsoft 365 and Office downloads.
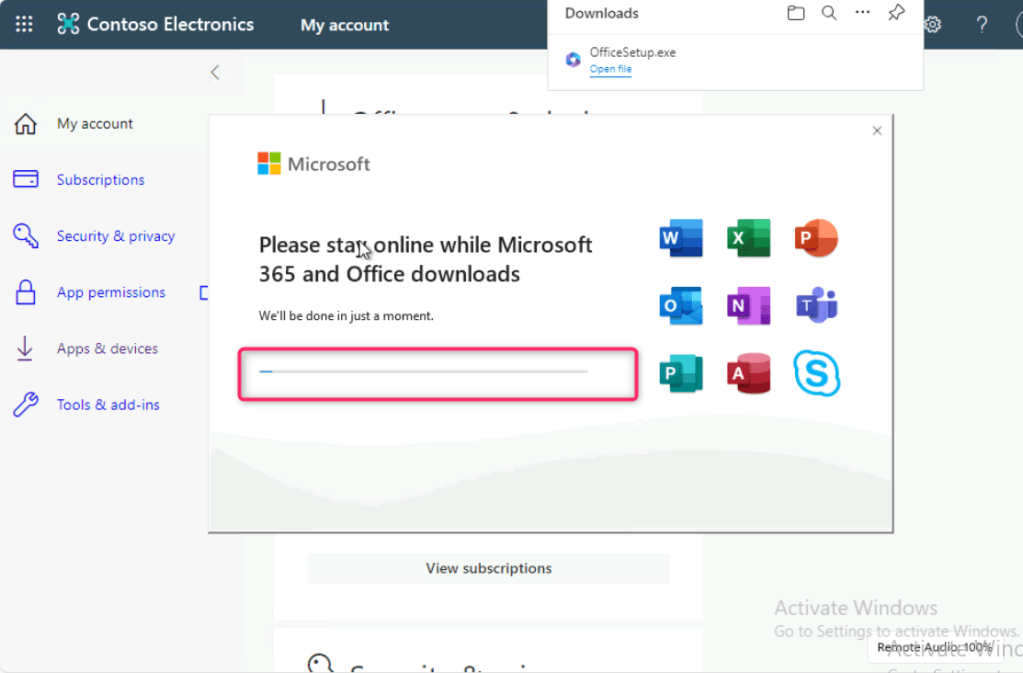
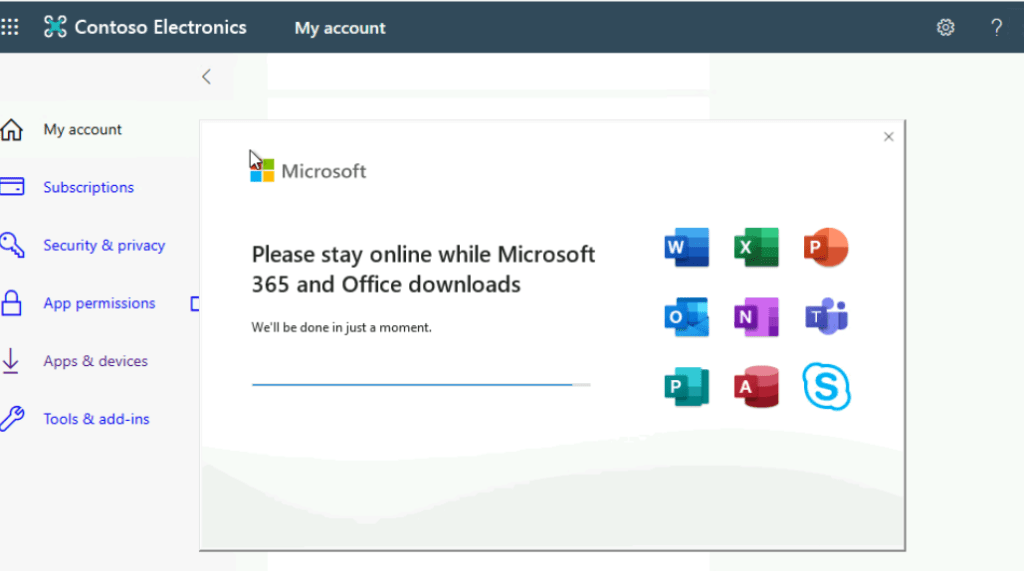
Note: The installation will take around 10-20 minutes to complete.
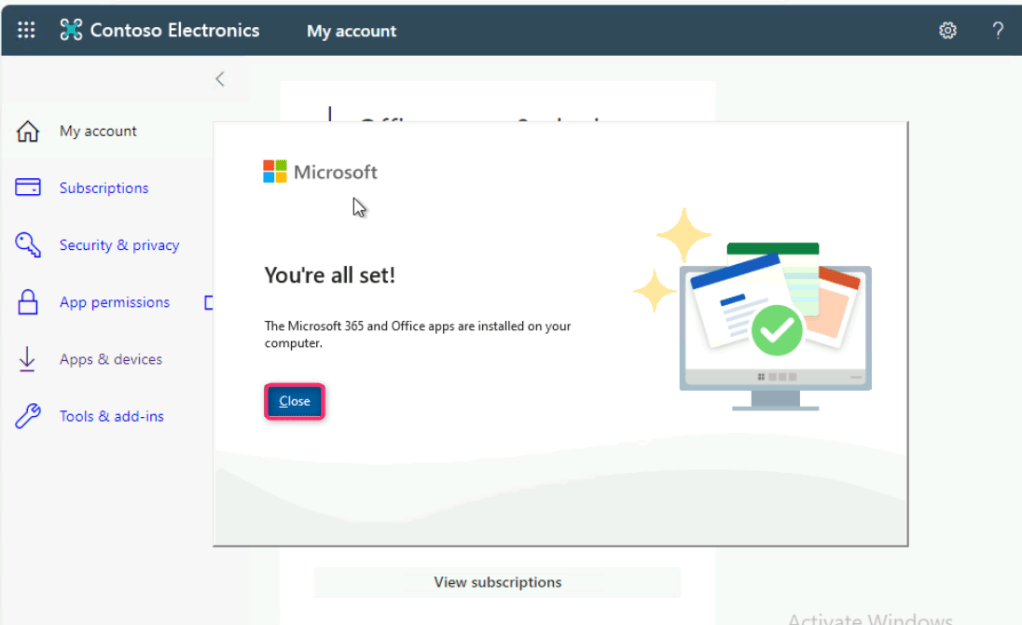
- On You’re all set! dialog box, click on the Close button.
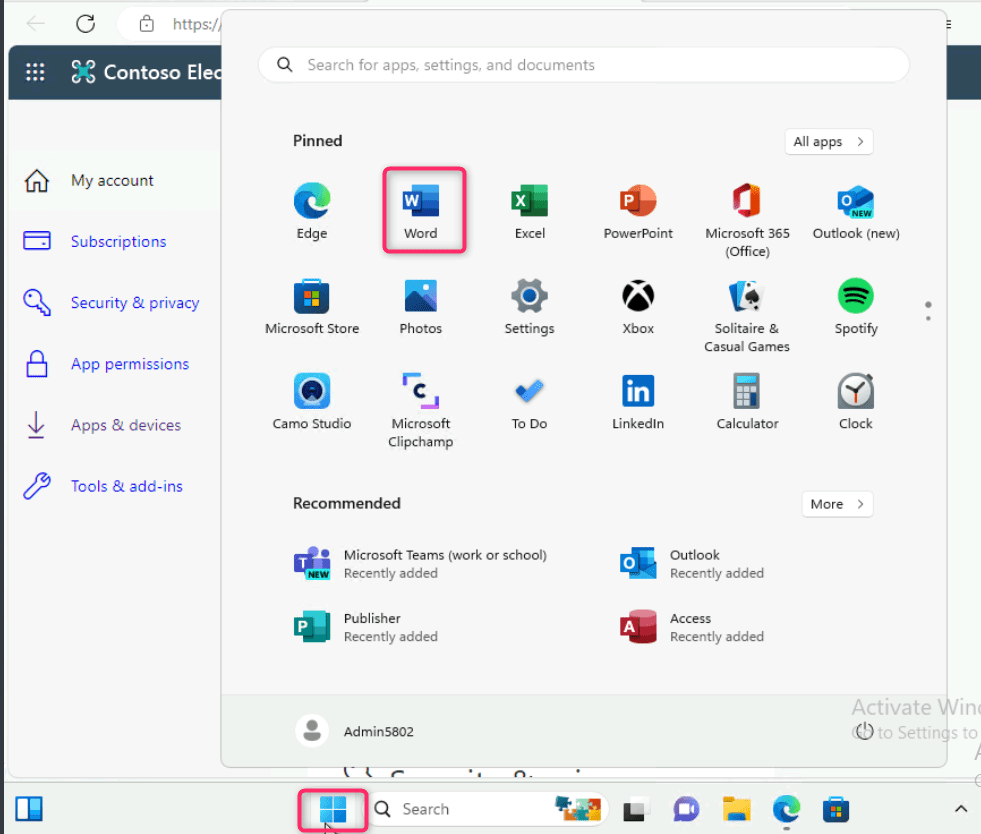
- Click on the Start menu and then click on Word as shown in the below image.
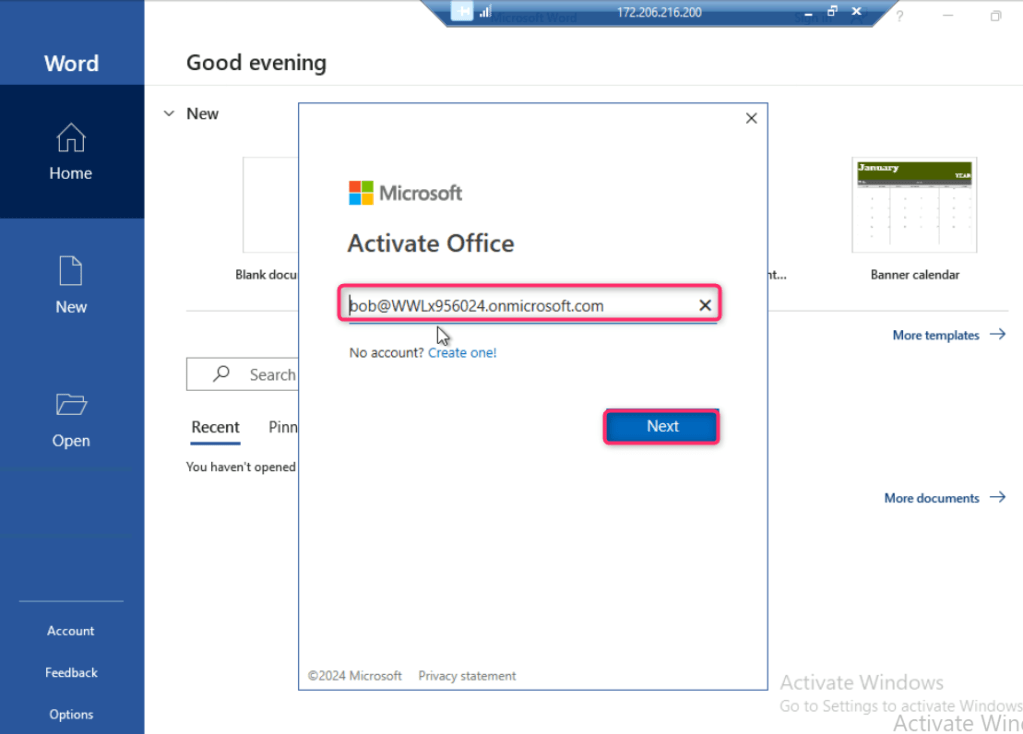
Click on Sign in or create account button.

- The domain name of the user should be reflected.
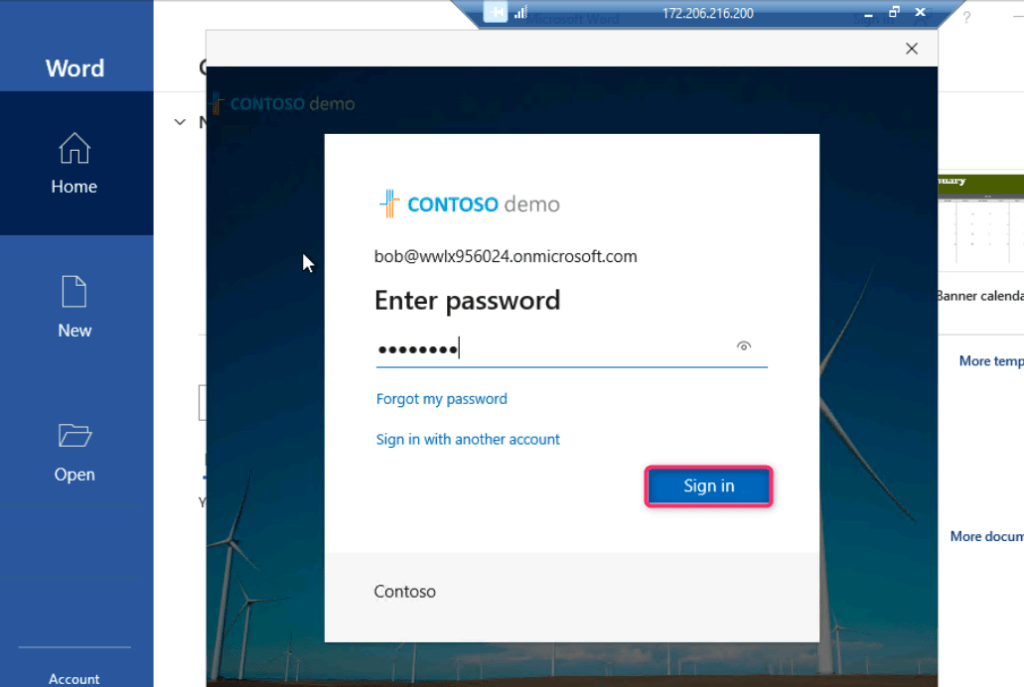
- Login using the following details:
| Username | bobadmin@WWLx802718.onmicrosoft.com.onmicrosoft.com |
| Password | Xof37931@ |
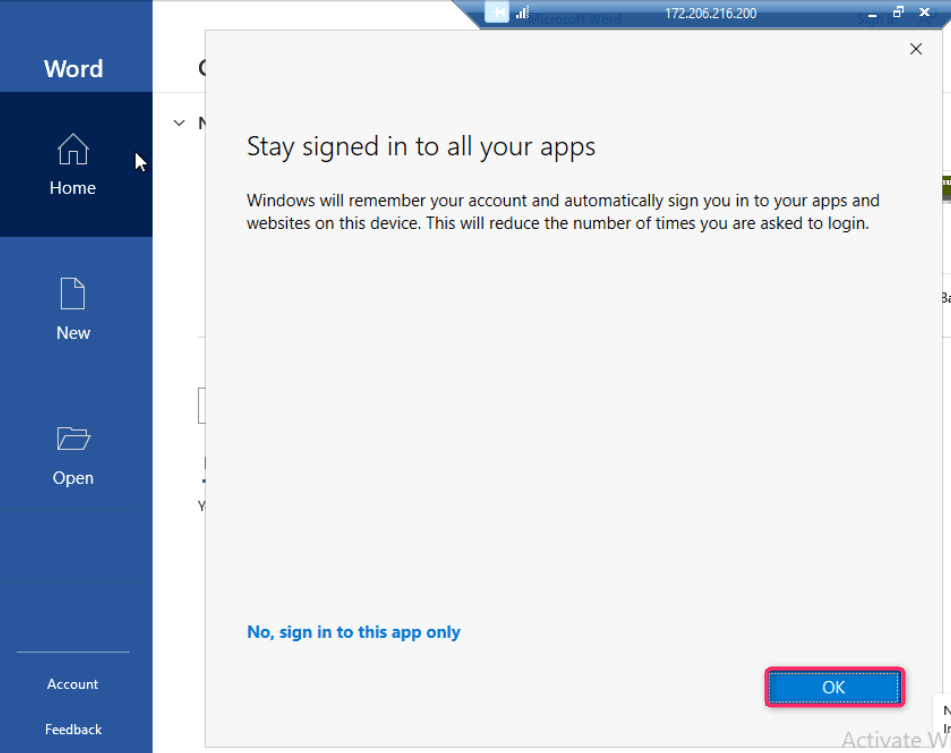
- On Stay signed in to all your apps dialog box, click on OK button.
- On You’re all set dialog box, click on Done button.

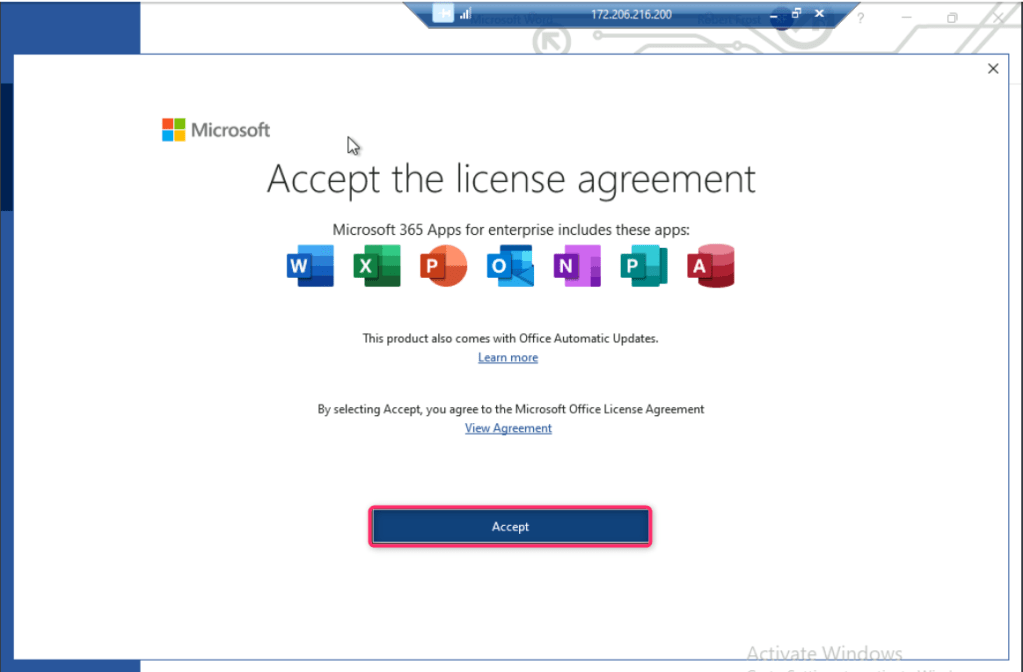
- On the Accept the license agreement dialog box, click on Accept button.
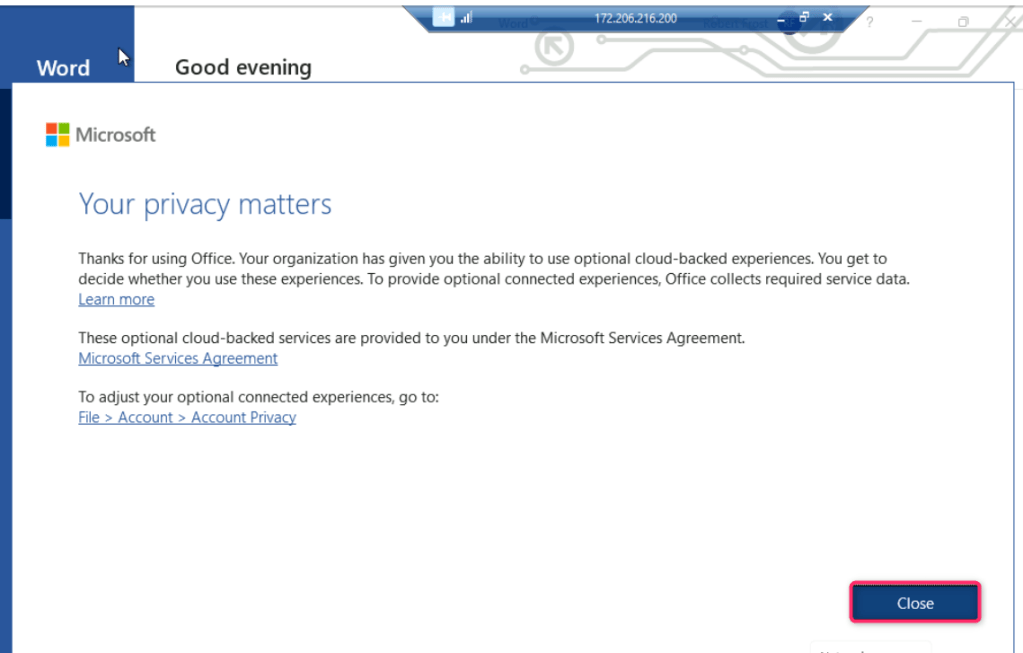
- On Your privacy matters dialog box, click on the Close button.
Task 8: Stop all the Virtual Machines
- In the Azure portal search box, type virtual machines, then navigate and click on Virtual machines under Services.

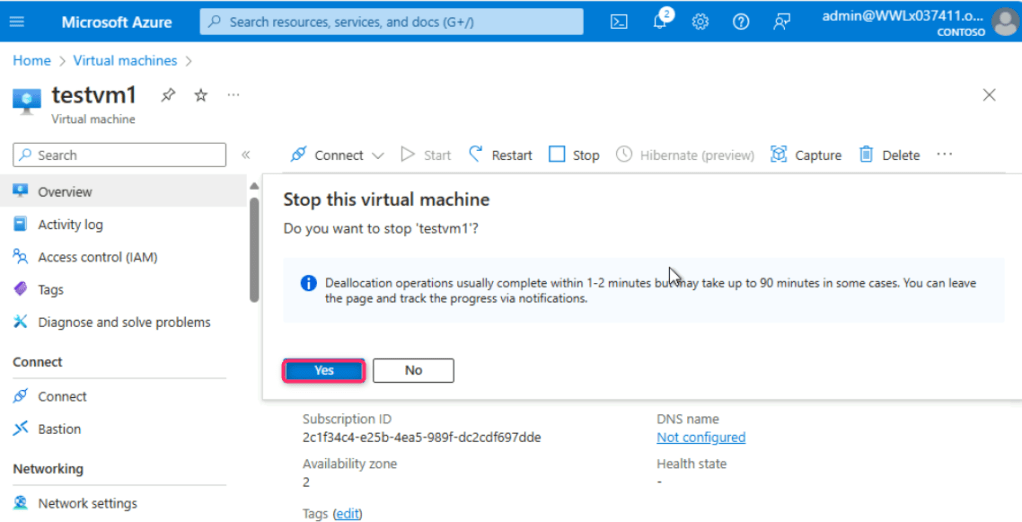
- Click on testvm1 virtual machine.
- In the testvm1 virtual machine page, navigate and click on the Stop button.

- In Stop this virtual machine dialog box, click on the Yes button.
Summary
In this lab, you’ve assigned the Owner role to the Azure subscription, then you’ve created and onboarded Windows Server and Windows 11 Pro virtual machines (testserver1, testVM1, and testVM2) to Microsoft Defender for Endpoints, bolstering security with real-time monitoring and threat response capabilities across different VM types. Then, you’ve created a test user account (Robert Frost) with Microsoft 365 E5 and Microsoft teams enterprise licenses. Finally, you’ve installed Microsoft 365 apps and configured necessary settings, facilitating a comprehensive
testing environment for Azure, Microsoft Defender, and Microsoft Copilot for Security features.
